")
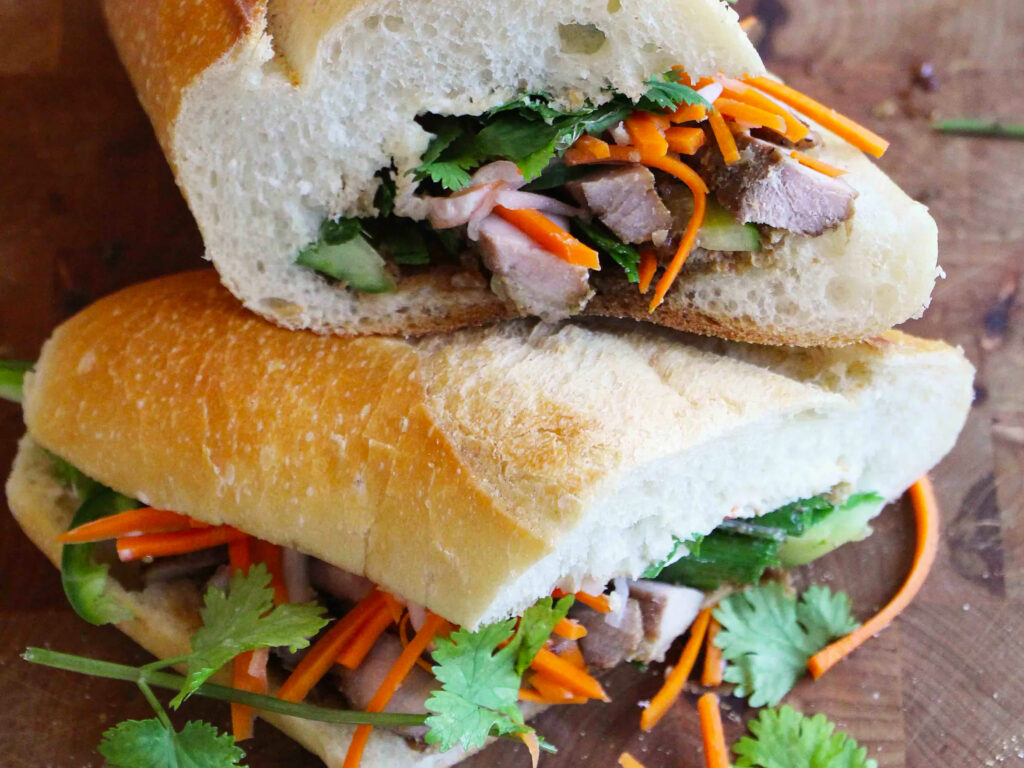
bánh mìthịt nướng (Vietnamese sandwich with grilled pork chop) is my favorite kind of sandwich. It was created in Vietnam during French colonial rule, and has influences from both cultures. The sandwich is typically made with French baguette and pâté, with different variants of Vietnamese meats and ingredients as the filling. The banh mi ‘thit nuong’ (grilled pork chop), however, is at the top of my list.
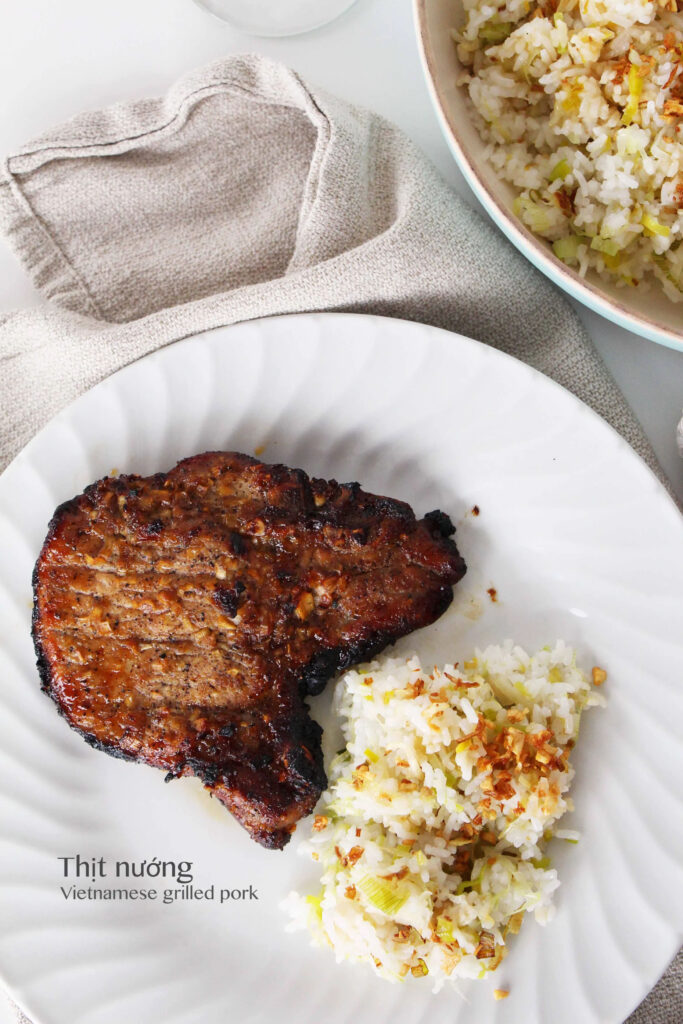
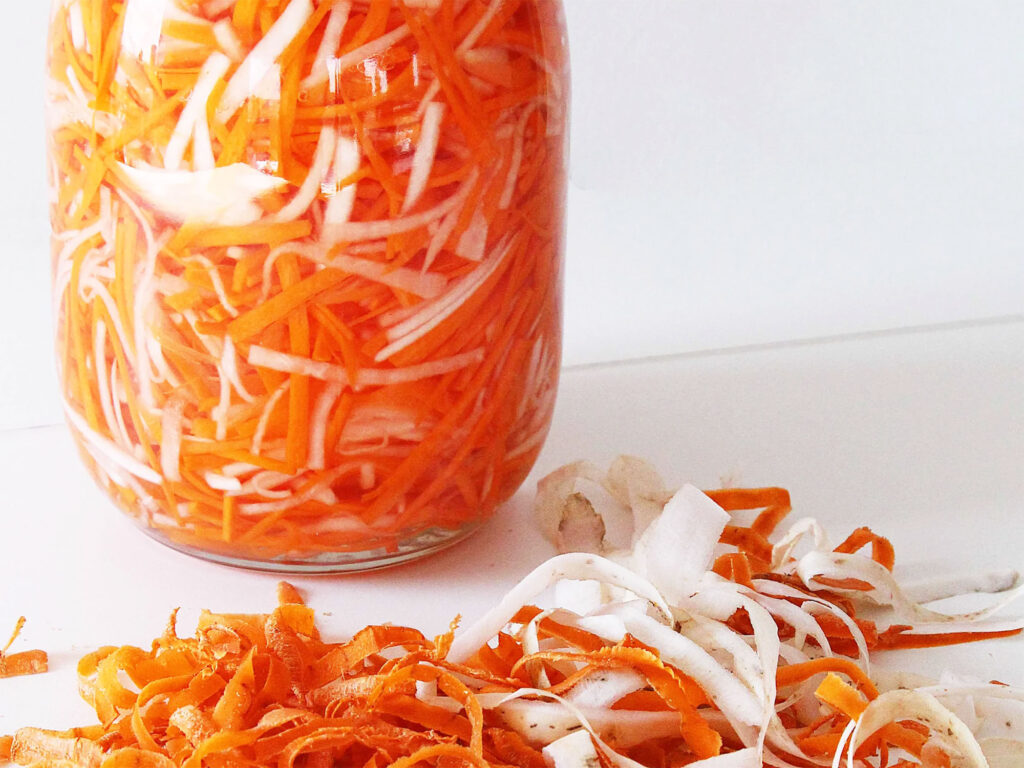
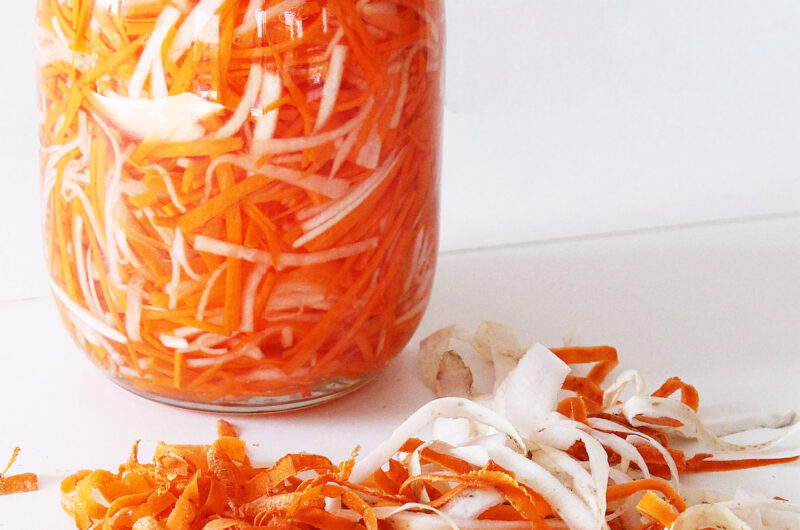
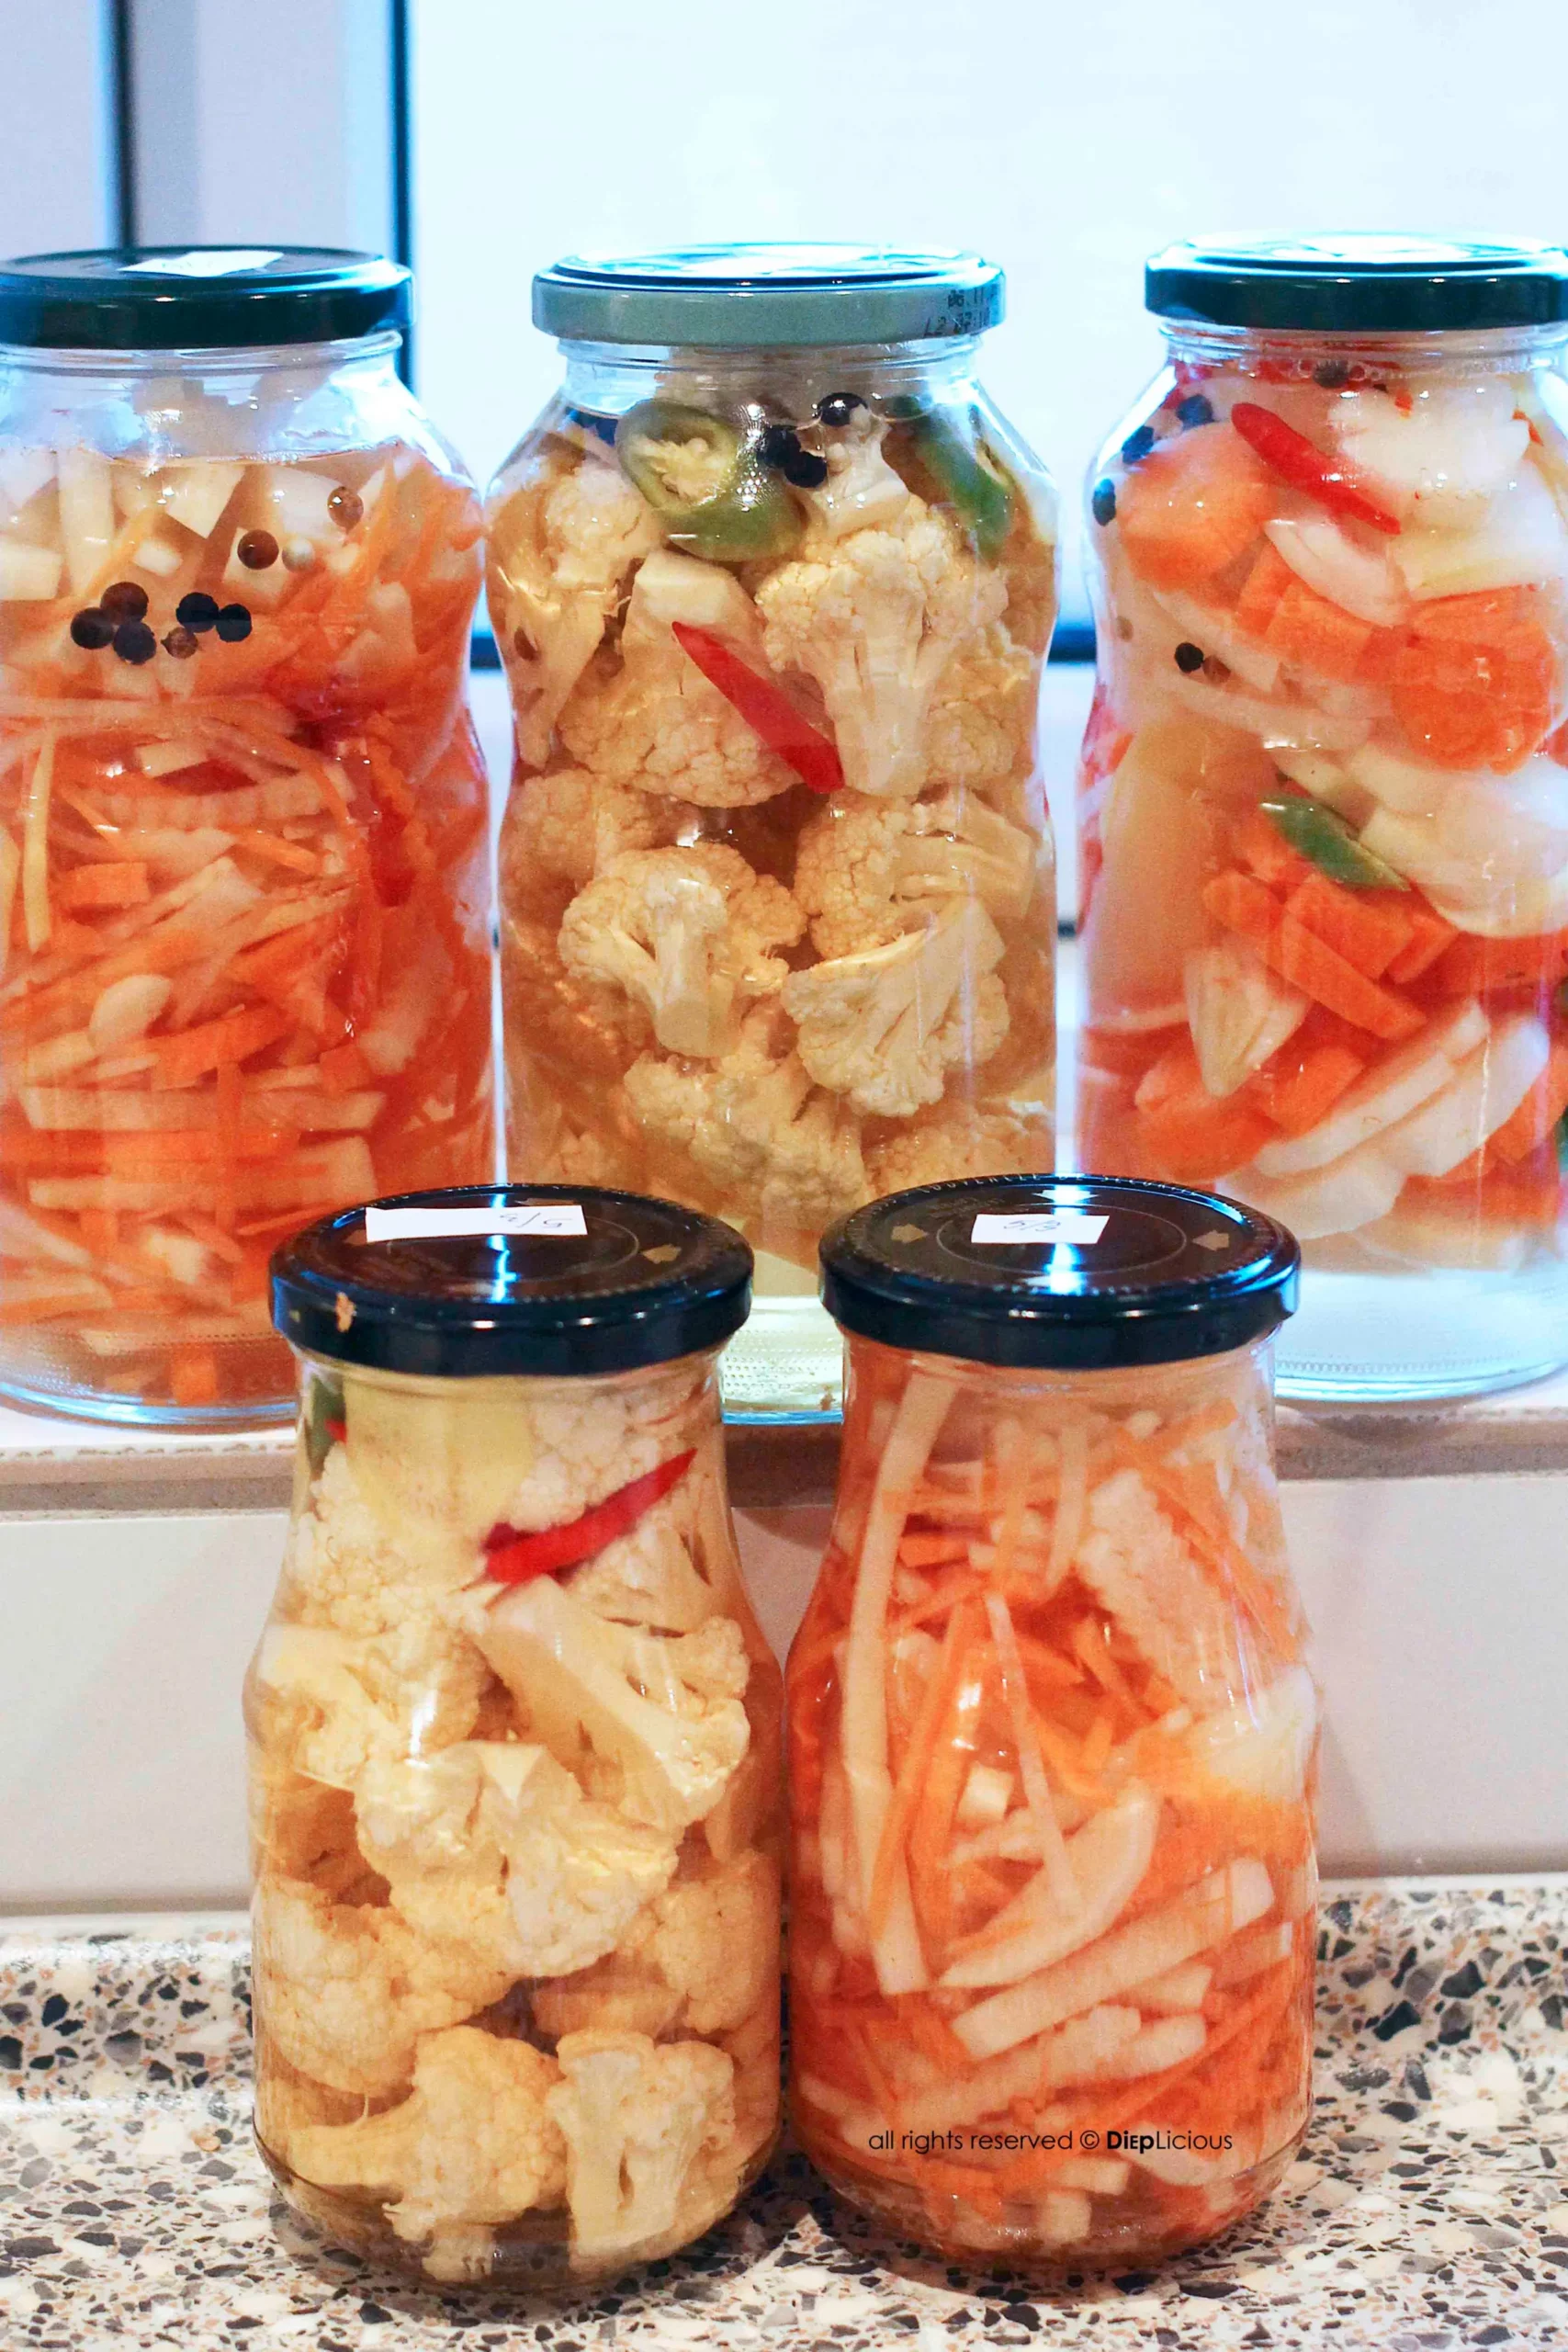
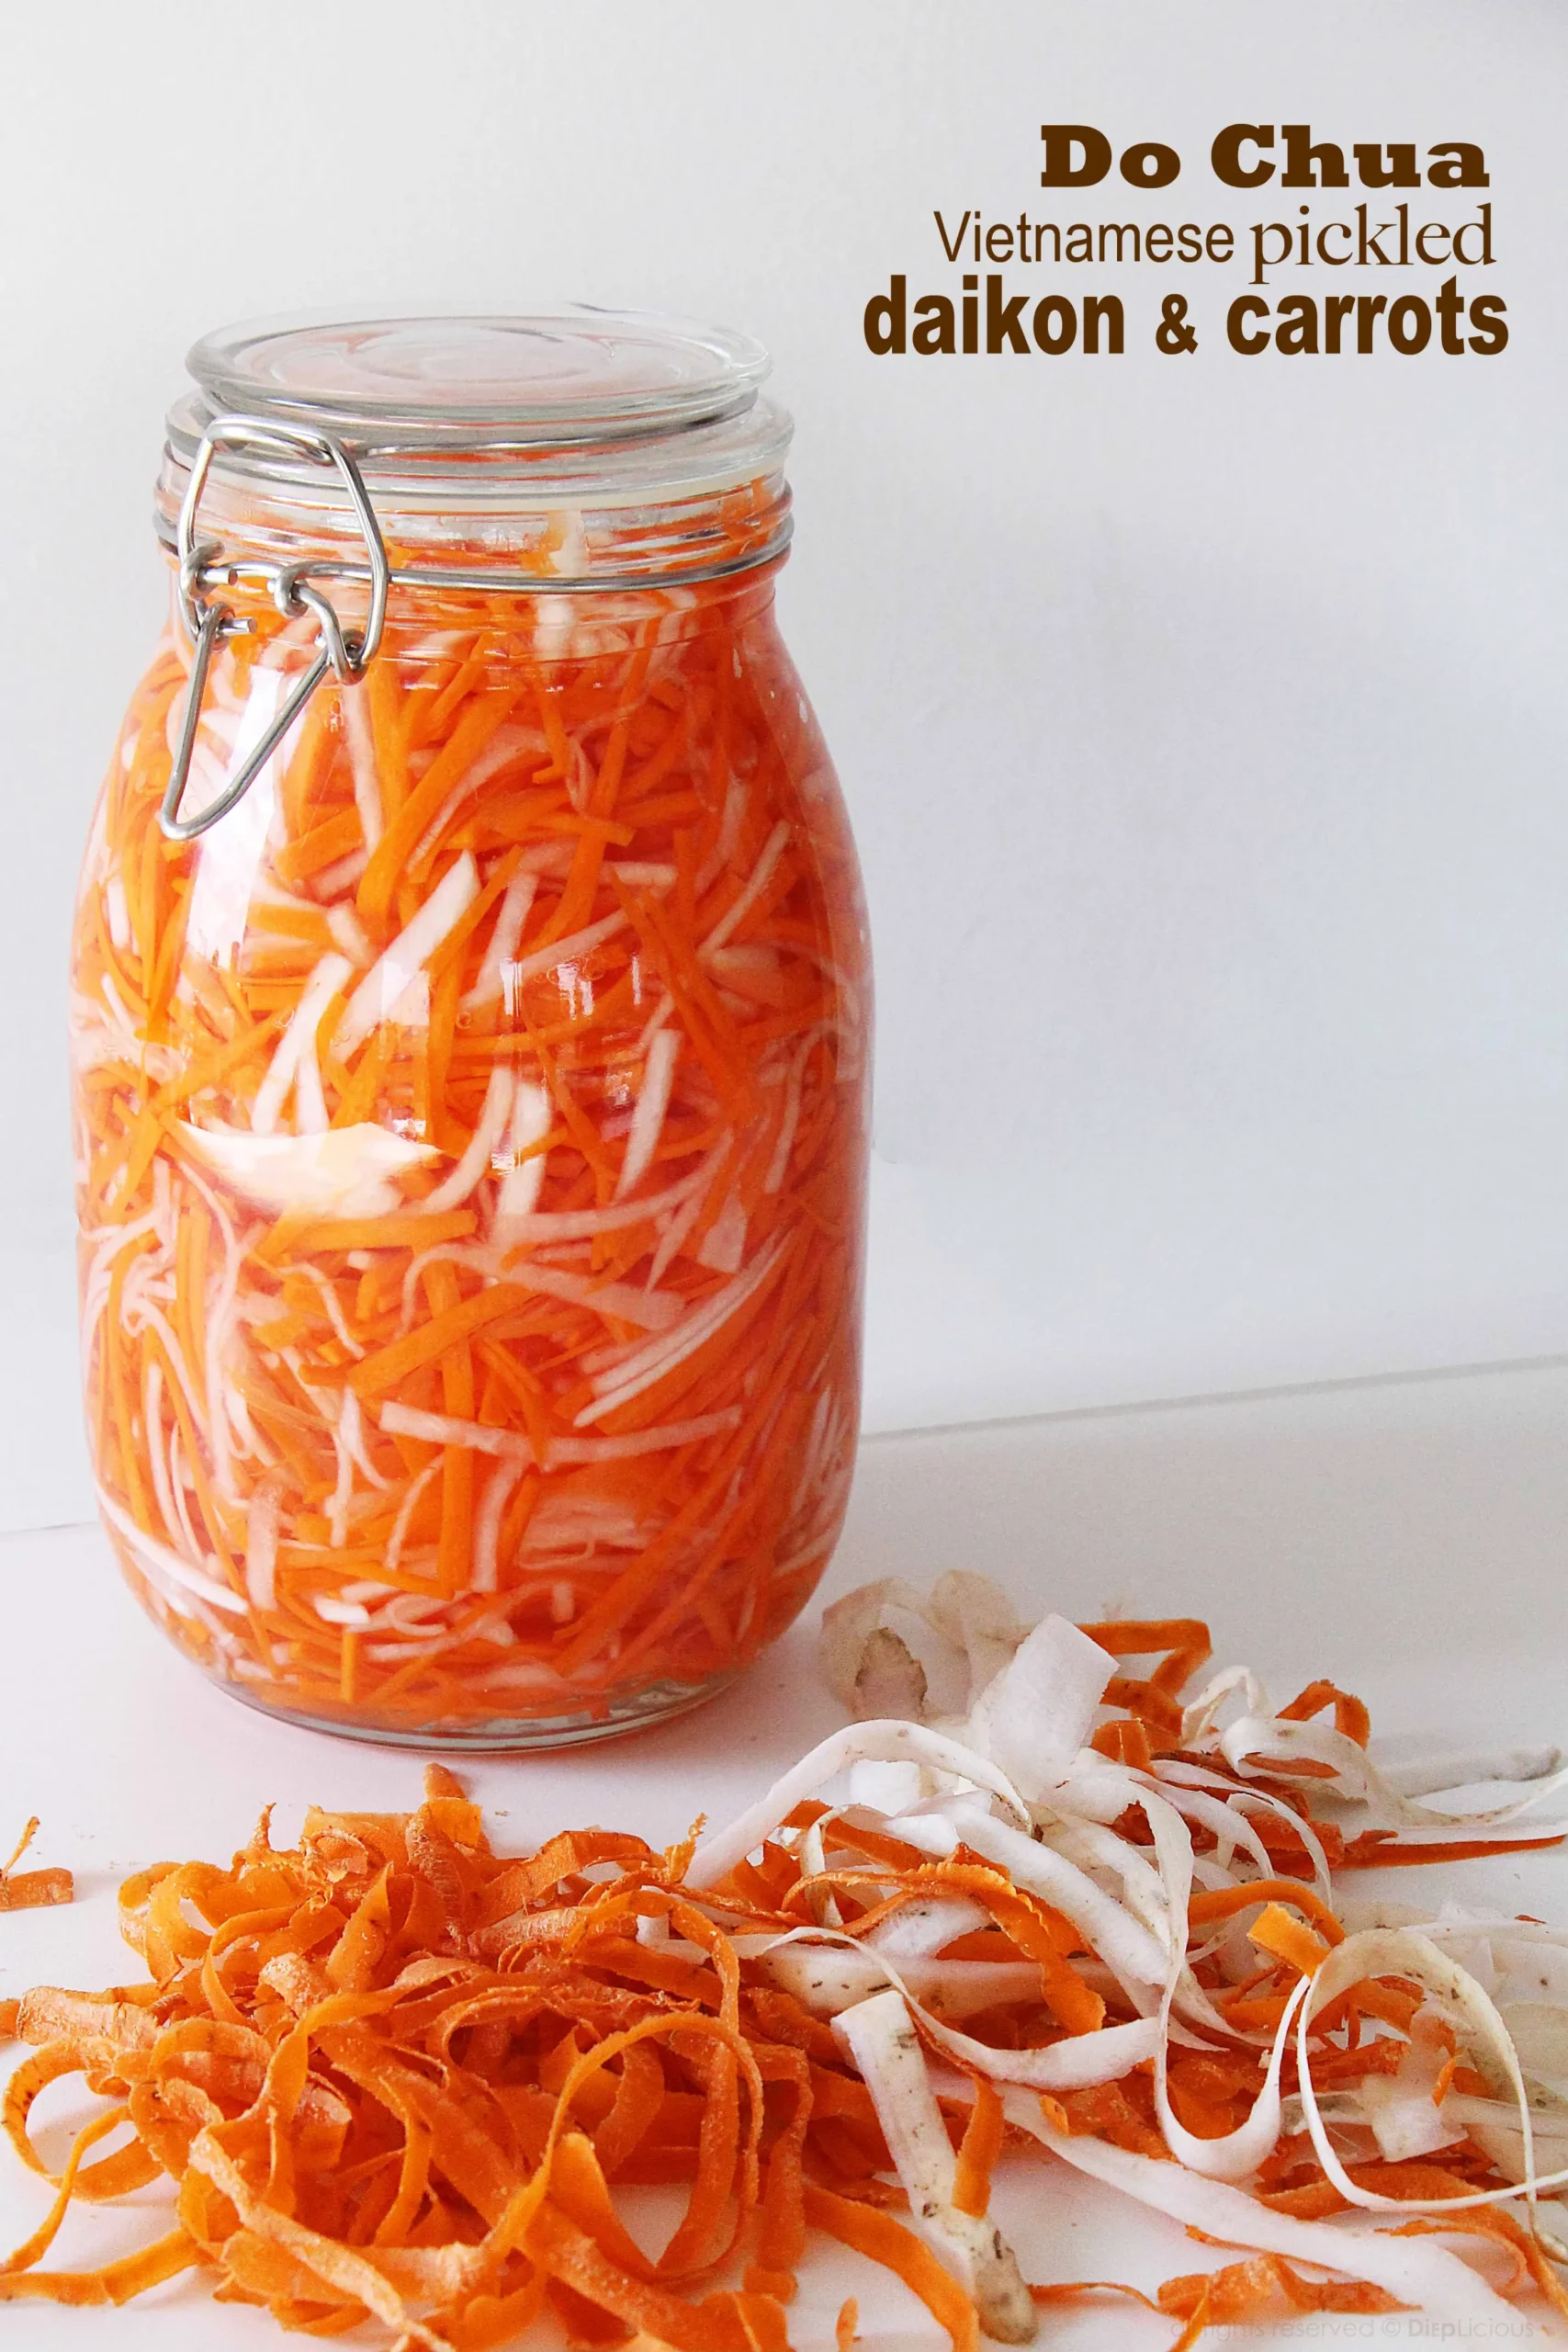
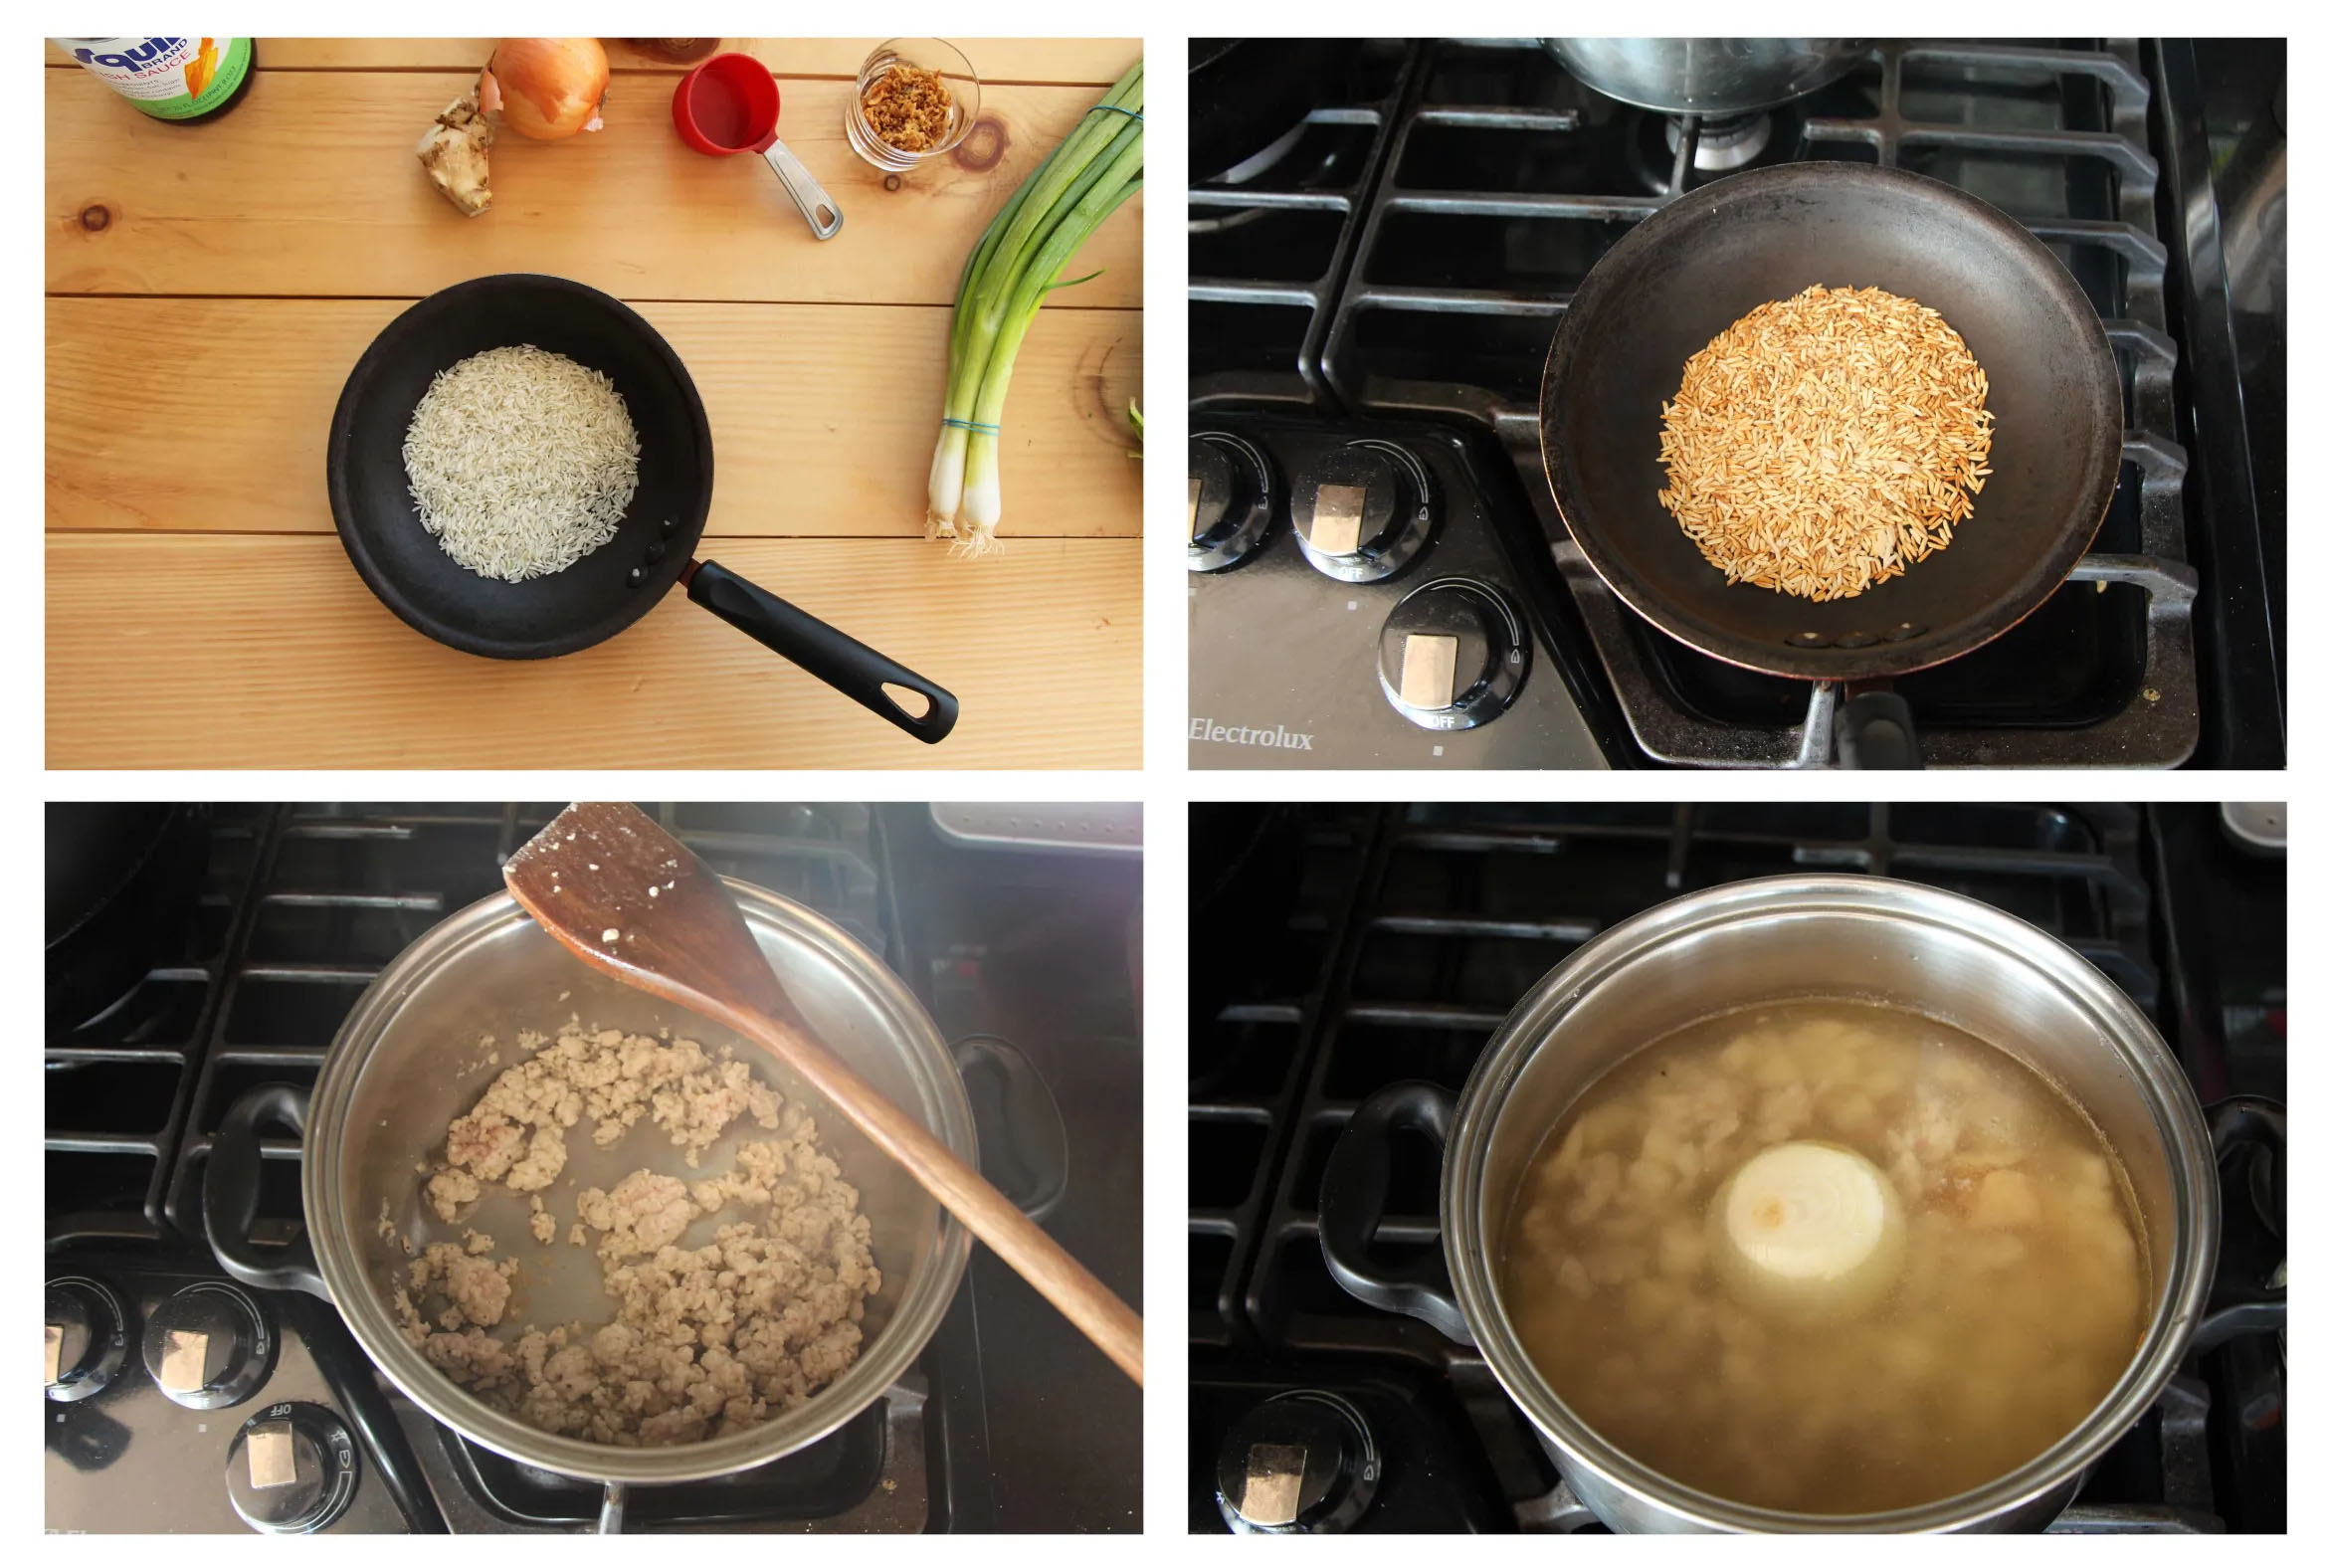
Unfortunately you can’t just whip this one up on the spot, as it demands a little preparation at least one day in advance. The meat is best marinated the day before, and the ‘do chua’ (pickled daikon and carrots) can be made the day before as well – but will be better if it is made the week before.
I usually marinade a bunch of pork chops, have them for dinner the first day, and then use the leftovers for sandwiches the following day.
The do chua is generally amazing with rice and meat dishes, and it lasts for about a month in the refrigerator, leaving you plenty of time to nibble.
The picture below is a banh mi stand right around the corner of my grandmother’s house. This woman arrives early every morning and sits there all day long in the blazing hot sun.

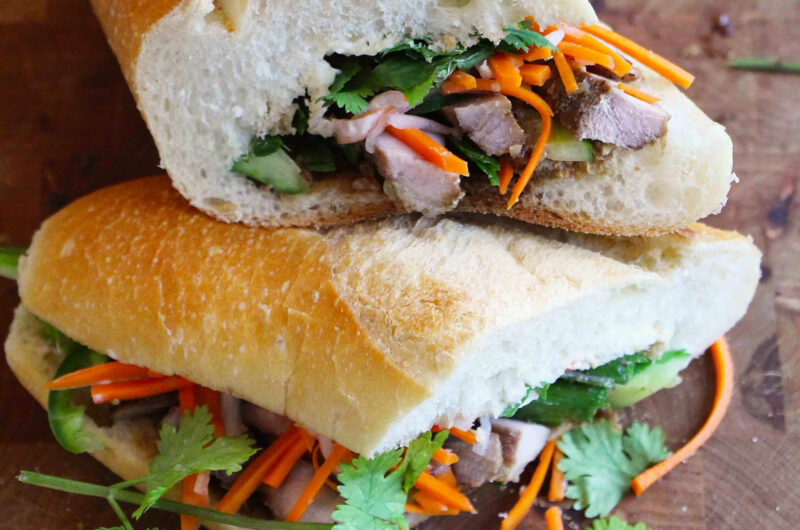
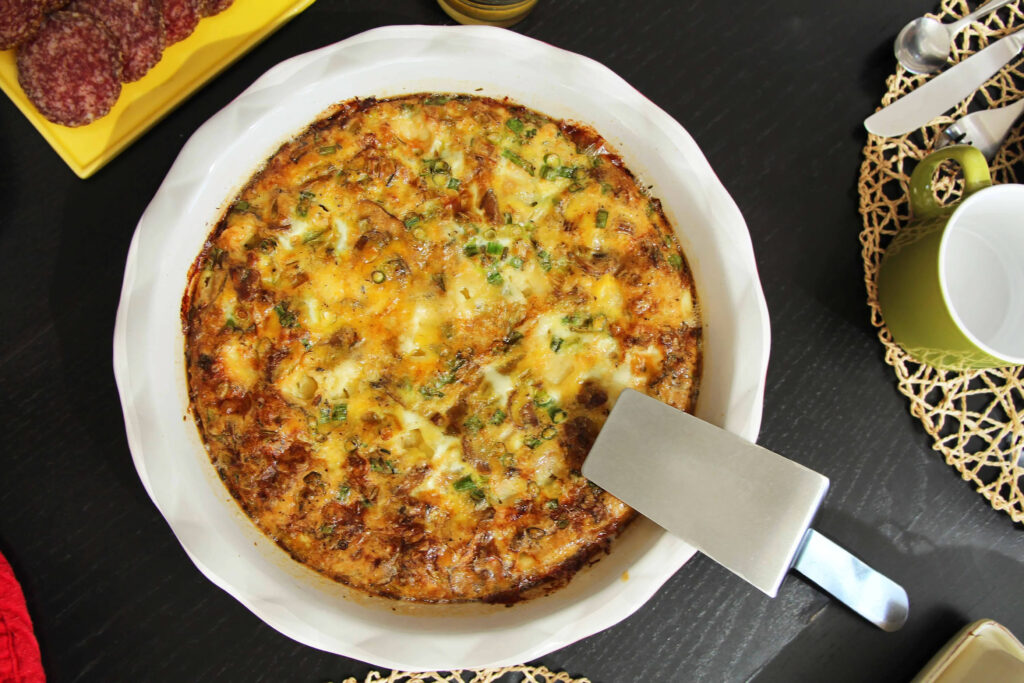
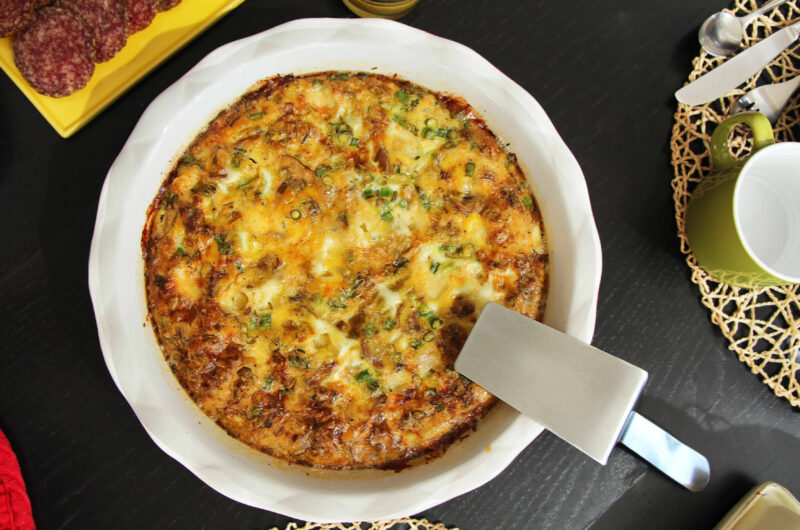
Recipe: Bánh mì thịt nướng (Vietnamese sandwich with grilled pork chop)
bánh mìthịt nướng (Vietnamese sandwich with grilled pork chop) is my favorite kind of sandwich. It was created in Vietnam during French colonial rule, and has influences from both cultures. The sandwich is typically made with French baguette and pâté, with different variants of Vietnamese meats and ingredients as the filling. The banh mi ‘thit nuong’ (grilled pork chop), however, is at the top of my list.
2
sandwichesIngredients
1 1 thit nuong pork chop, grilled and sliced into smaller pieces
Do chua – pickled daikon and carrots
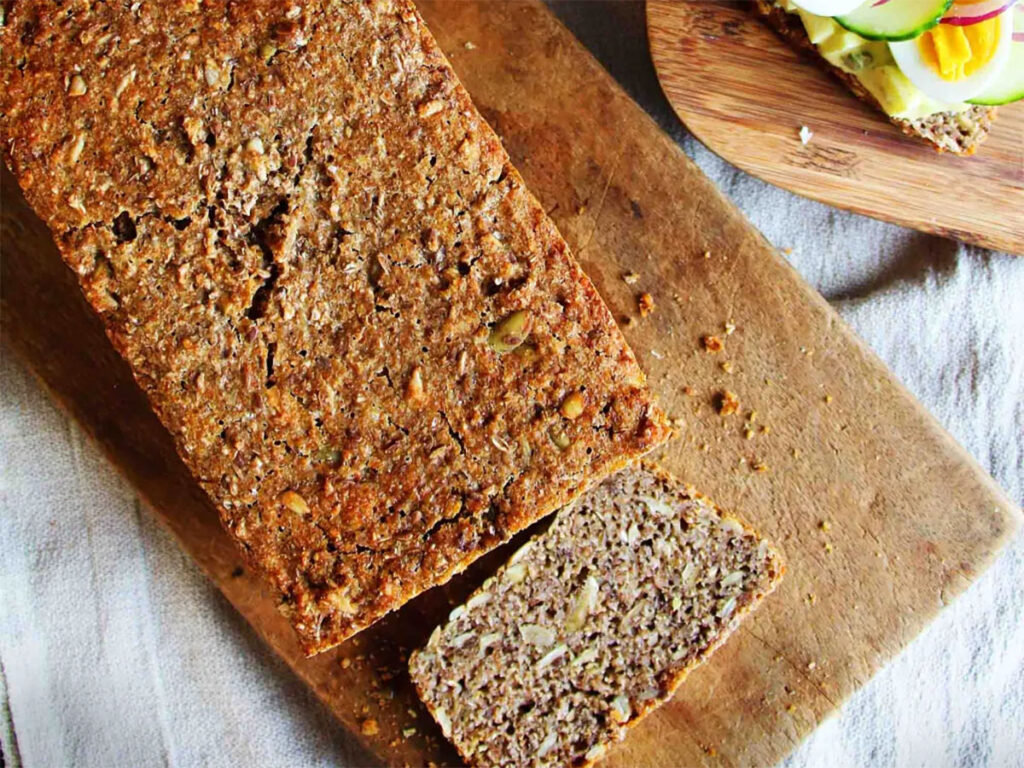
2 2 sandwich-sized baguettes, the light and fluffy kind
1 tablespoon 1 mayonnaise
A couple of sprigs of cilantro
1 1 jalapeño, seeded and sliced crosswise into smaller pieces
¼ ¼ English cucumber, cut into sticks
Directions
- Slice the sandwich bread halfway lengthwise.
- Spread some mayo on each side of the sandwich and lay the thit nuong evenly on the bottom of the sandwich.
- Add cilantro, jalapeno, cucumber, and do chua on top and close the sandwich. Wrap some sandwich paper around one end for easy eating.
")


")


)