
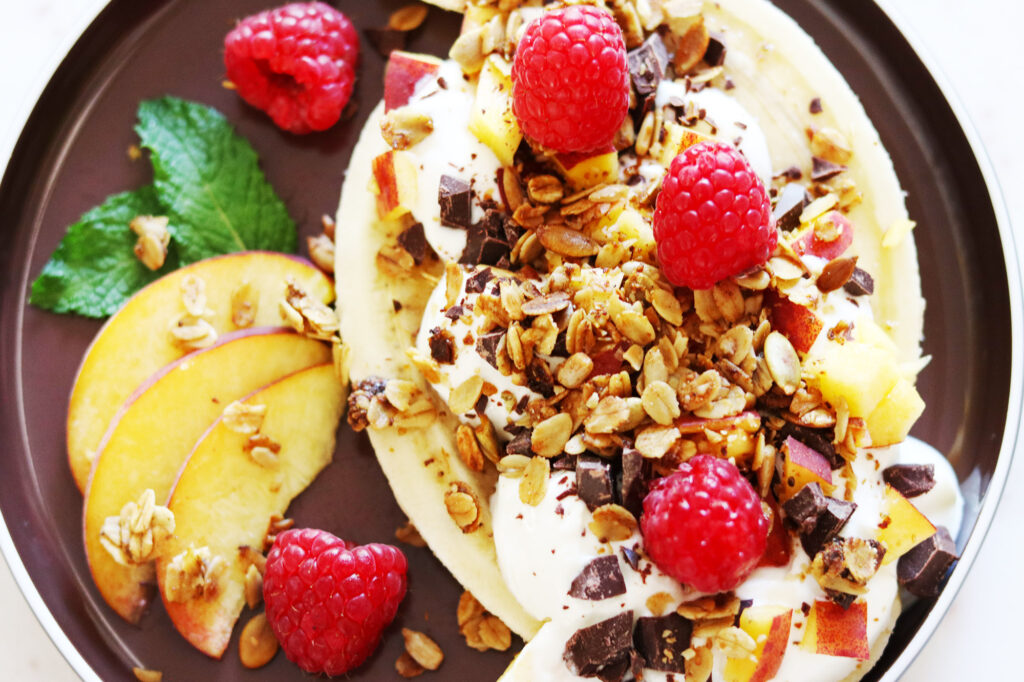
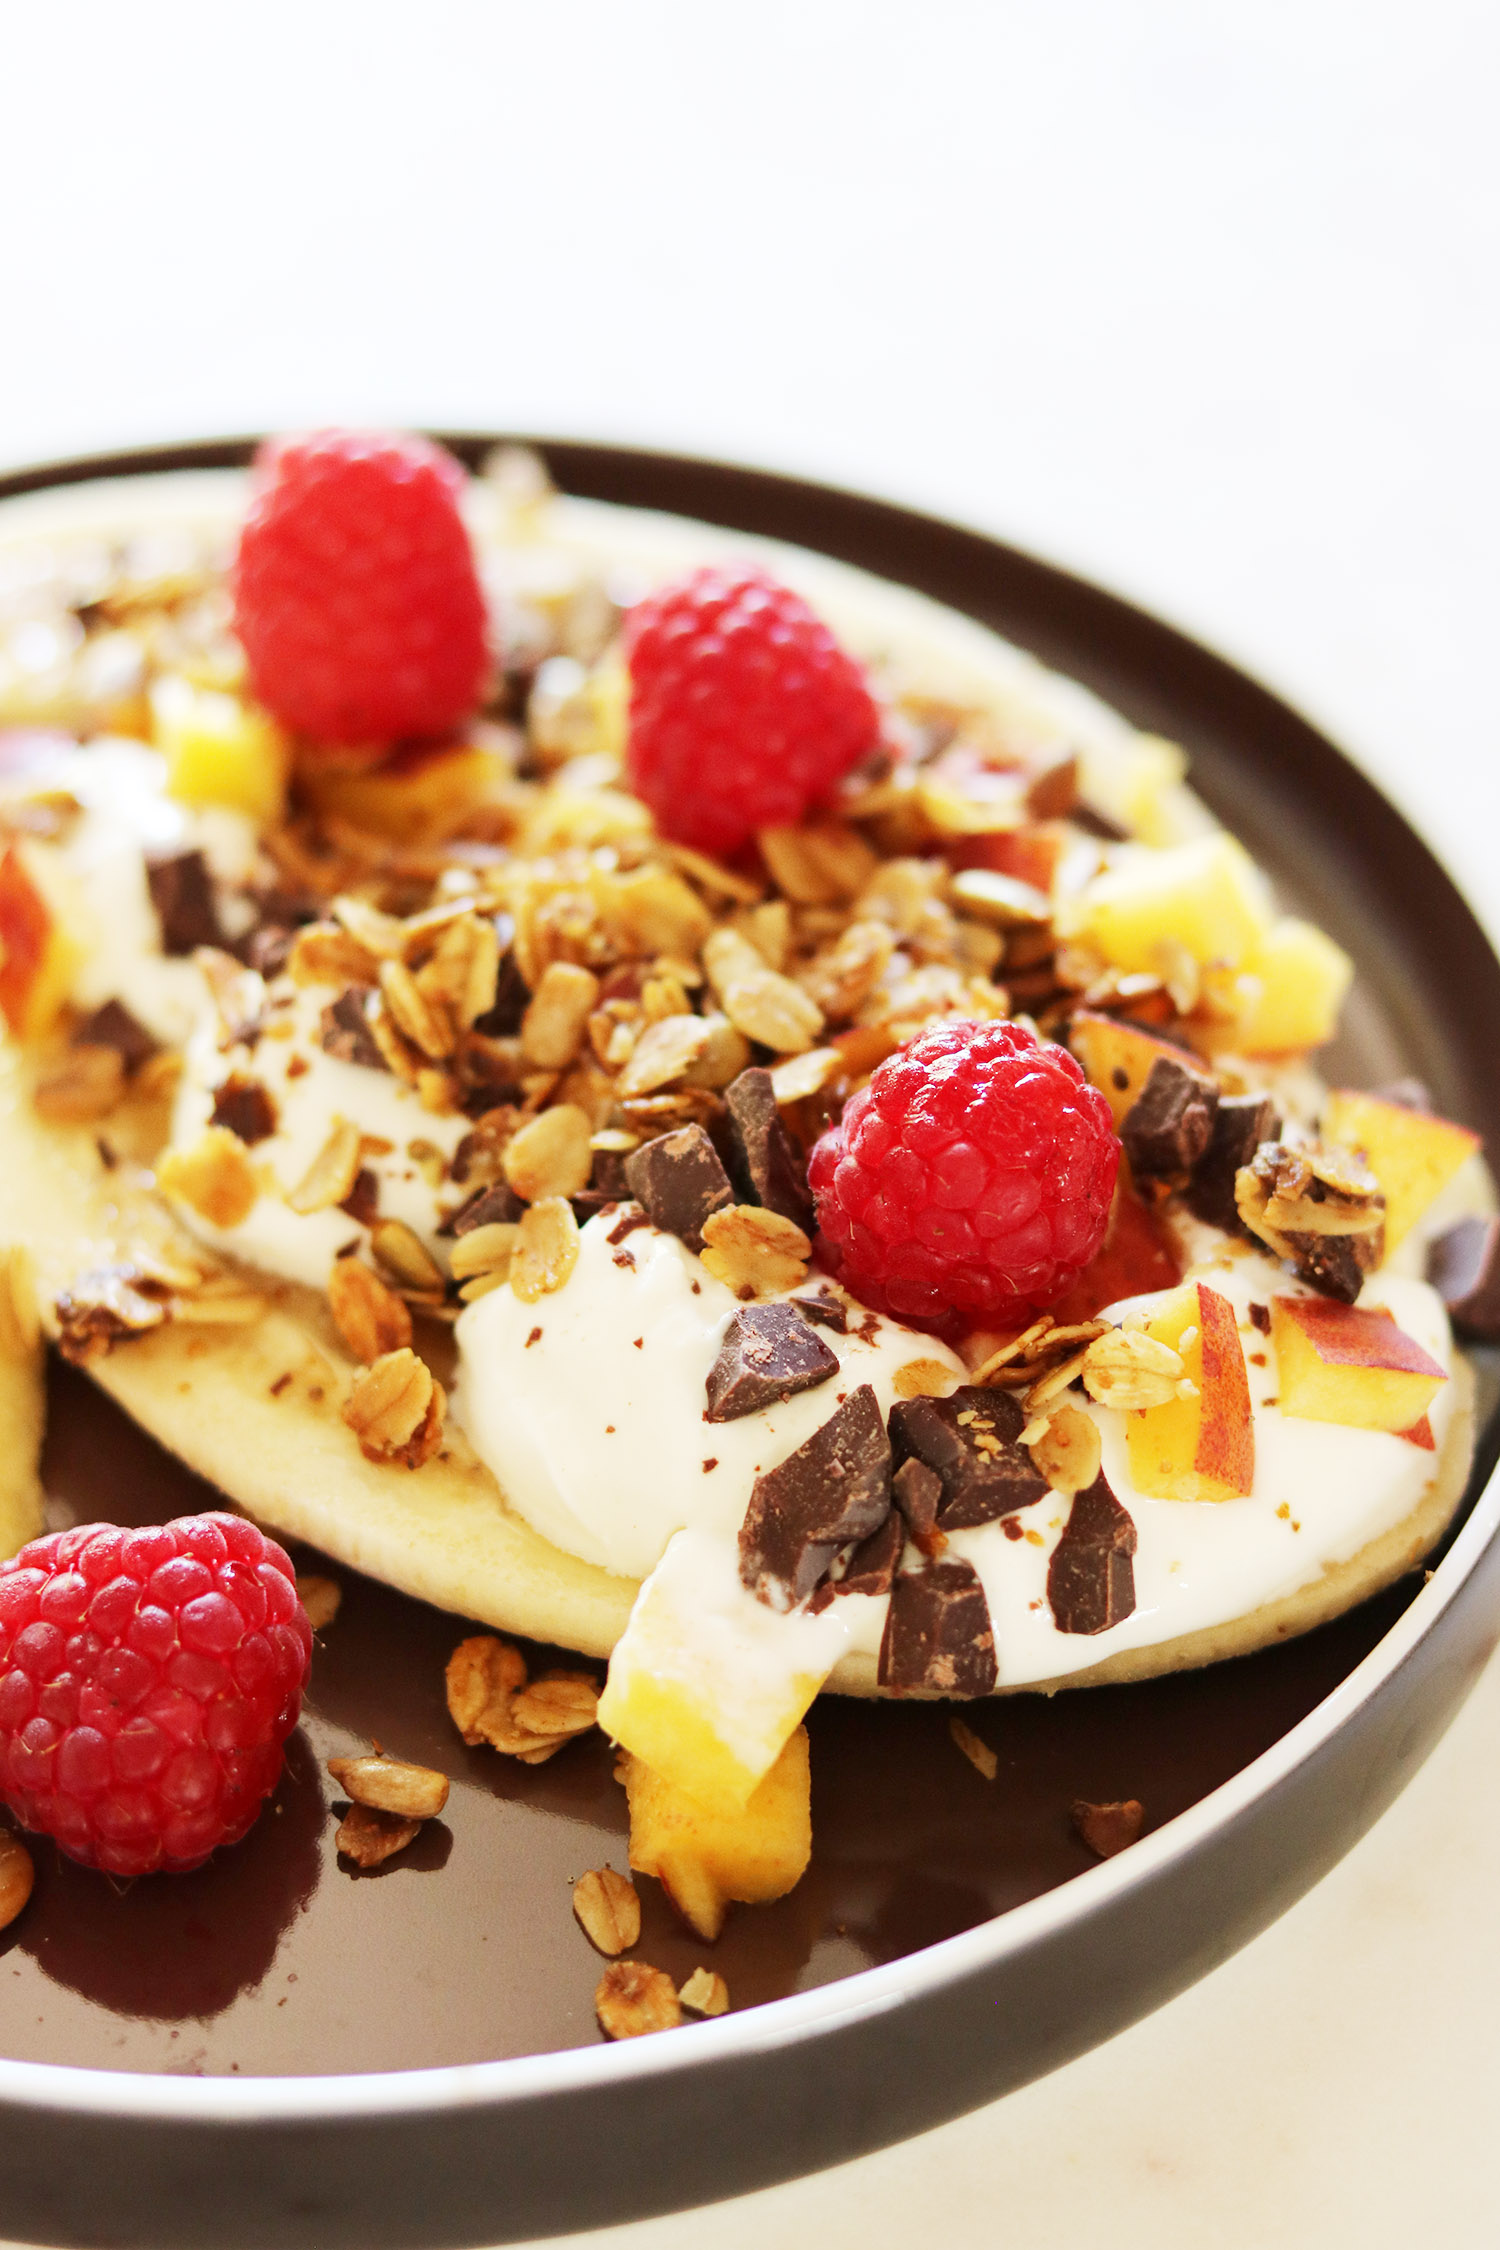
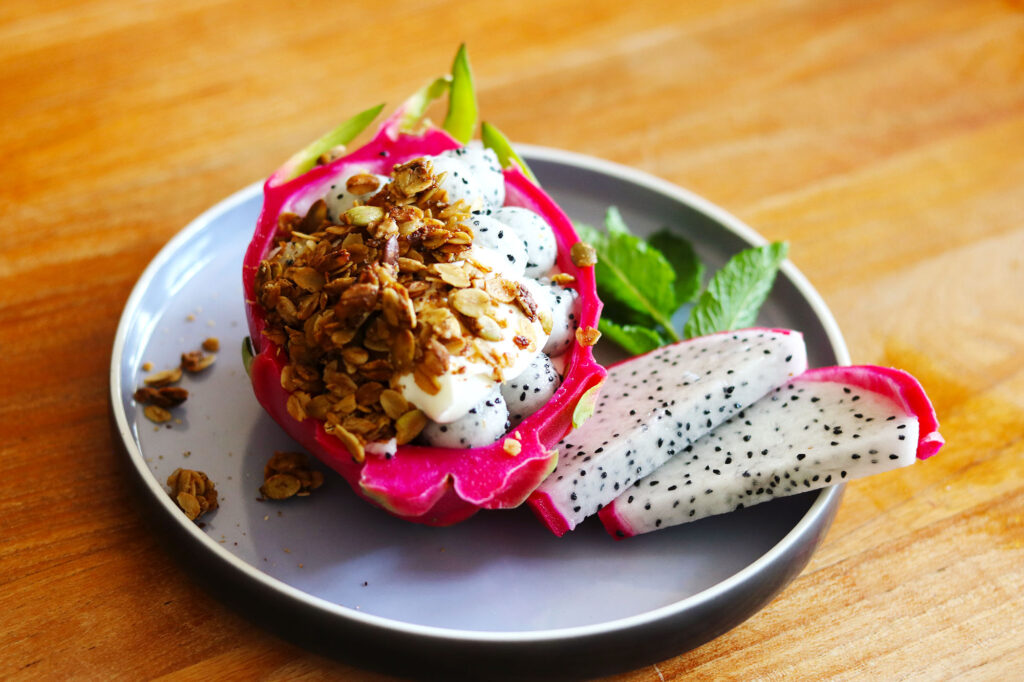
Kick-start your morning with a delicious twist on a classic dessert! Who says you can’t have banana split for breakfast? We’ve taken this beloved treat and turned it into a nutritious, energizing breakfast dish. Packed with fruit, yogurt, and a sprinkle of chocolate, this Breakfast Banana Split is a delightful way to satisfy your sweet tooth while fueling your day. It’s easy to make and even easier to devour, so please give this delicious breakfast treat a try.
Notes
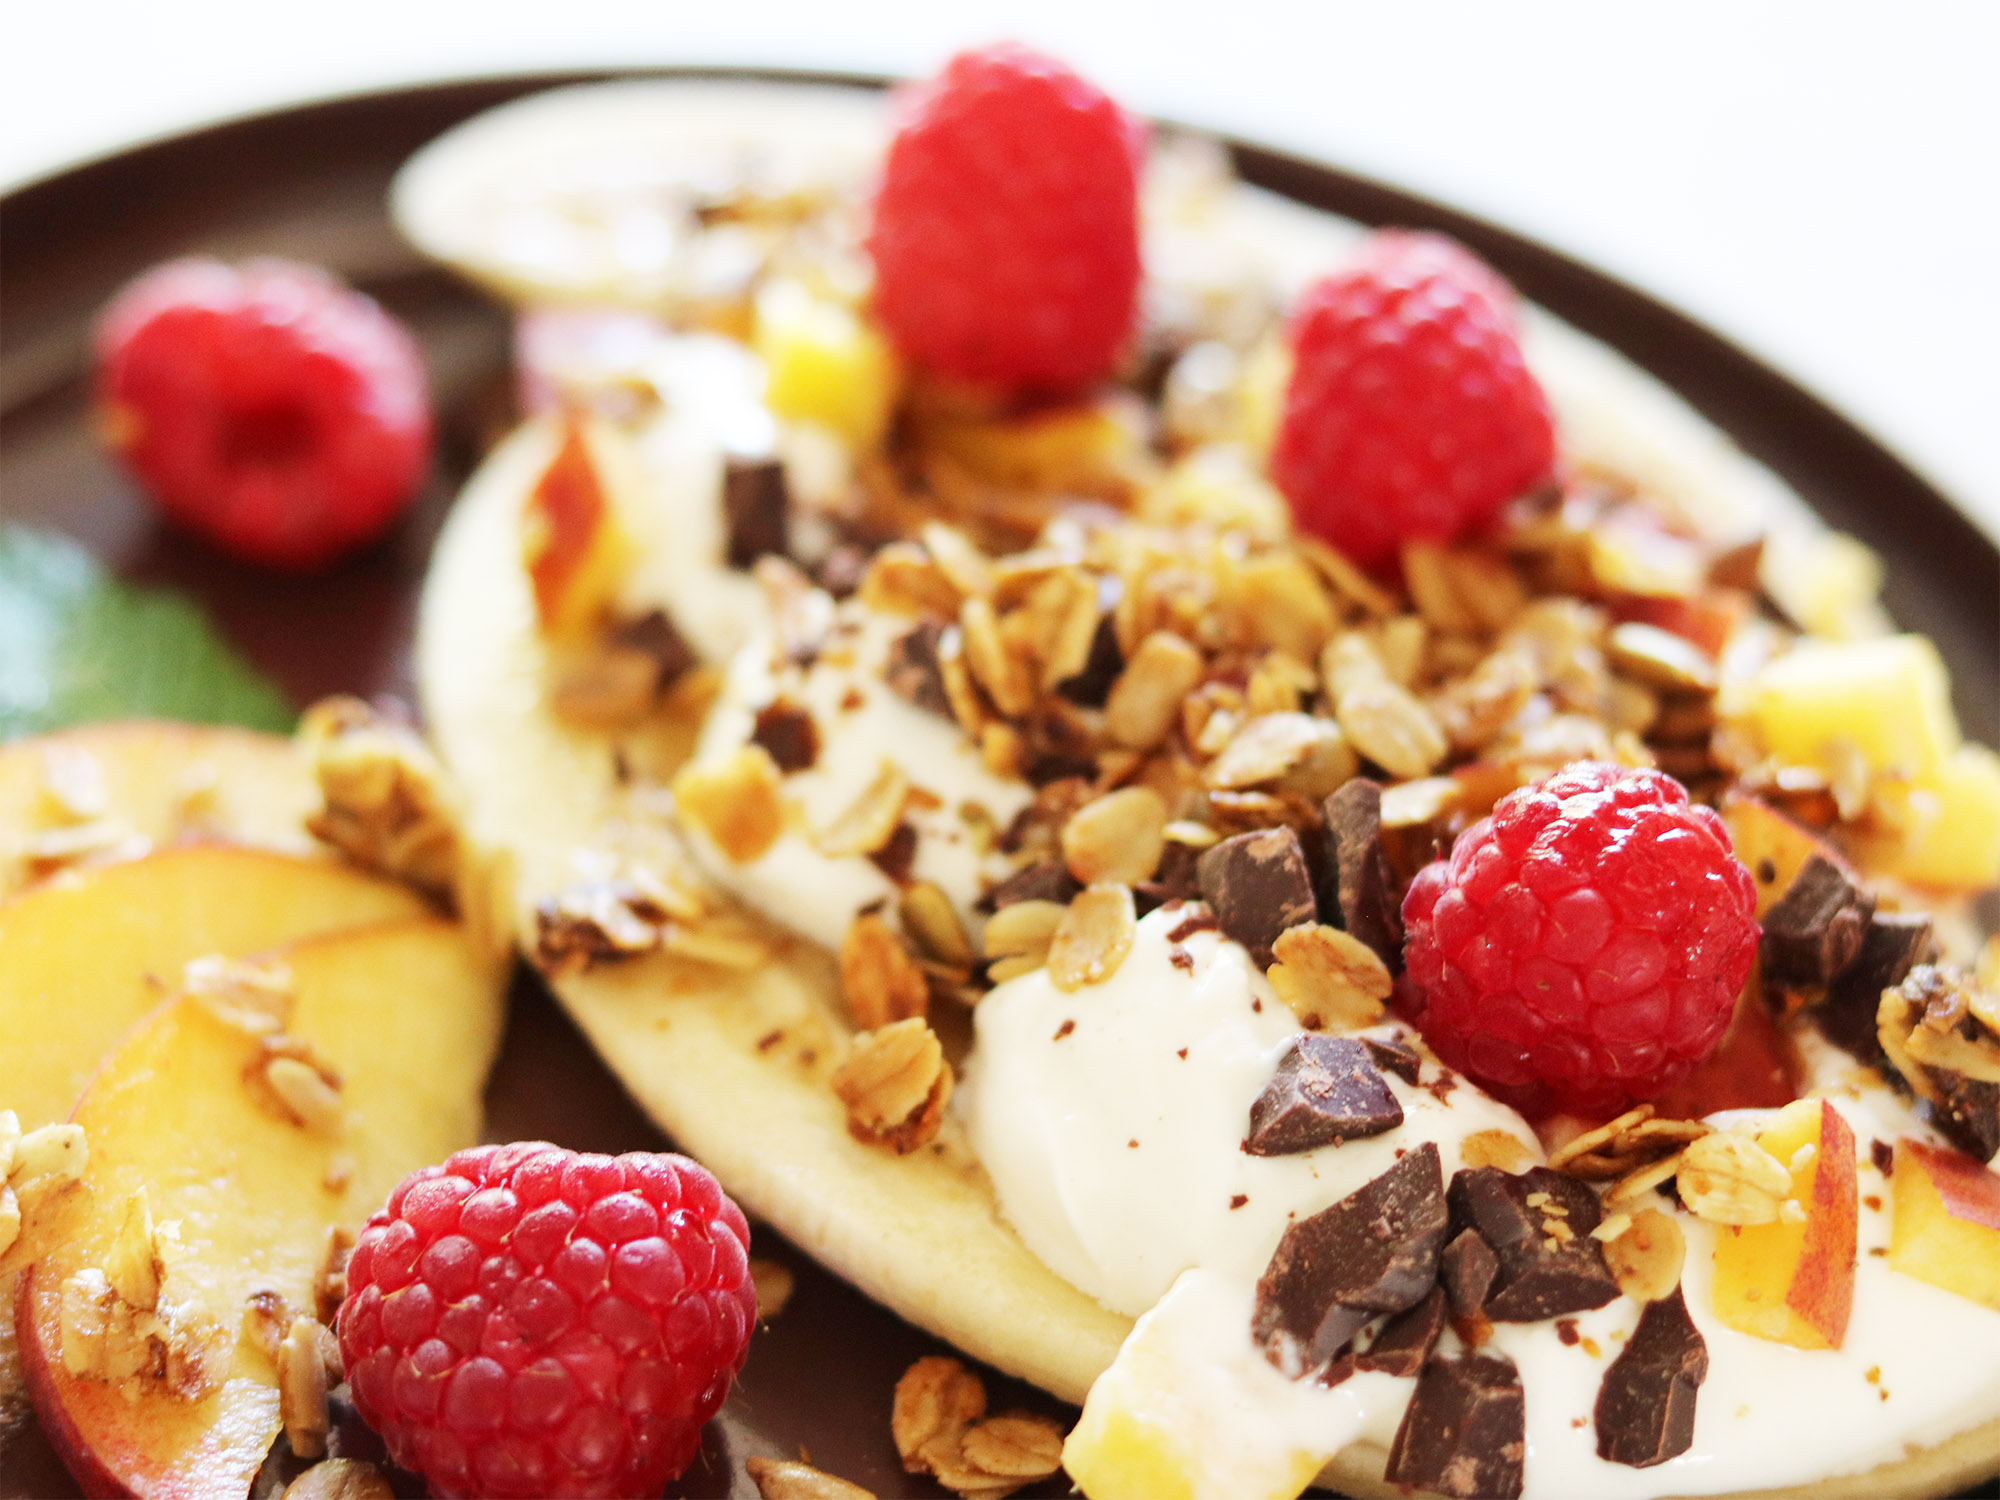
You can customize this recipe with other fruits or nuts as you prefer.
For a dairy-free version, substitute Greek yogurt with a plant-based alternative.
If you want a little extra sweetness, consider drizzling a small amount of honey or maple syrup on top.
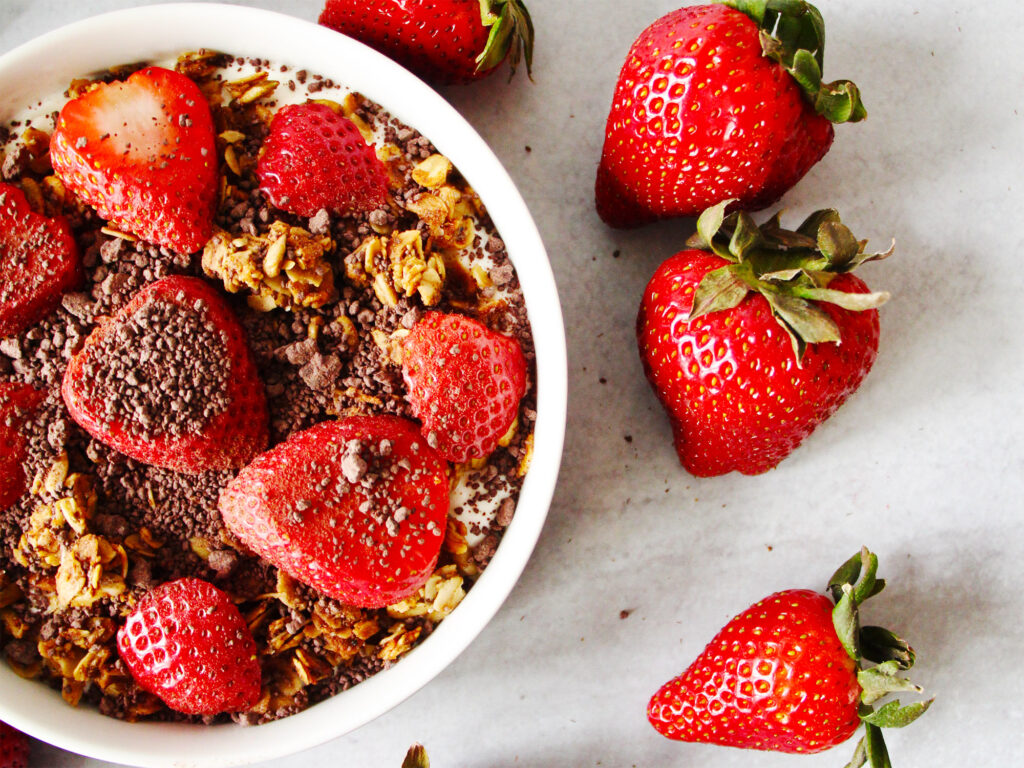
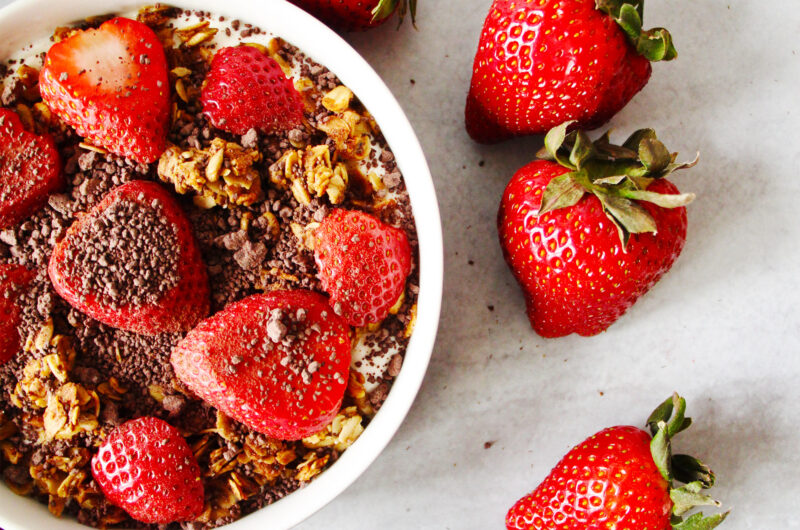
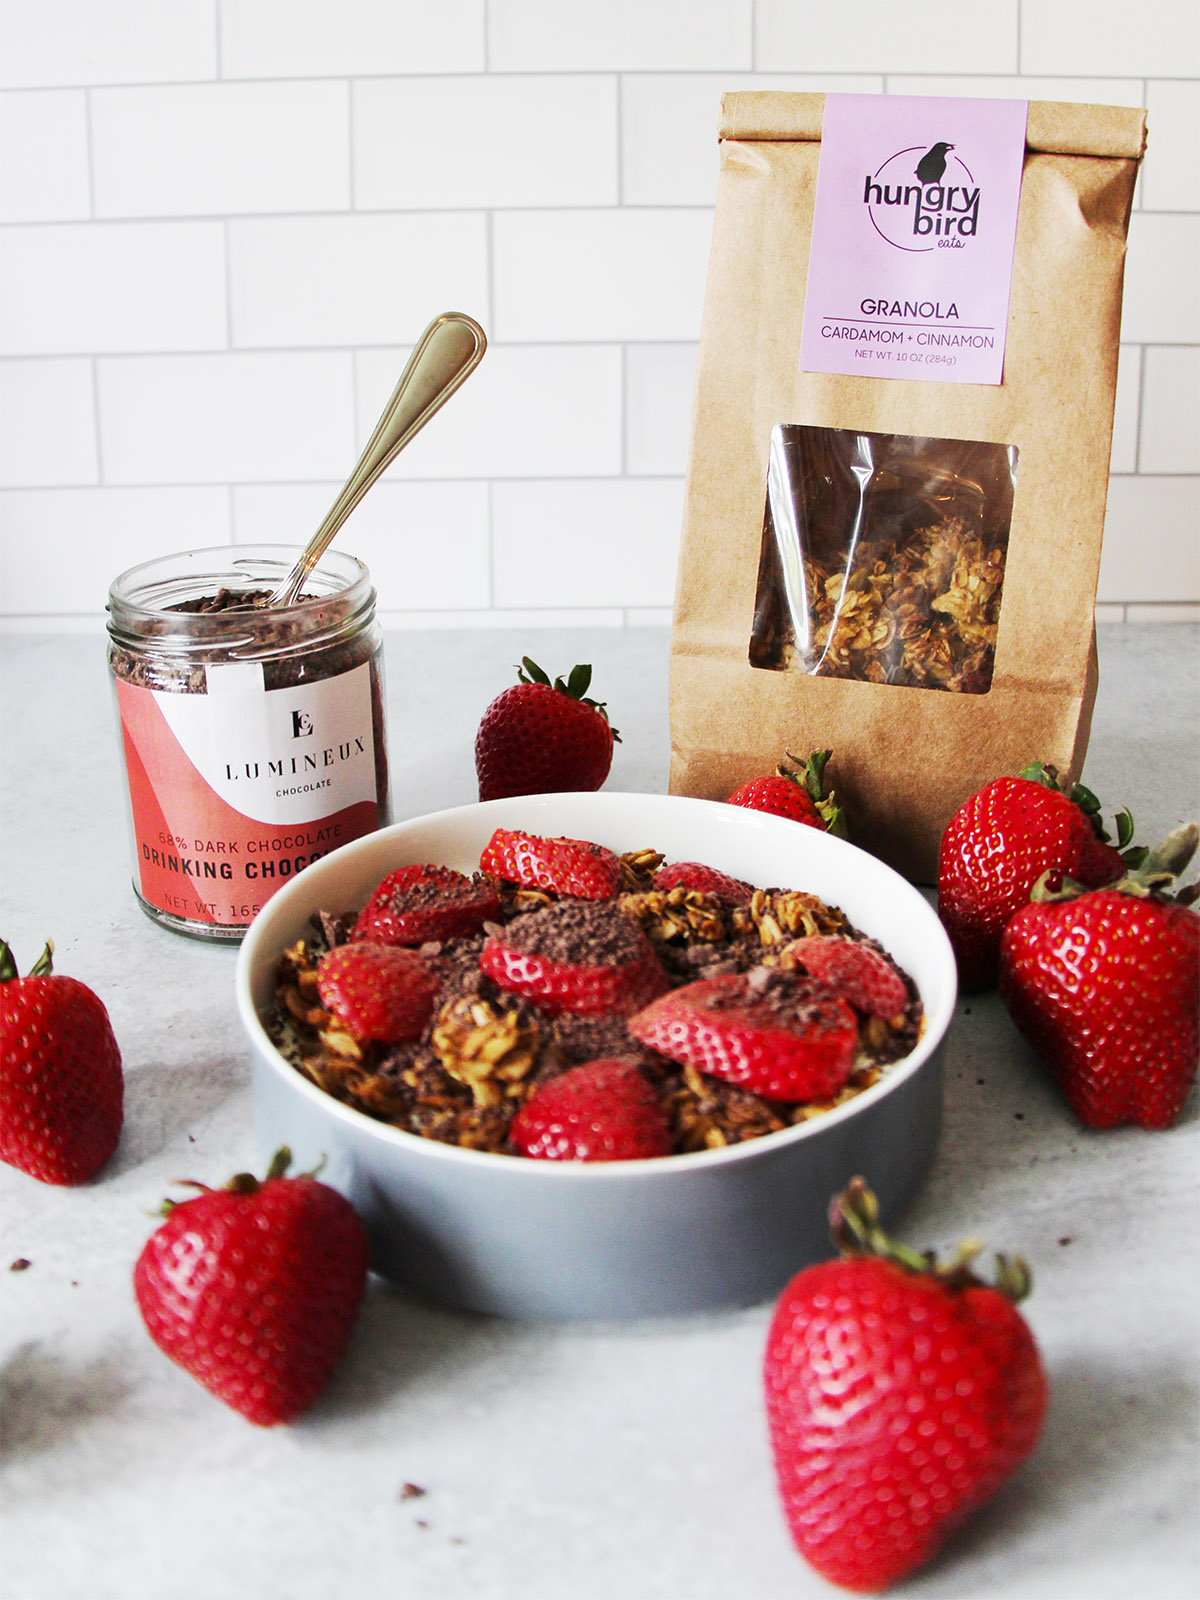
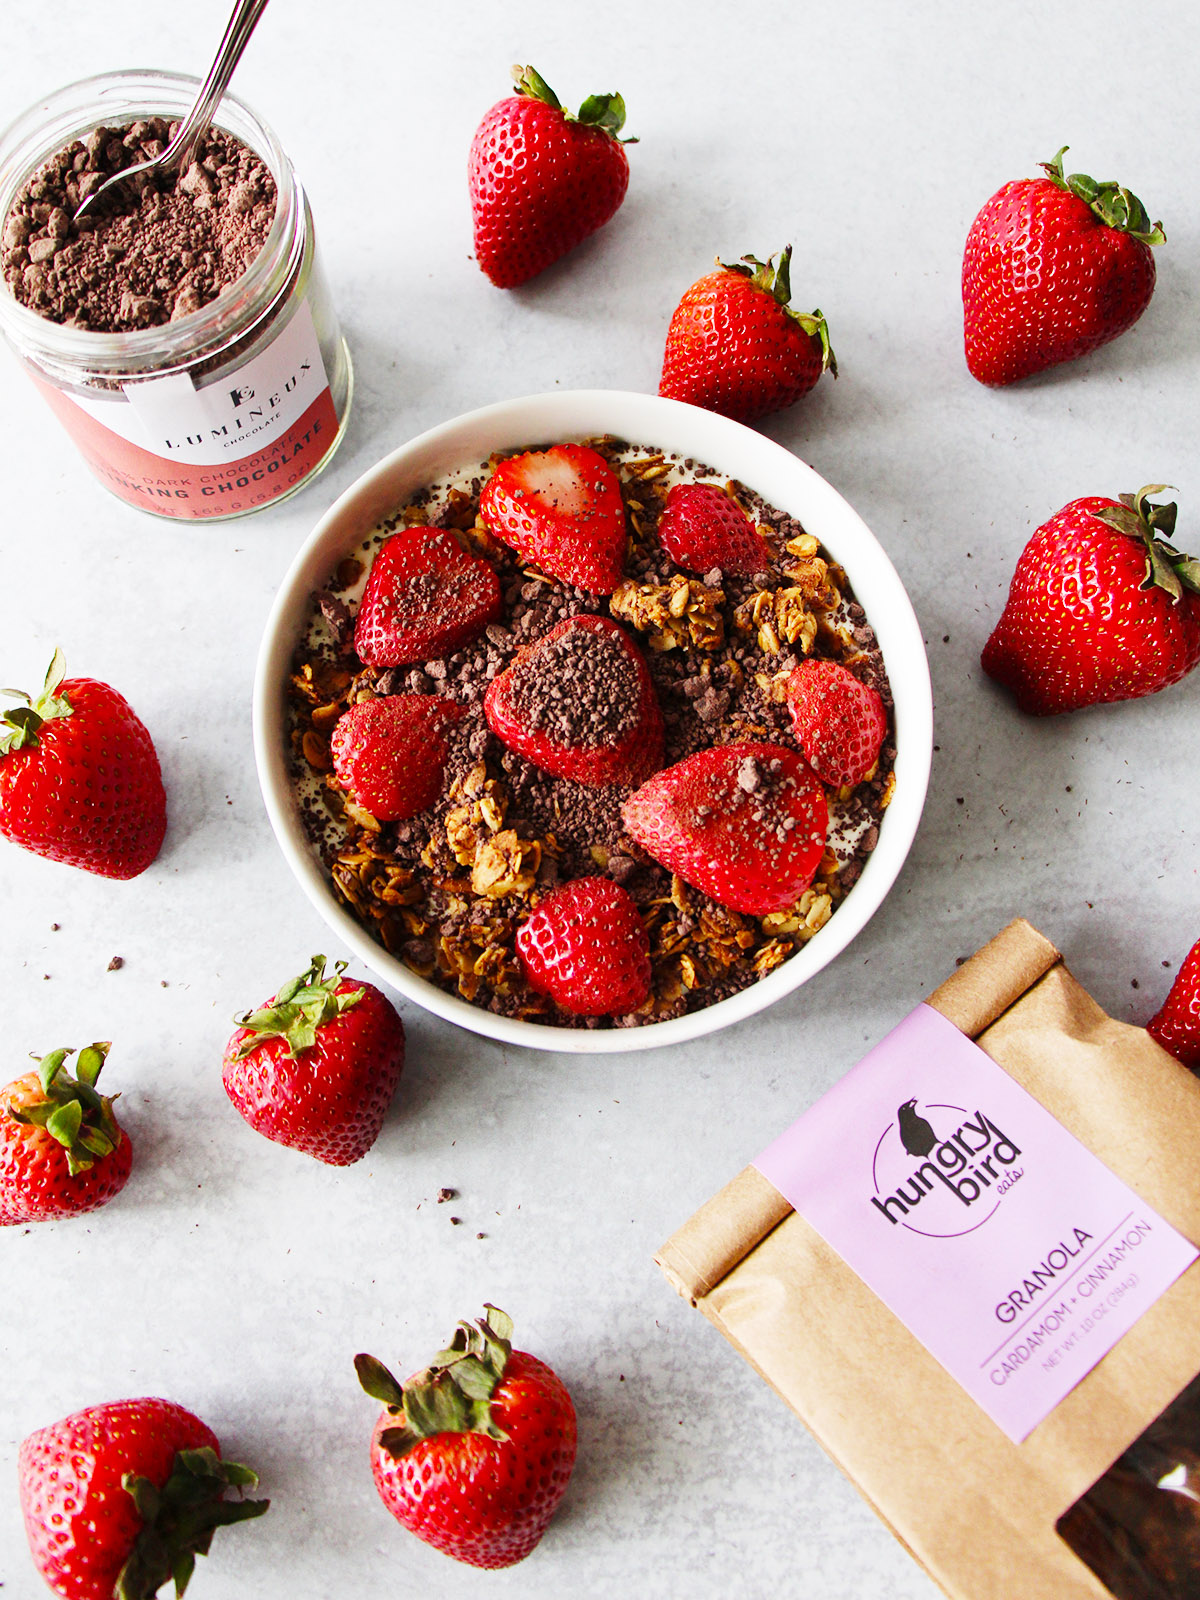
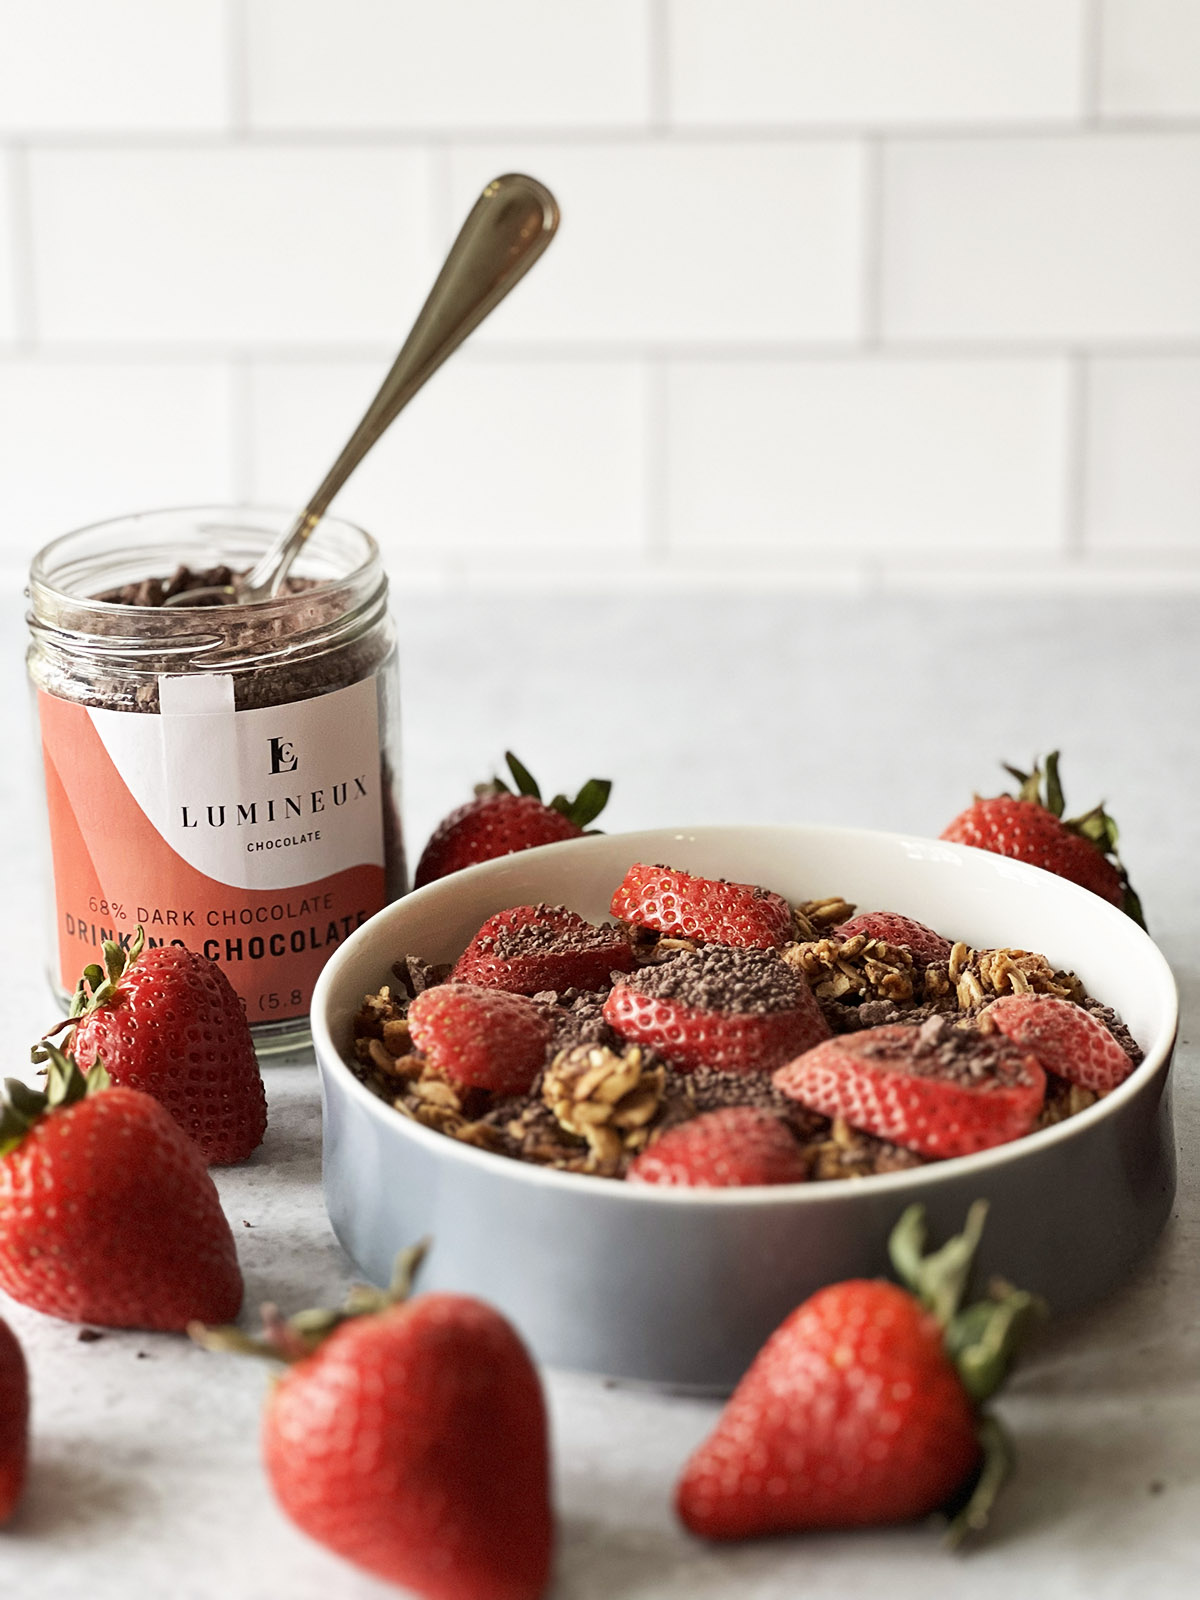
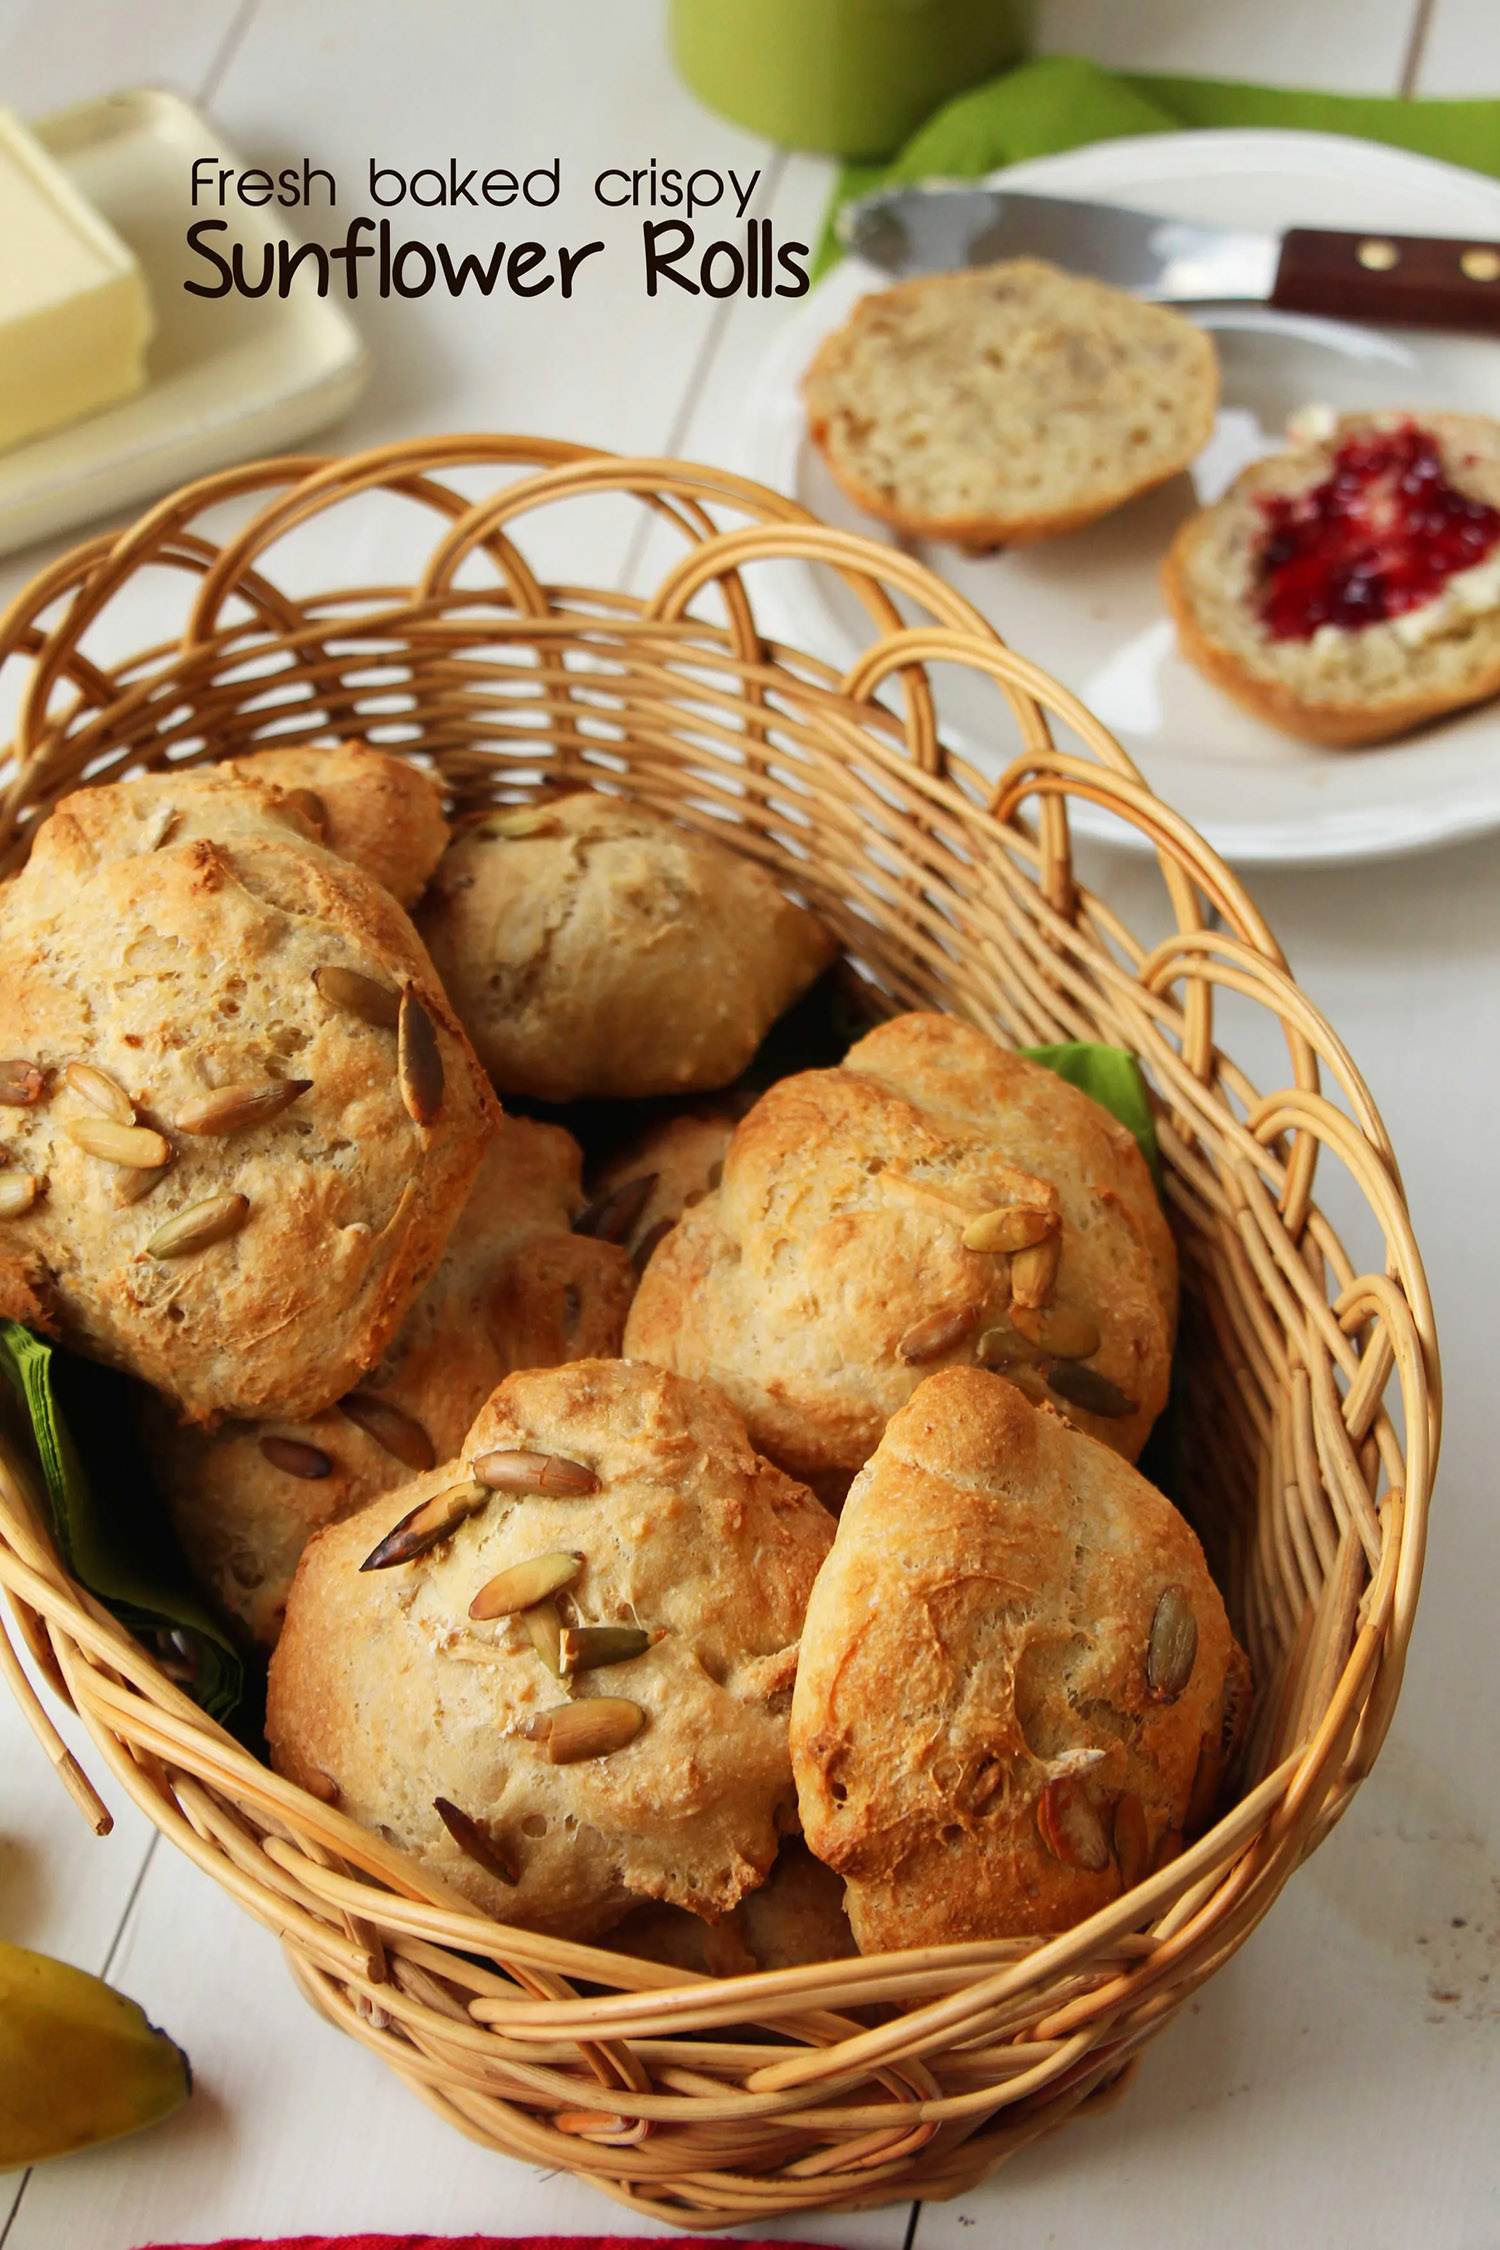
We are using the nut free granola from Hungry Bird Eats, but you can use any granola of your choice.
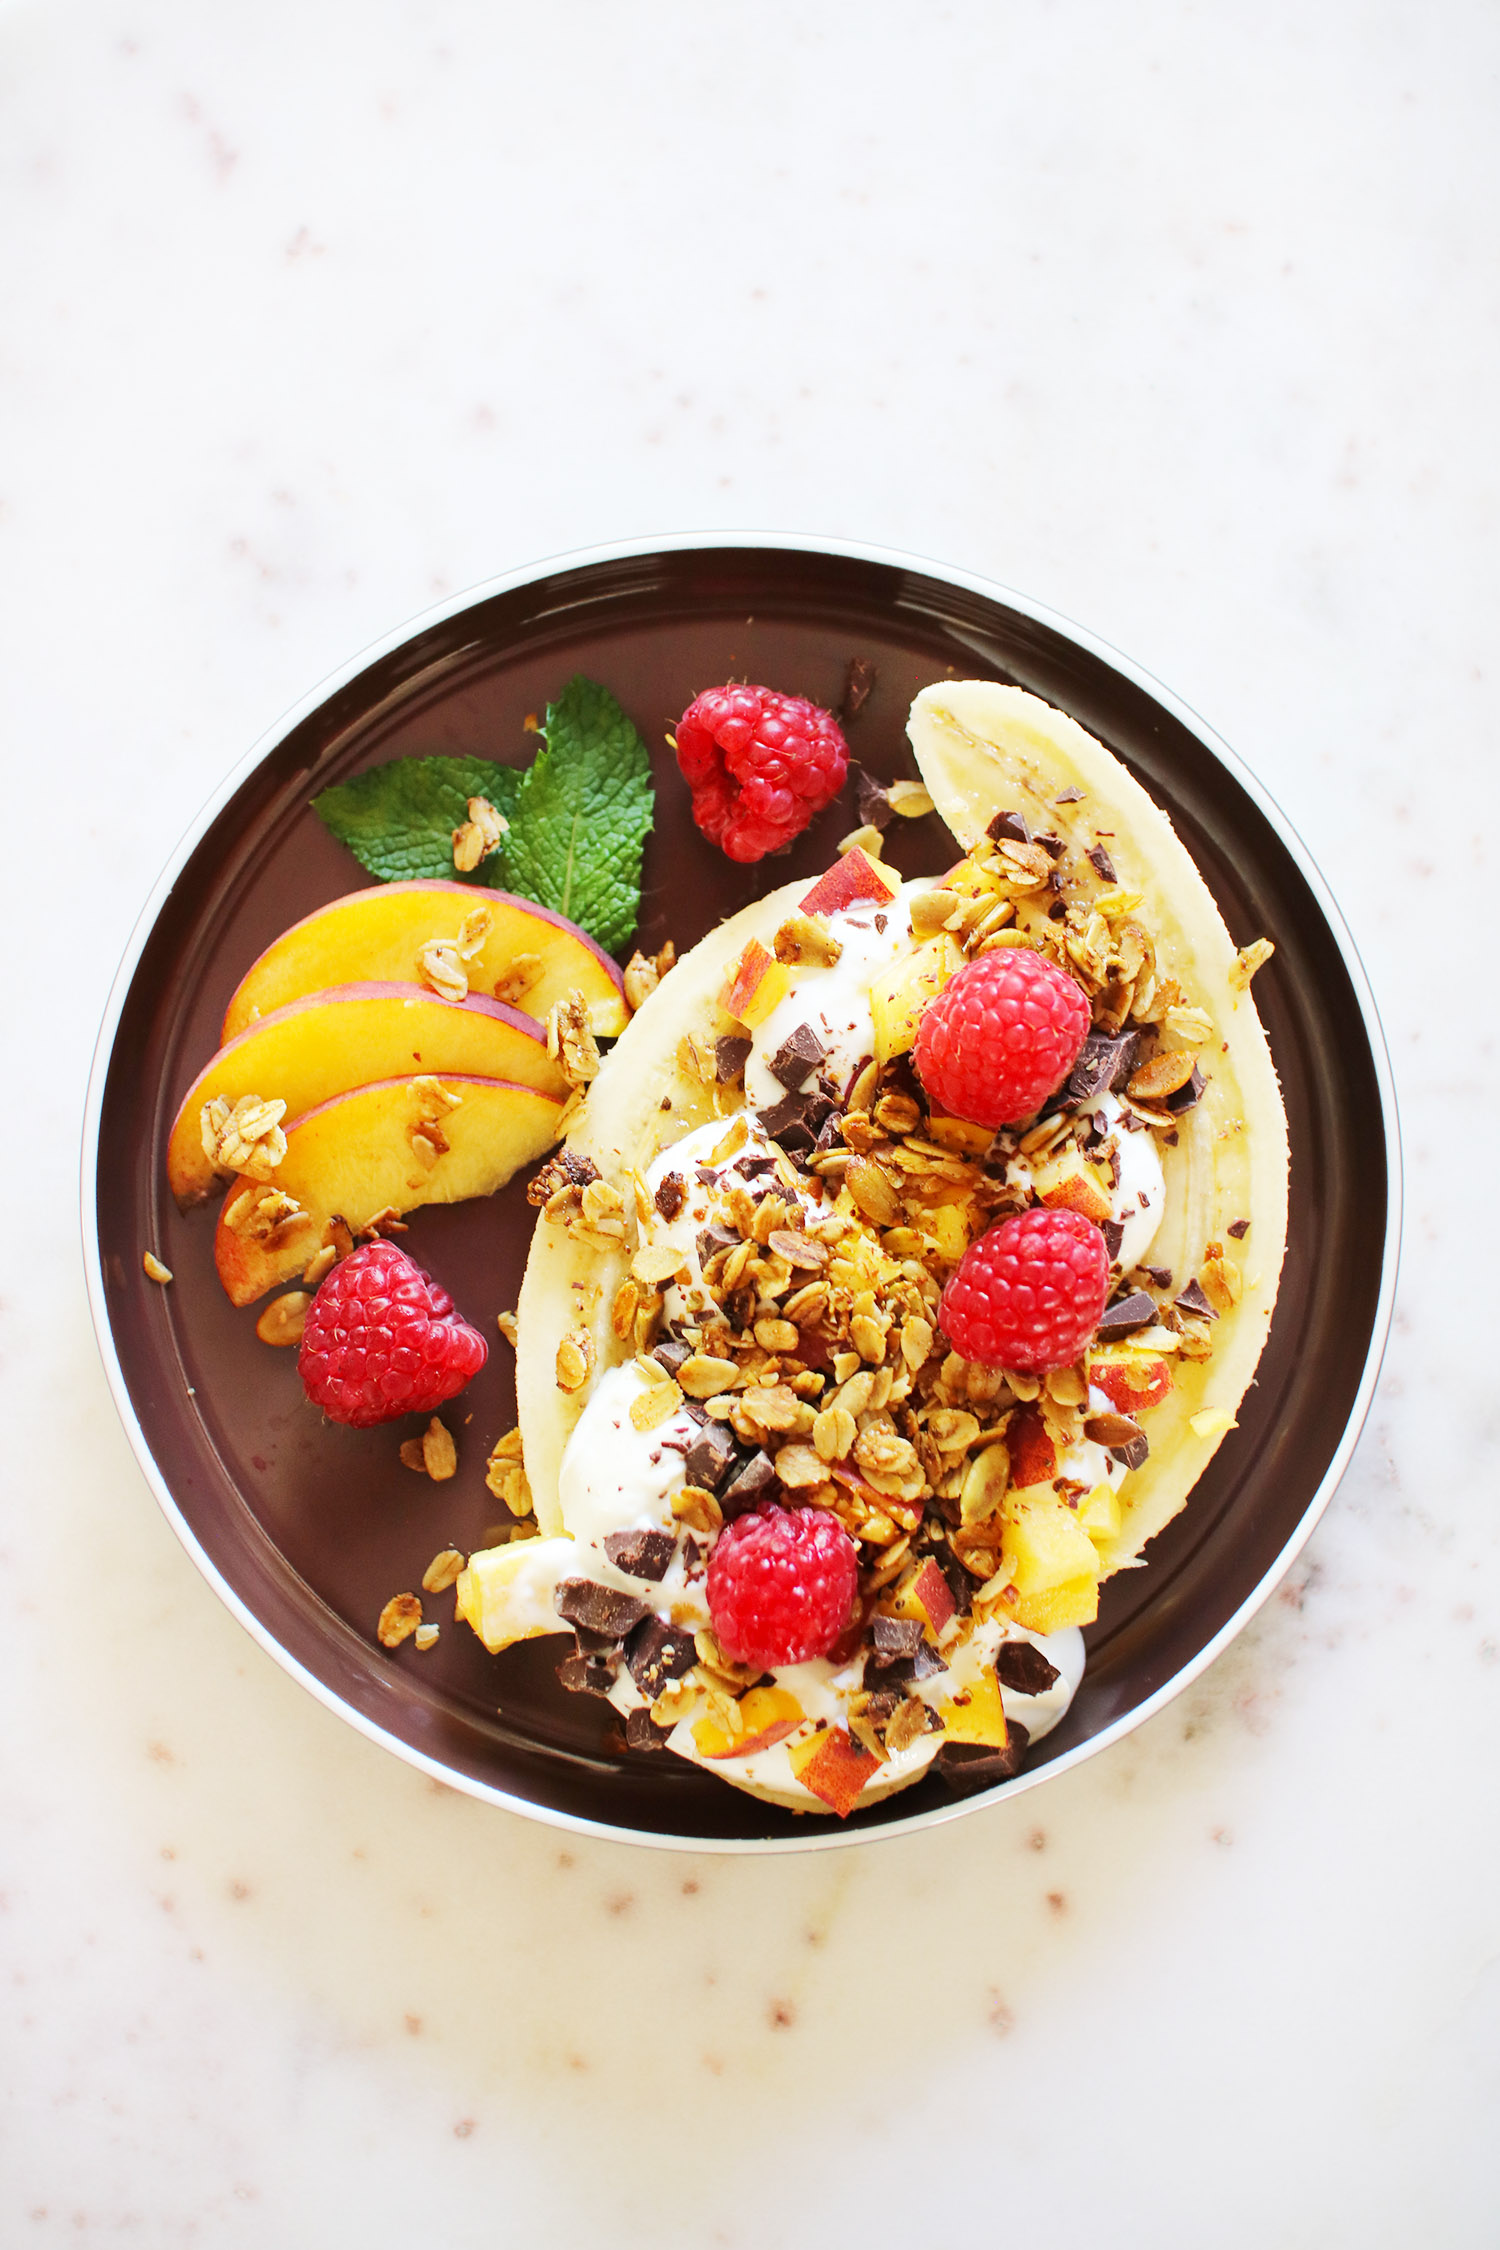
Recipe: Breakfast Banana Split
Who says you can’t have a banana split for breakfast? We’ve taken this beloved treat and turned it into a nutritious, energizing breakfast dish. Packed with fruit, yogurt, and a sprinkle of chocolate, this Breakfast Banana Split is a delightful way to satisfy your sweet tooth while fueling your day.
1
servingIngredients
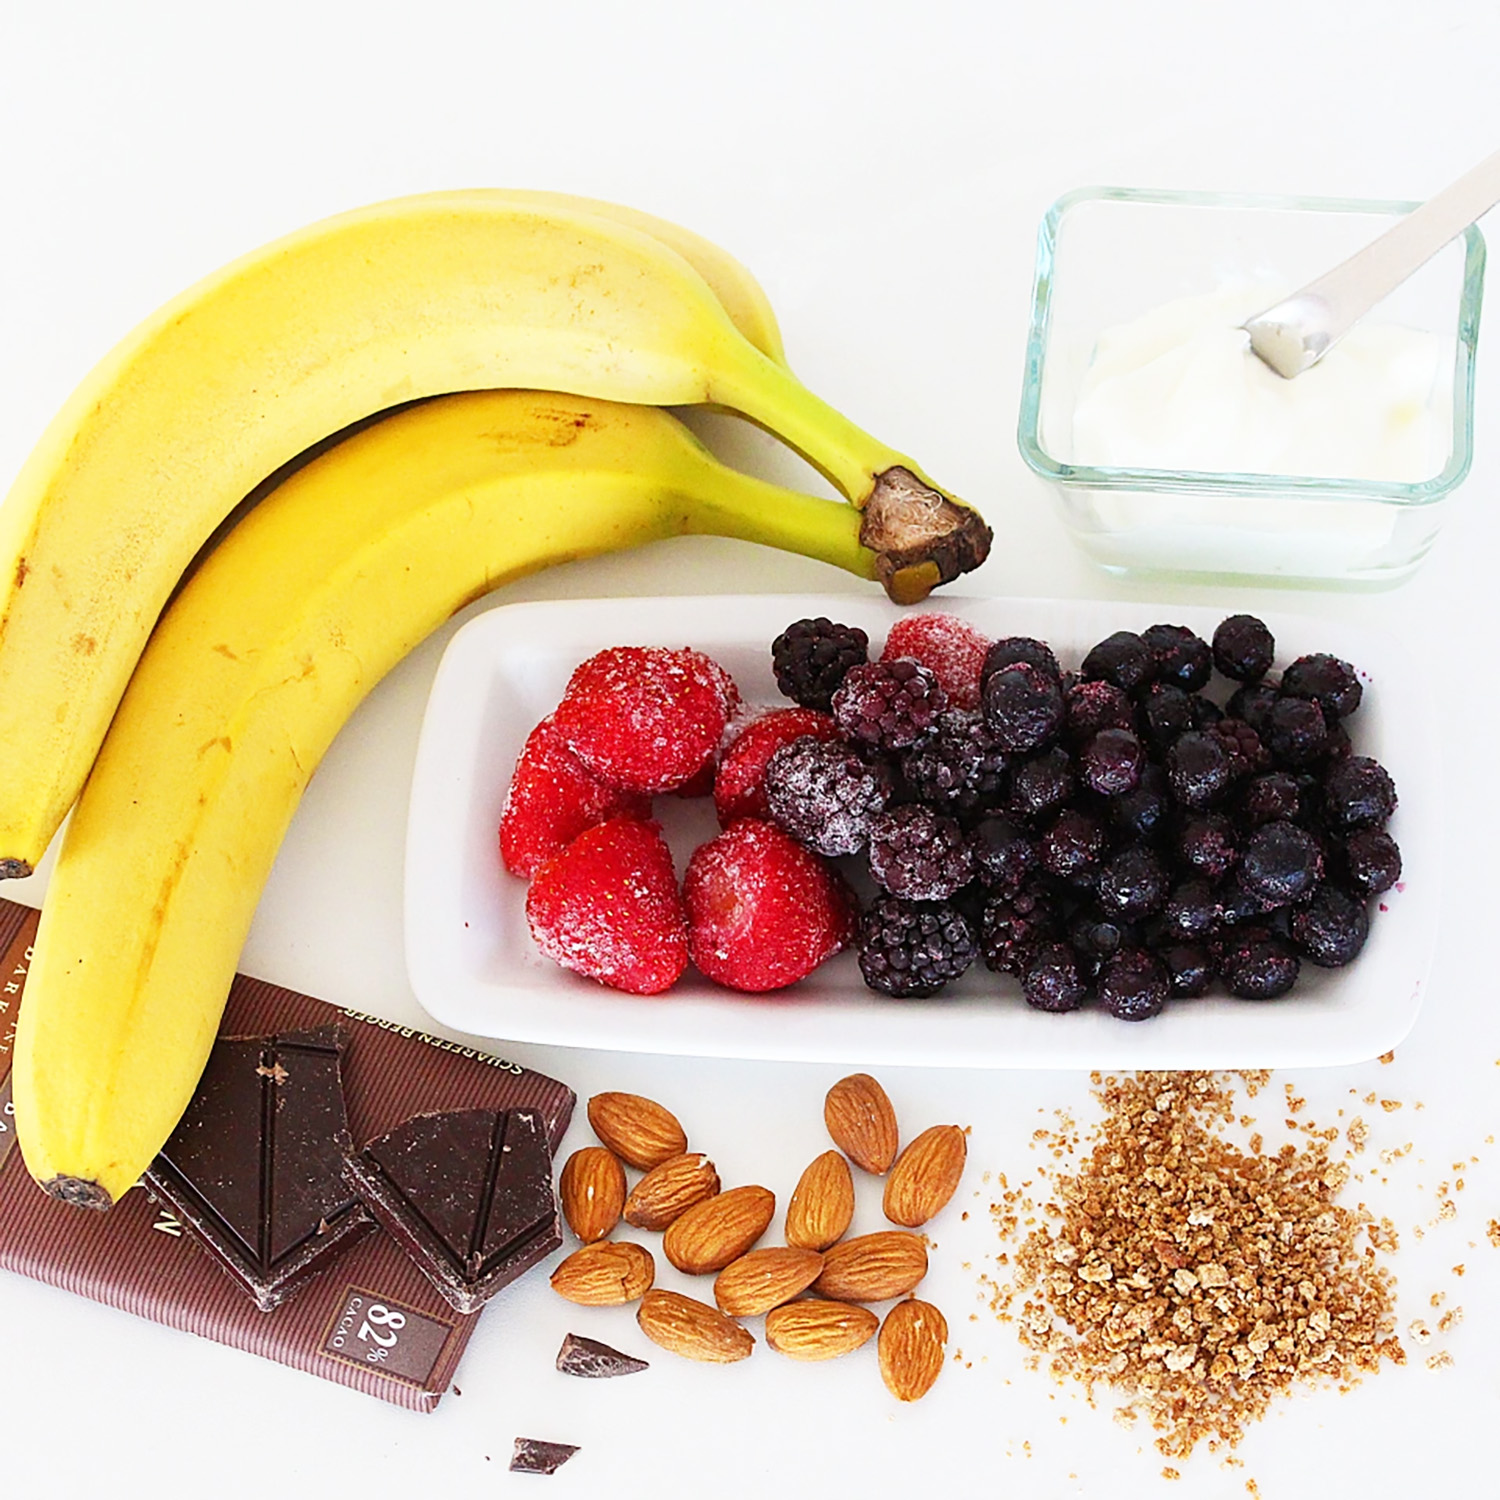
1 banana
3 tablespoons yogurt
1 teaspoon chopped chocolate
½ peach, sliced
1-2 tablespoons granola
5 raspberries
Directions
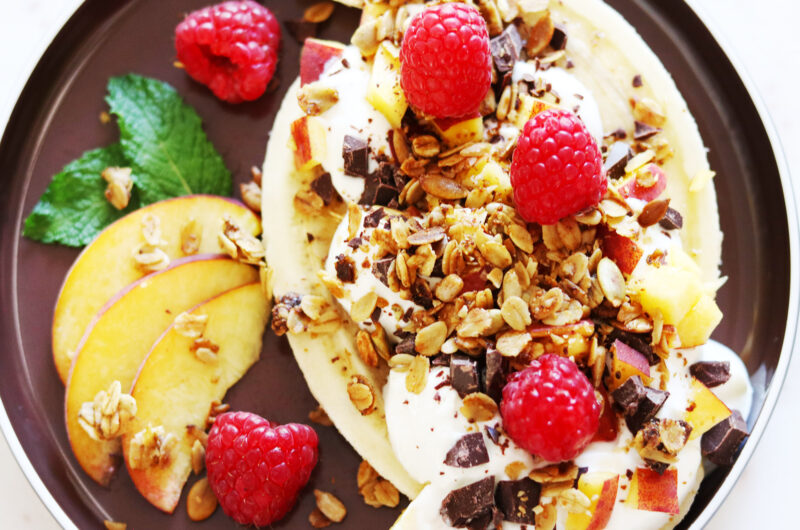
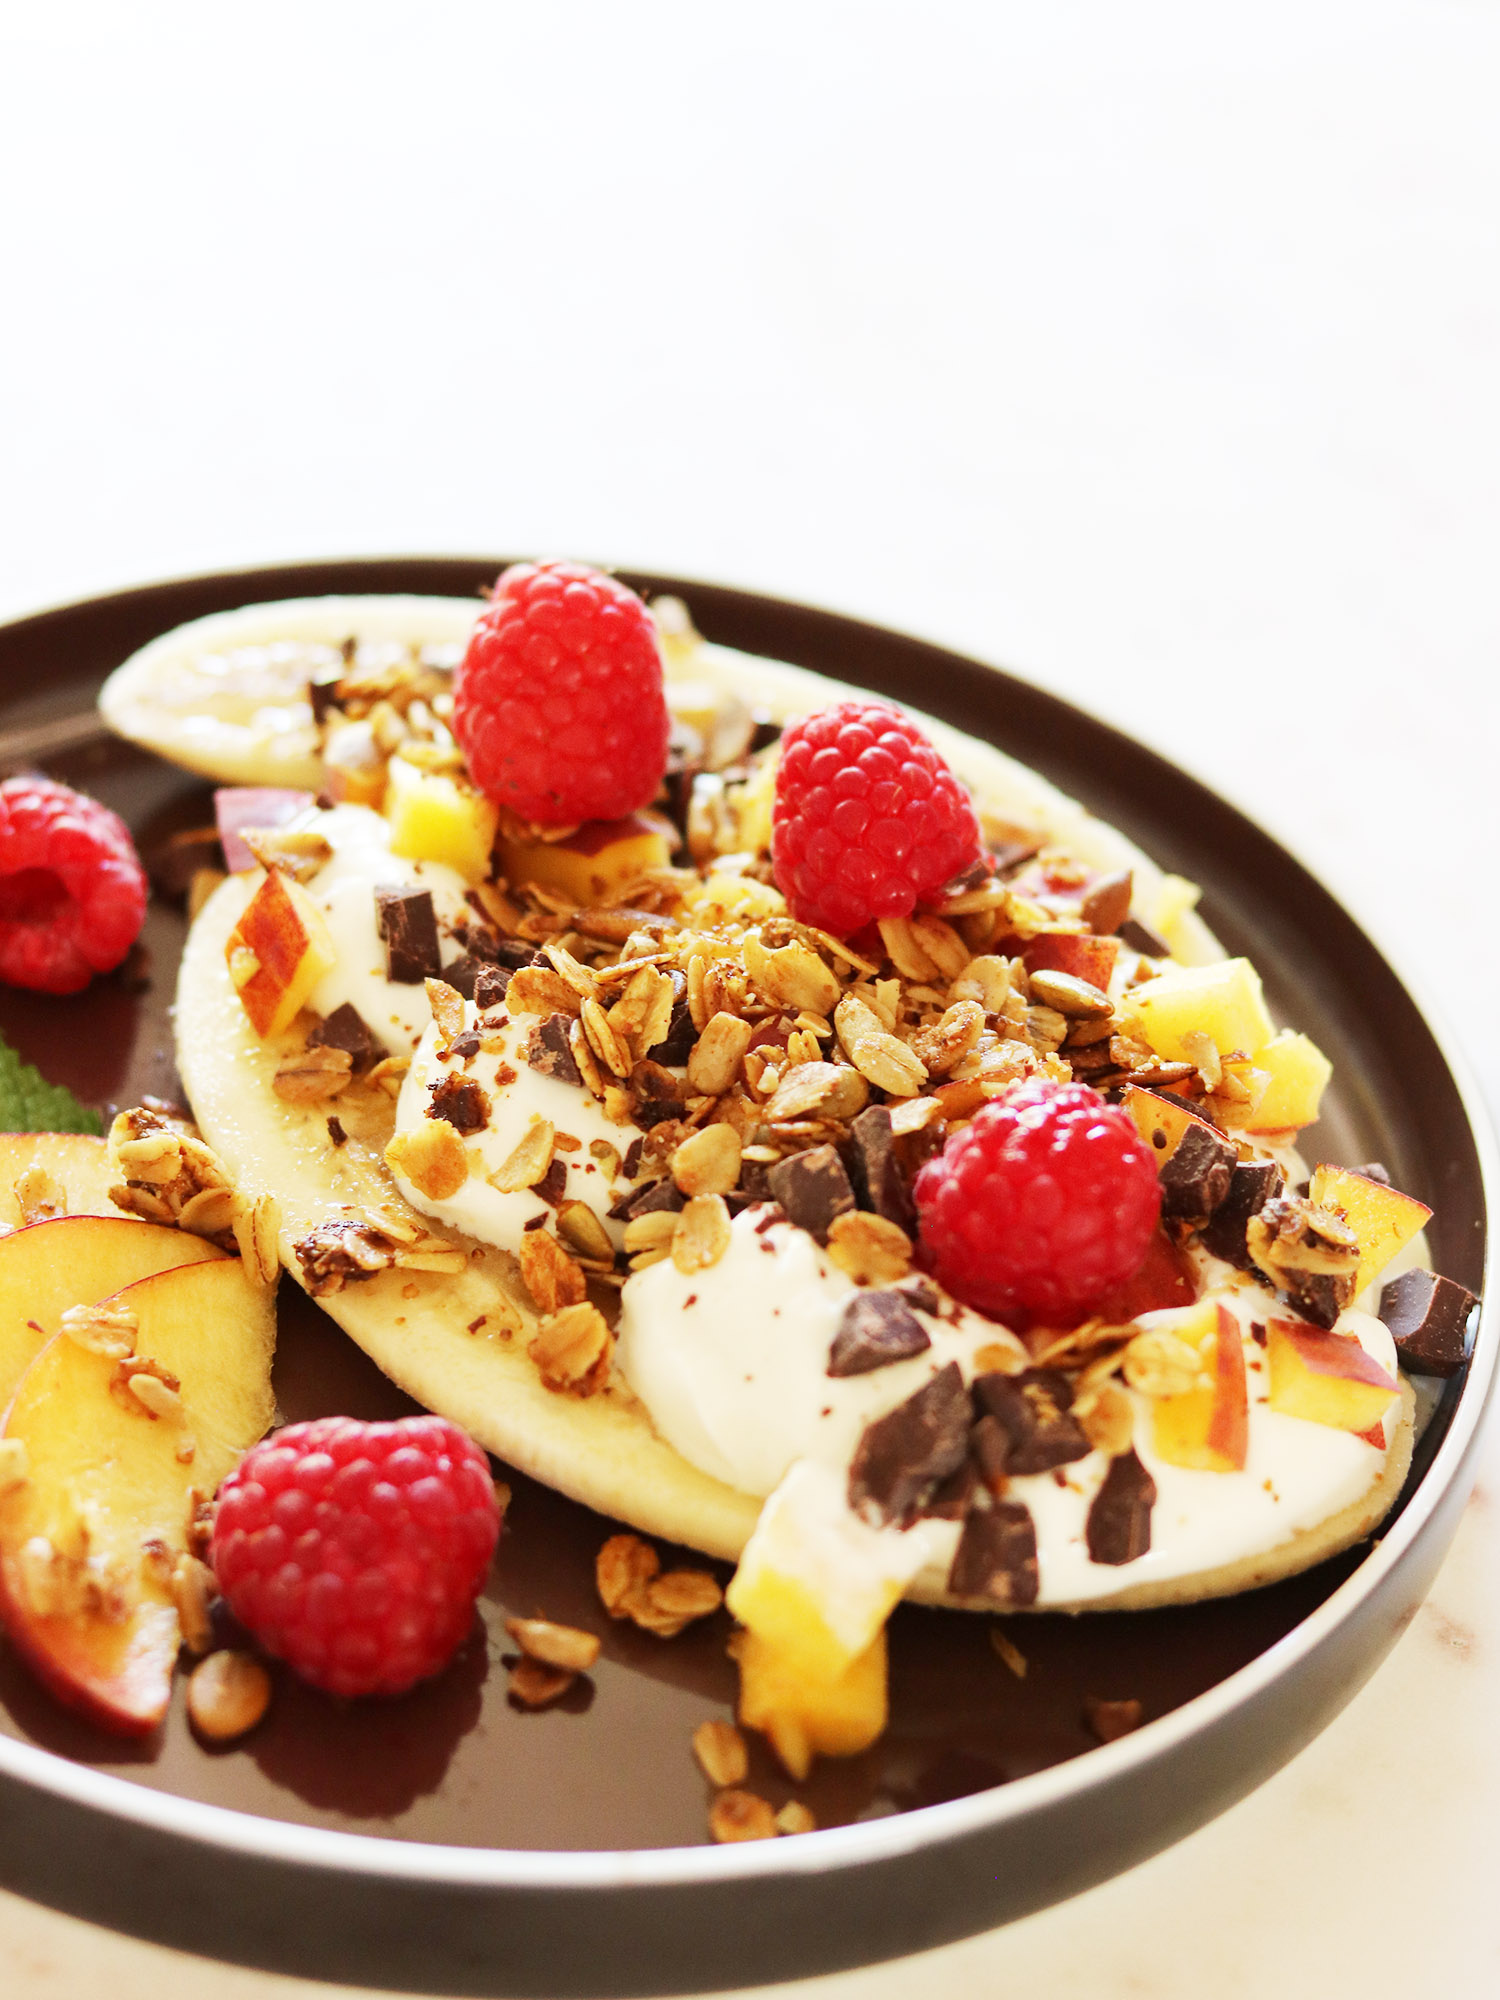
- Peel and halve the banana: Cut the banana in half lengthwise and lay the two halves on a plate or in a shallow bowl.
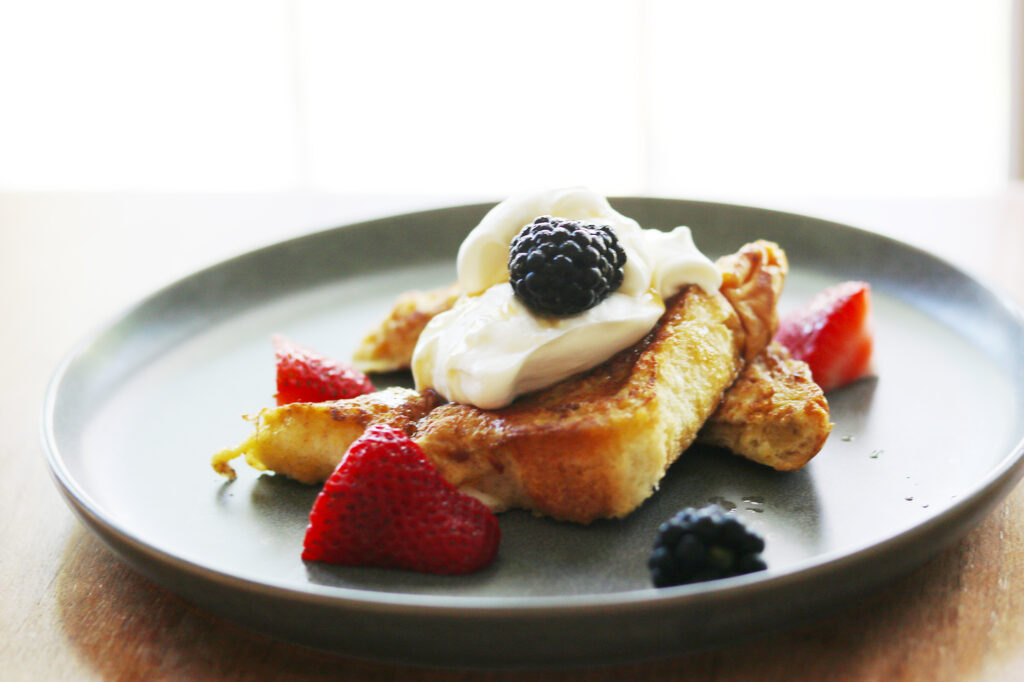
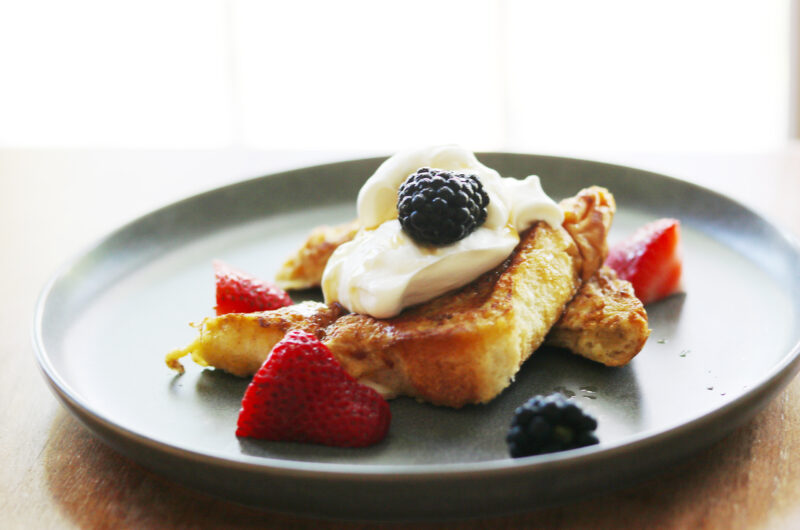
- Add the Greek yogurt: Spoon 3 tablespoons of Greek yogurt between the banana halves, creating a bed for the rest of your ingredients.
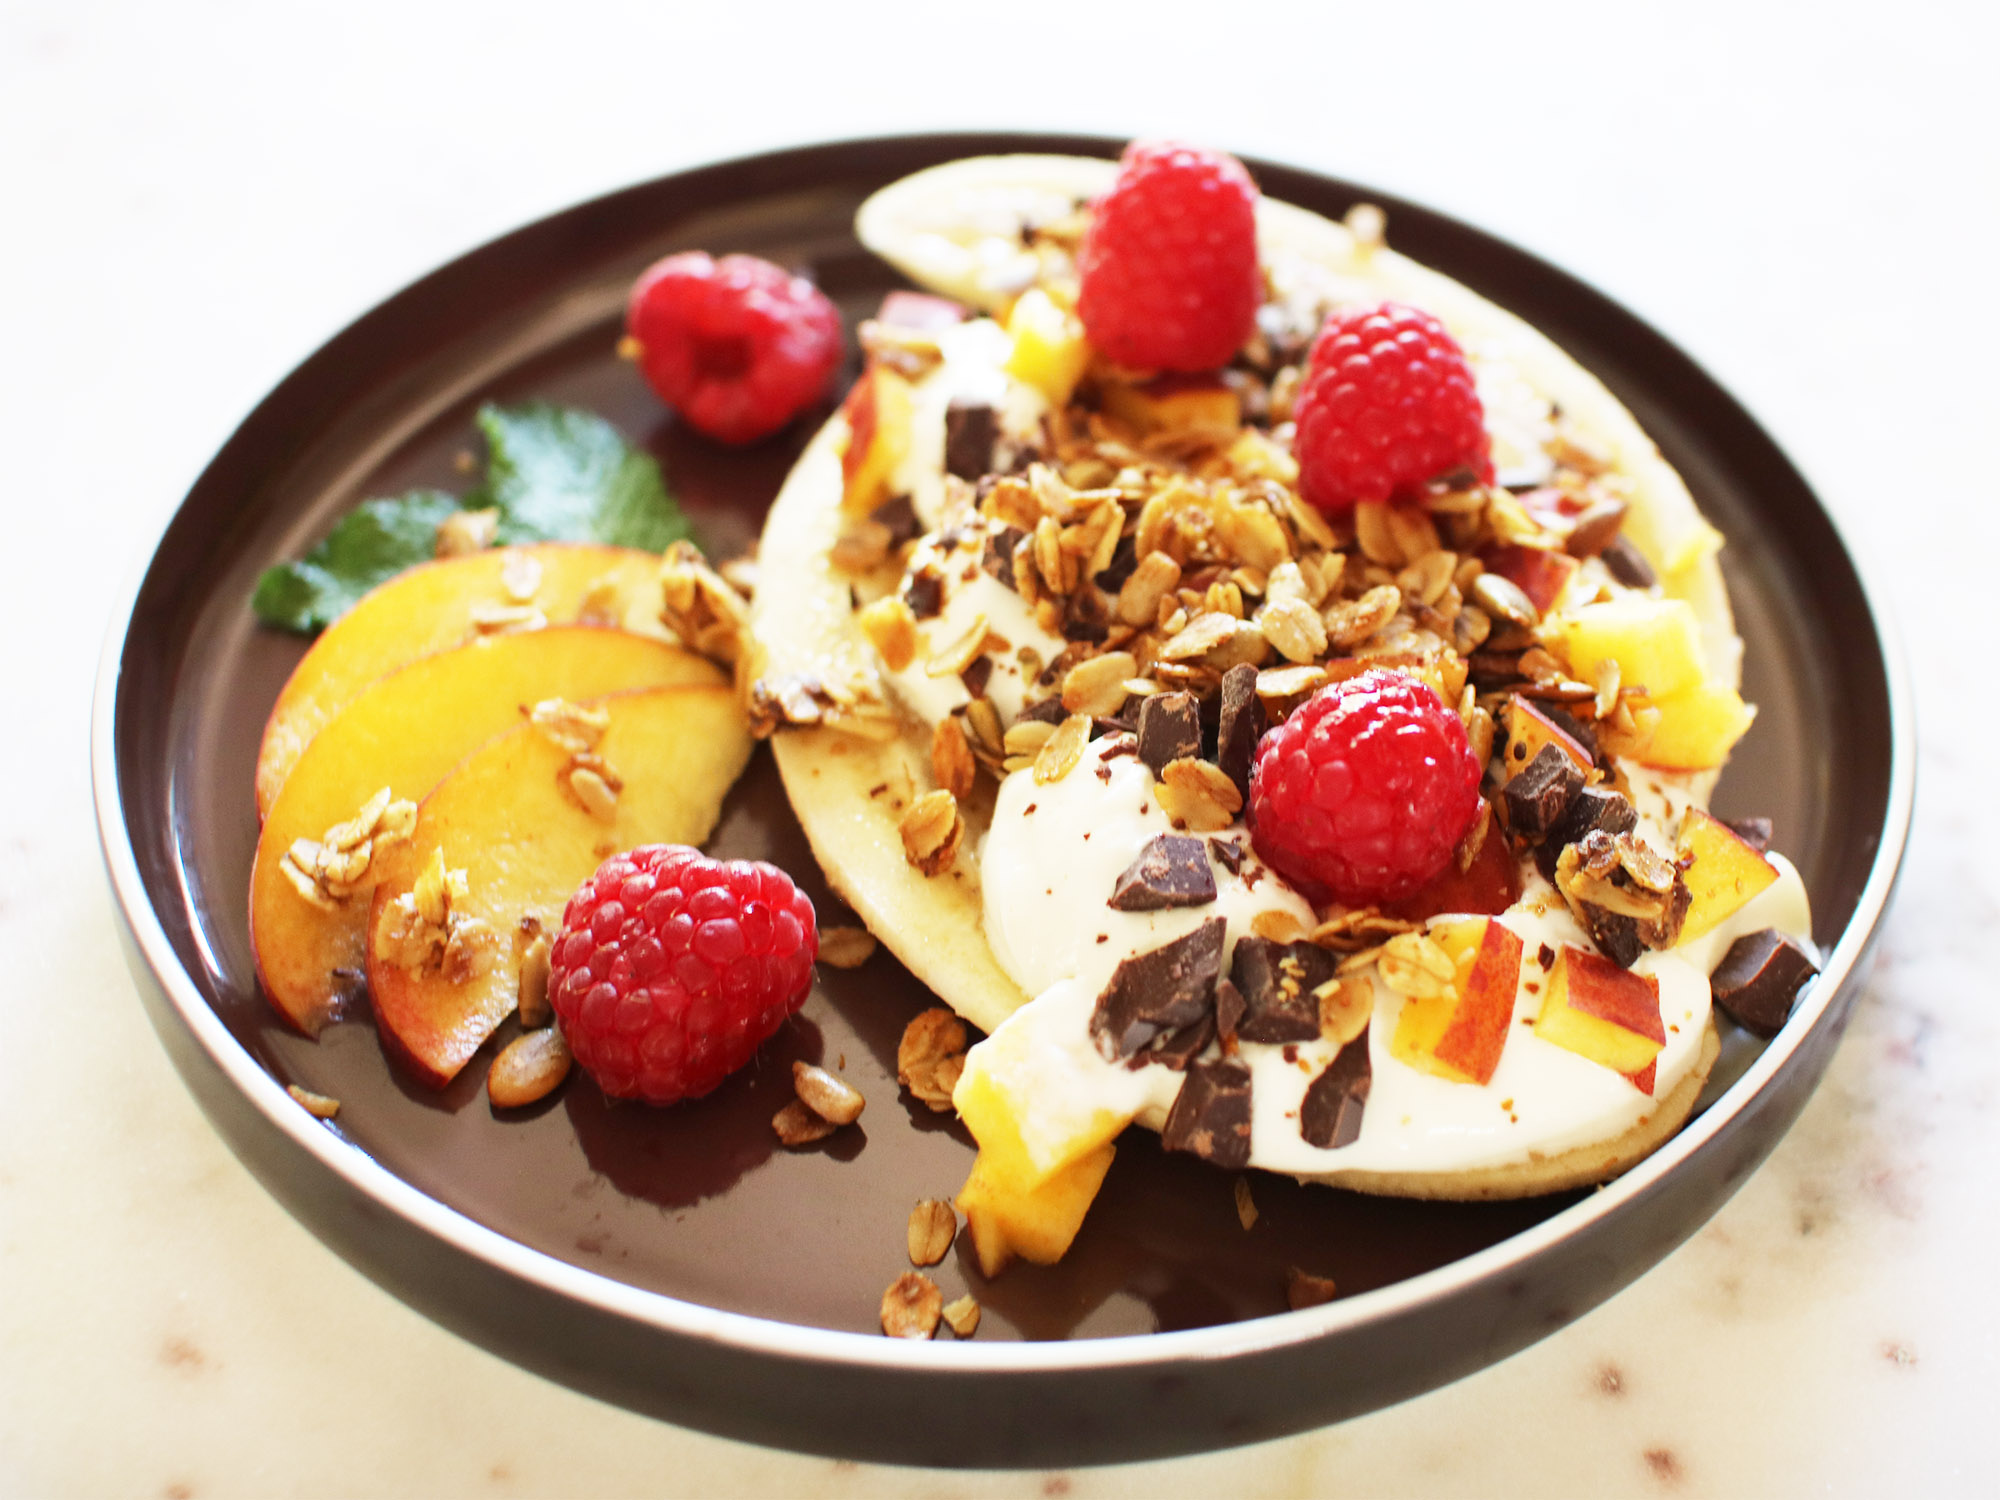
- Add the peach: Dice the peach and add it on top of the yogurt. You can slice the other half of the peach and use it for decoration.
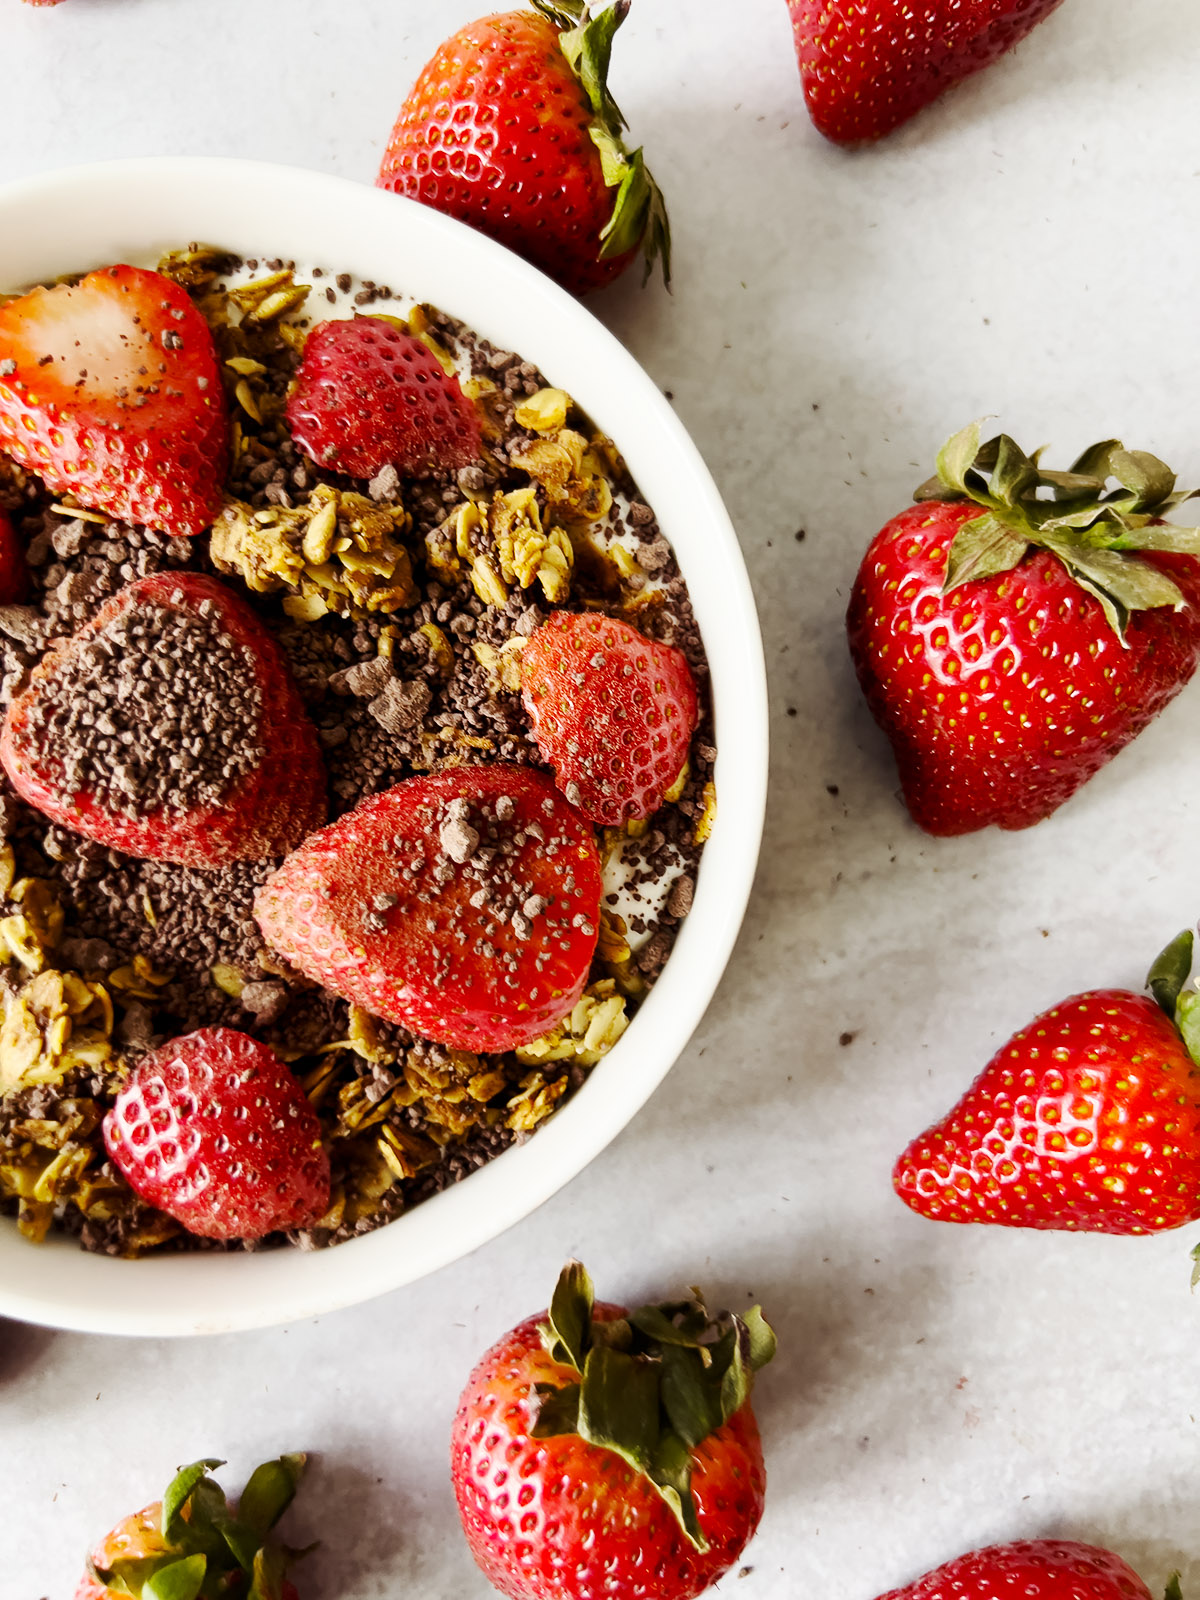
- Sprinkle with Granola: Add 1-2 tablespoons of granola on top of the yogurt and peach. Feel free to add more if you desire a crunchier texture.
- Add the Chocolate: Sprinkle the chopped chocolate over the top, letting it mingle with the granola and fruit.
- Decorate with raspberries. Your Breakfast Banana Split is ready to be enjoyed! Dive in with a fork, a spoon, and a smile, and take pleasure in this wonderful morning treat.


