
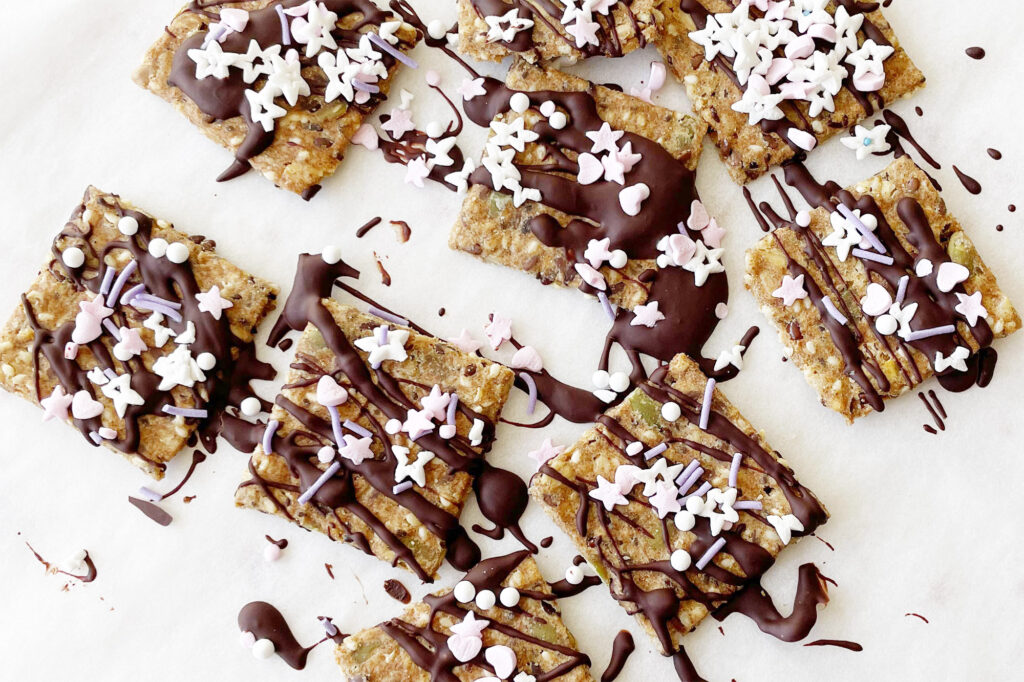
The crackers with chocolate and sprinkles are great to snack on, when you’re after just a touch of something sweet. We use the dye-free sprinkles from Supernatural (LOVE the pastel-colored ones in the Uniform Tracks variant) and the Rye + Sea Salt crackers from Hungry Bird Eats, but you can use any kind of crackers and sprinkles you prefer. They look super cute, so why not serve them along a cup of coffee or tea in the afternoon, as a healthier alternative to a cookie or a chocolate bar.
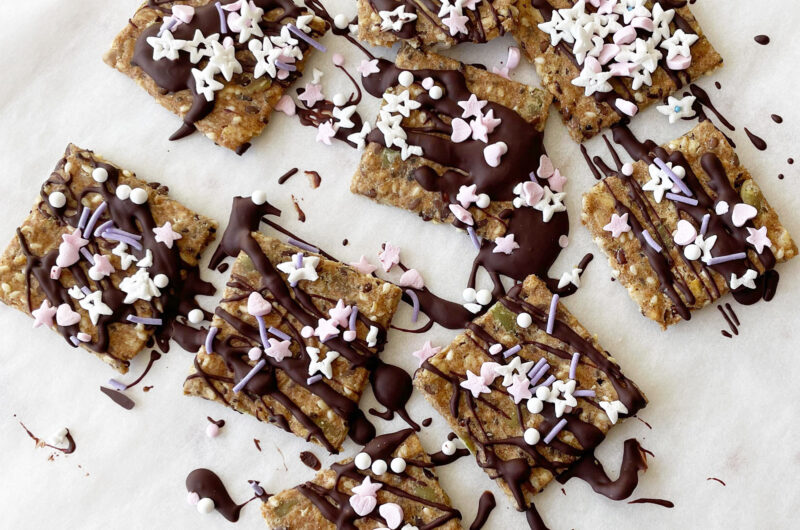
Recipe: Crackers with chocolate and sprinkles
10
crackersThe crackers with chocolate and sprinkles are great to snack on, when you’re after just a touch of something sweet. We use the dye-free sprinkles from Supernatural (LOVE the pastel-colored ones in the Uniform Tracks variant) and the Rye + Sea Salt crackers from Hungry Bird Eats, but you can use any kind of crackers and sprinkles you prefer. They look super cute, so why not serve them along a cup of coffee or tea in the afternoon, as a healthier alternative to a cookie or a chocolate bar.
Ingredients
10 crackers
½ cup chocolate (dark, milk, white, as long as it is suitable for melting)
Sprinkles of your choice
Directions
- Preparation
- Line a baking tray with parchment paper to ensure the crackers don’t stick and are easy to remove after the chocolate sets.
- Break the chocolate into small pieces. This helps it melt evenly and quickly.
- Melting Chocolate
- Double Boiler Method: Fill the bottom pot of a double boiler with a couple inches of water and bring to a simmer over medium heat. Place the chocolate in the top pot and stir occasionally until it’s completely melted and smooth.
- Microwave Method: Place the chocolate pieces in a microwave-safe bowl. Microwave on high for 30 seconds, stir, and then continue microwaving in 10-second intervals, stirring in between, until the chocolate is fully melted and smooth. Be careful to avoid overheating the chocolate.
- Drizzling Chocolate
- Once the chocolate is melted, use a spoon to drizzle it over the crackers. For more precision, you can transfer the melted chocolate into a piping bag or a plastic bag with a tiny corner snipped off and pipe the chocolate over the crackers in patterns or lines.
- Adding sprinkles
- While the chocolate is still warm and soft, sprinkle the sprinkles of your choice over the crackers to ensure they stick to the chocolate.
- Allow the chocolate to cool and set by placing the baking tray in a cool, dry place. This might take about 1-2 hours at room temperature. For a quicker setting, you can refrigerate for about 30 minutes.
- Once the chocolate is set, the crackers are ready to serve. They can be enjoyed immediately or stored in an airtight container for up to a week.


