
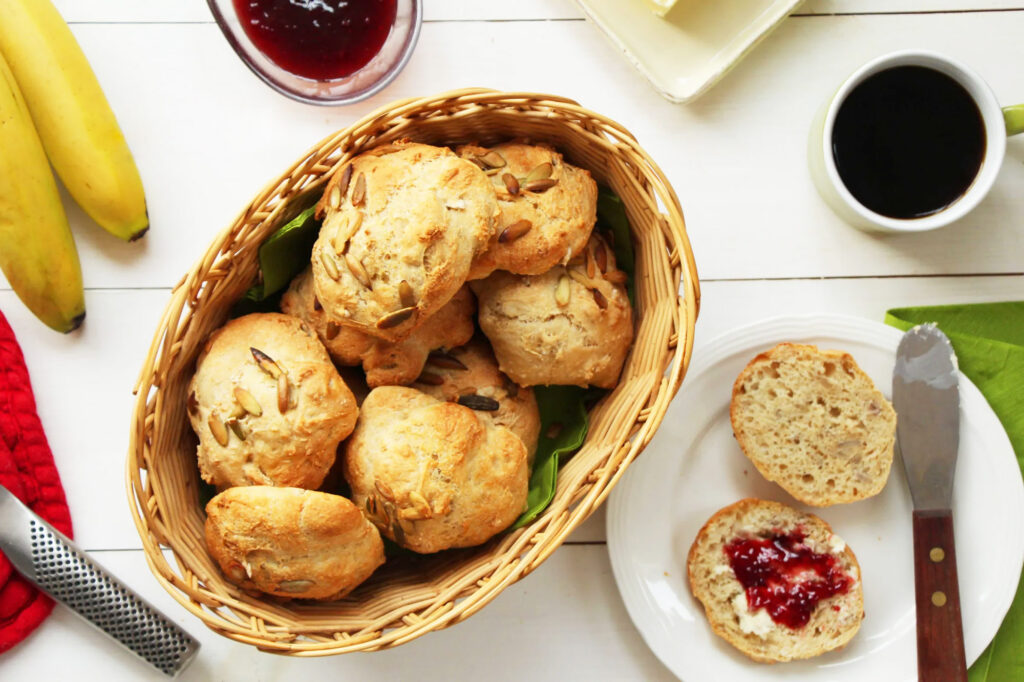
Tina: The traditional Danish weekend breakfast always consists of fresh baked morning rolls from the bakery. The Danes traditionally eat the rolls with butter, cheese, and/or jam. We call them “rundstykker”, meaning round pieces. Since I don’t have rundstykker available where I live, I have to make my own. I don’t mind making them – there is nothing better than the smell of fresh baked bread in the morning. Although this recipe makes sunflower rolls that are different than the Danish rundstykker (which are white flour rolls), I like these better because they are a bit more rustic and have more of a bite to them.
This recipe is ridiculously easy to make and takes no time to throw together. You don’t have to stick your hands in the sticky dough and knead, or even shape the dough into rolls. It’s that simple. The dough is made the day before and left overnight to rise in the fridge until next day. The dough gets bubbly, sticky and gooey, and when baked the rolls will have a beautiful crispy crust and a soft inside. Of course you don’t have to just eat these in the morning – they are also really good for lunch to make sandwiches. The crispy crust will disappear after a day, but toast them or heat them in the oven and the beautiful crust comes right back again.

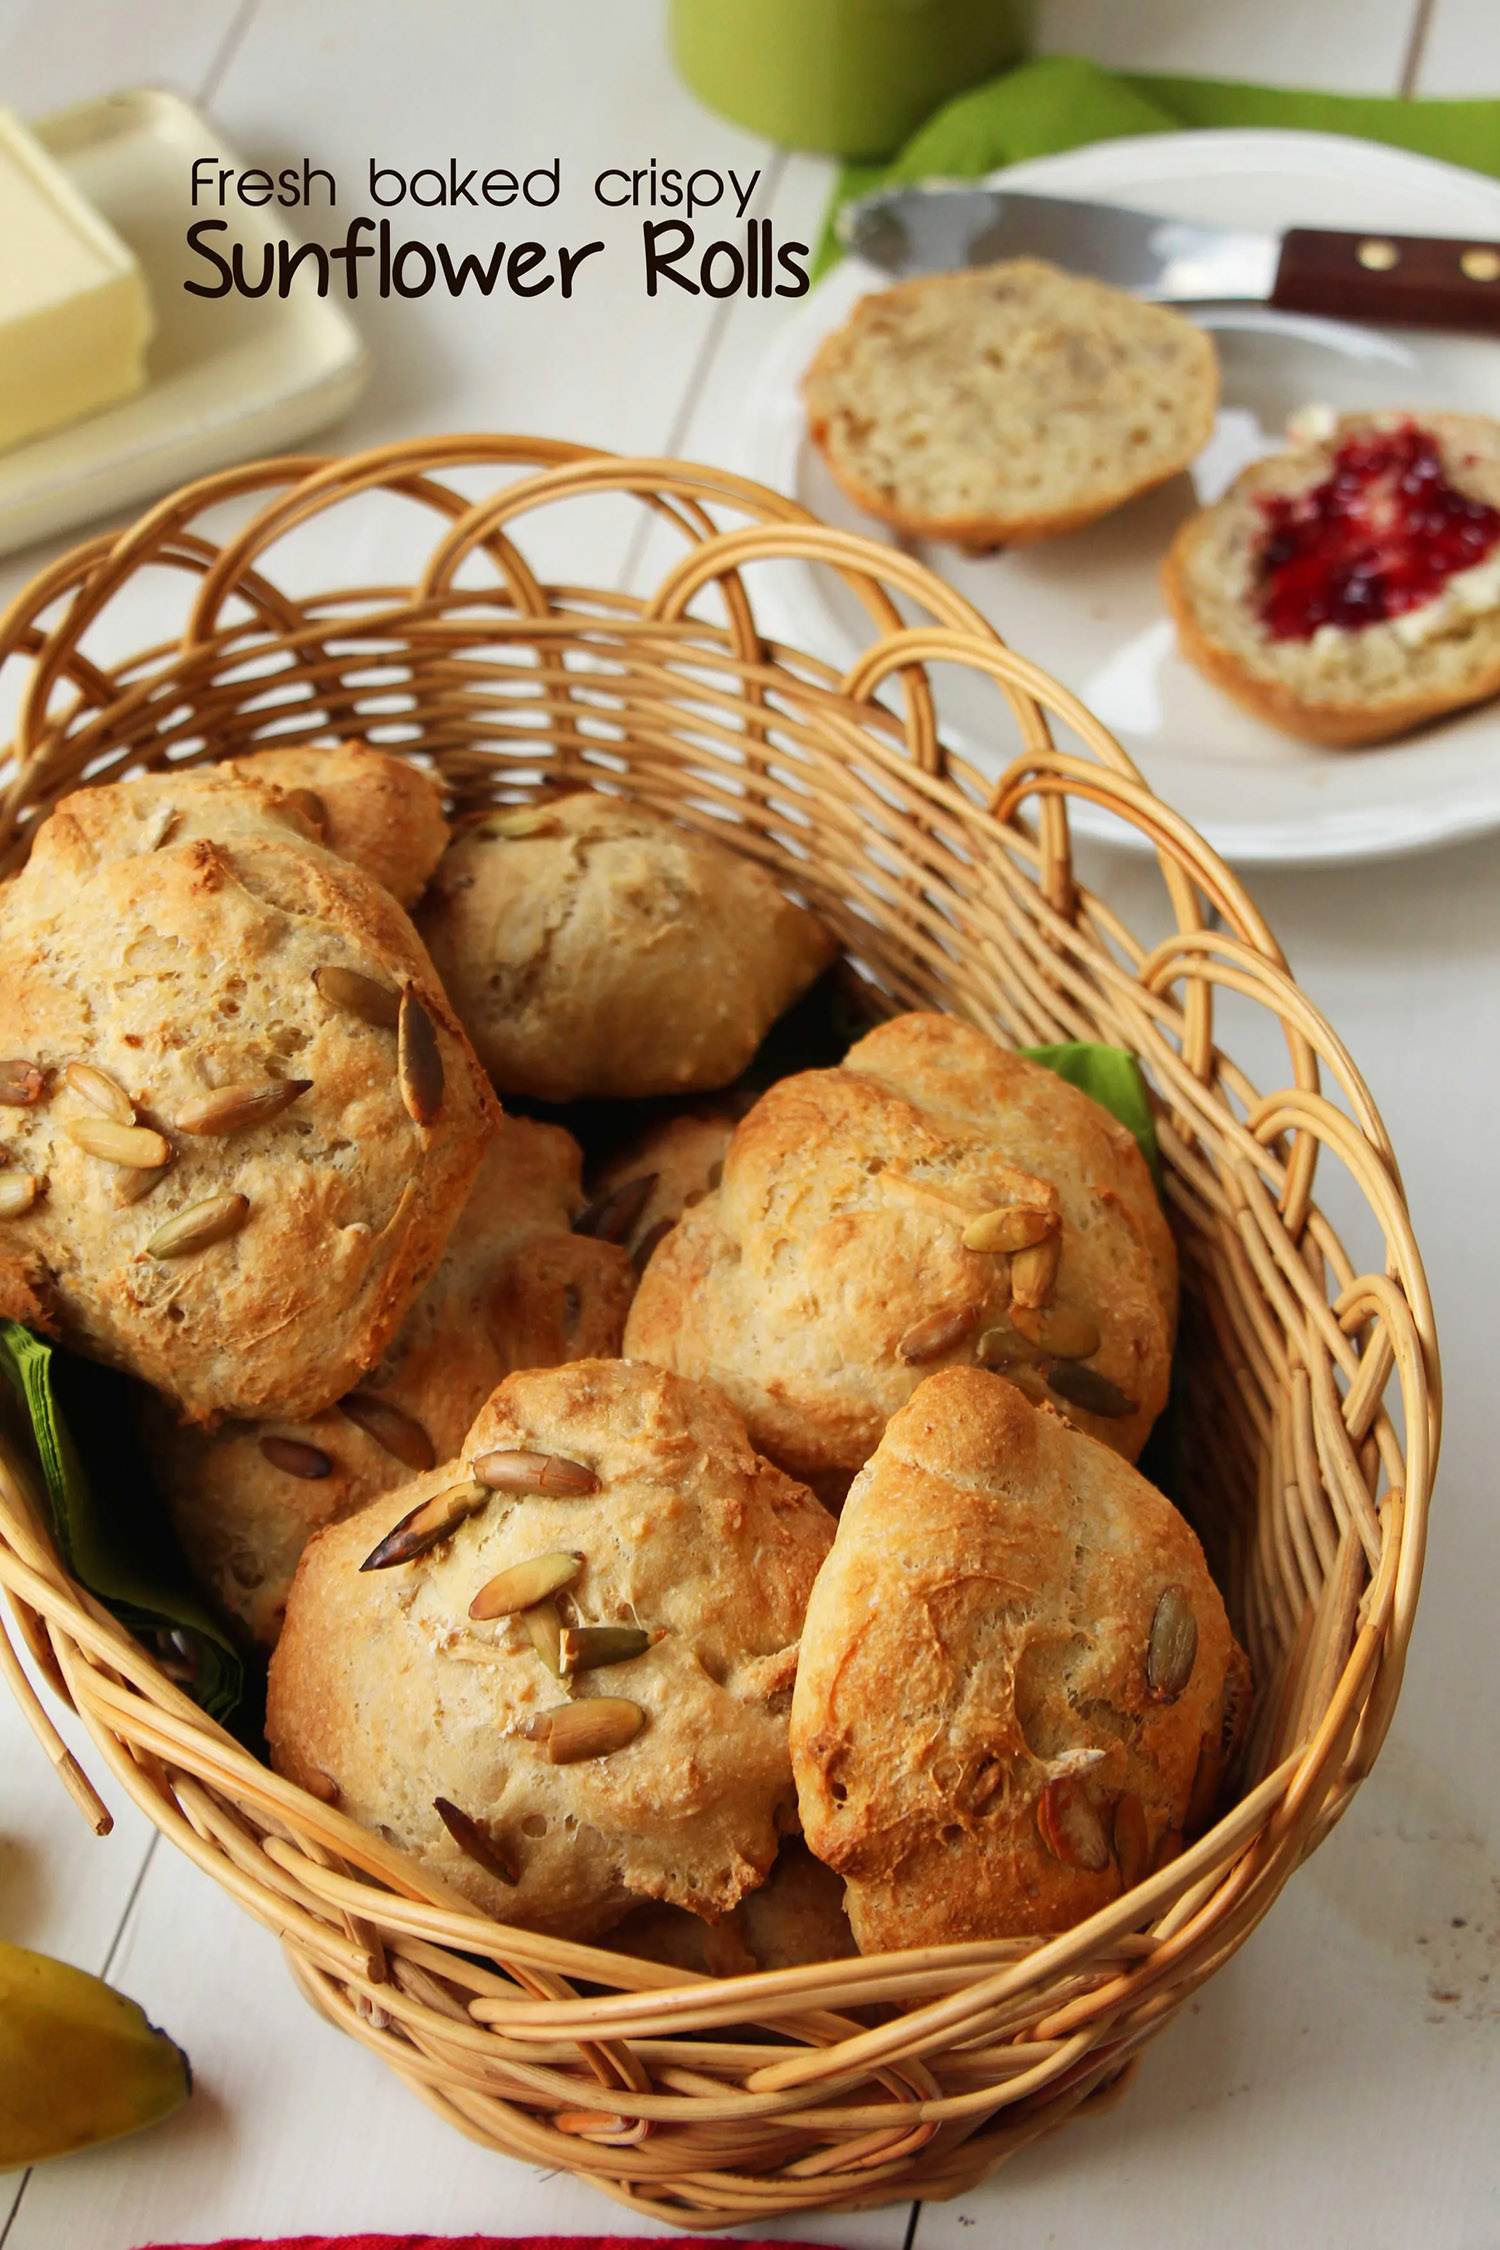
Recipe: Crispy sunflower rolls
The dough gets bubbly, sticky and gooey, and when baked the rolls will have a beautiful crispy crust and a soft inside. Of course you don’t have to just eat these in the morning – they are also really good for lunch to make sandwiches. The crispy crust will disappear after a day, but toast them or heat them in the oven and the beautiful crust comes right back again.
12
rollsIngredients
17.6 oz (500g) cold water
0.28 oz (8g) dry yeast or 20 grams of fresh yeast
5.8 oz (165g) white whole wheat flour (or normal whole wheat flour)
8.8 oz (250g) all-purpose flour
2.1 oz (60g) sunflower seeds
1.5 teaspoons (8g) salt
- Decoration
Sunflower seeds or pumpkin seeds
Directions
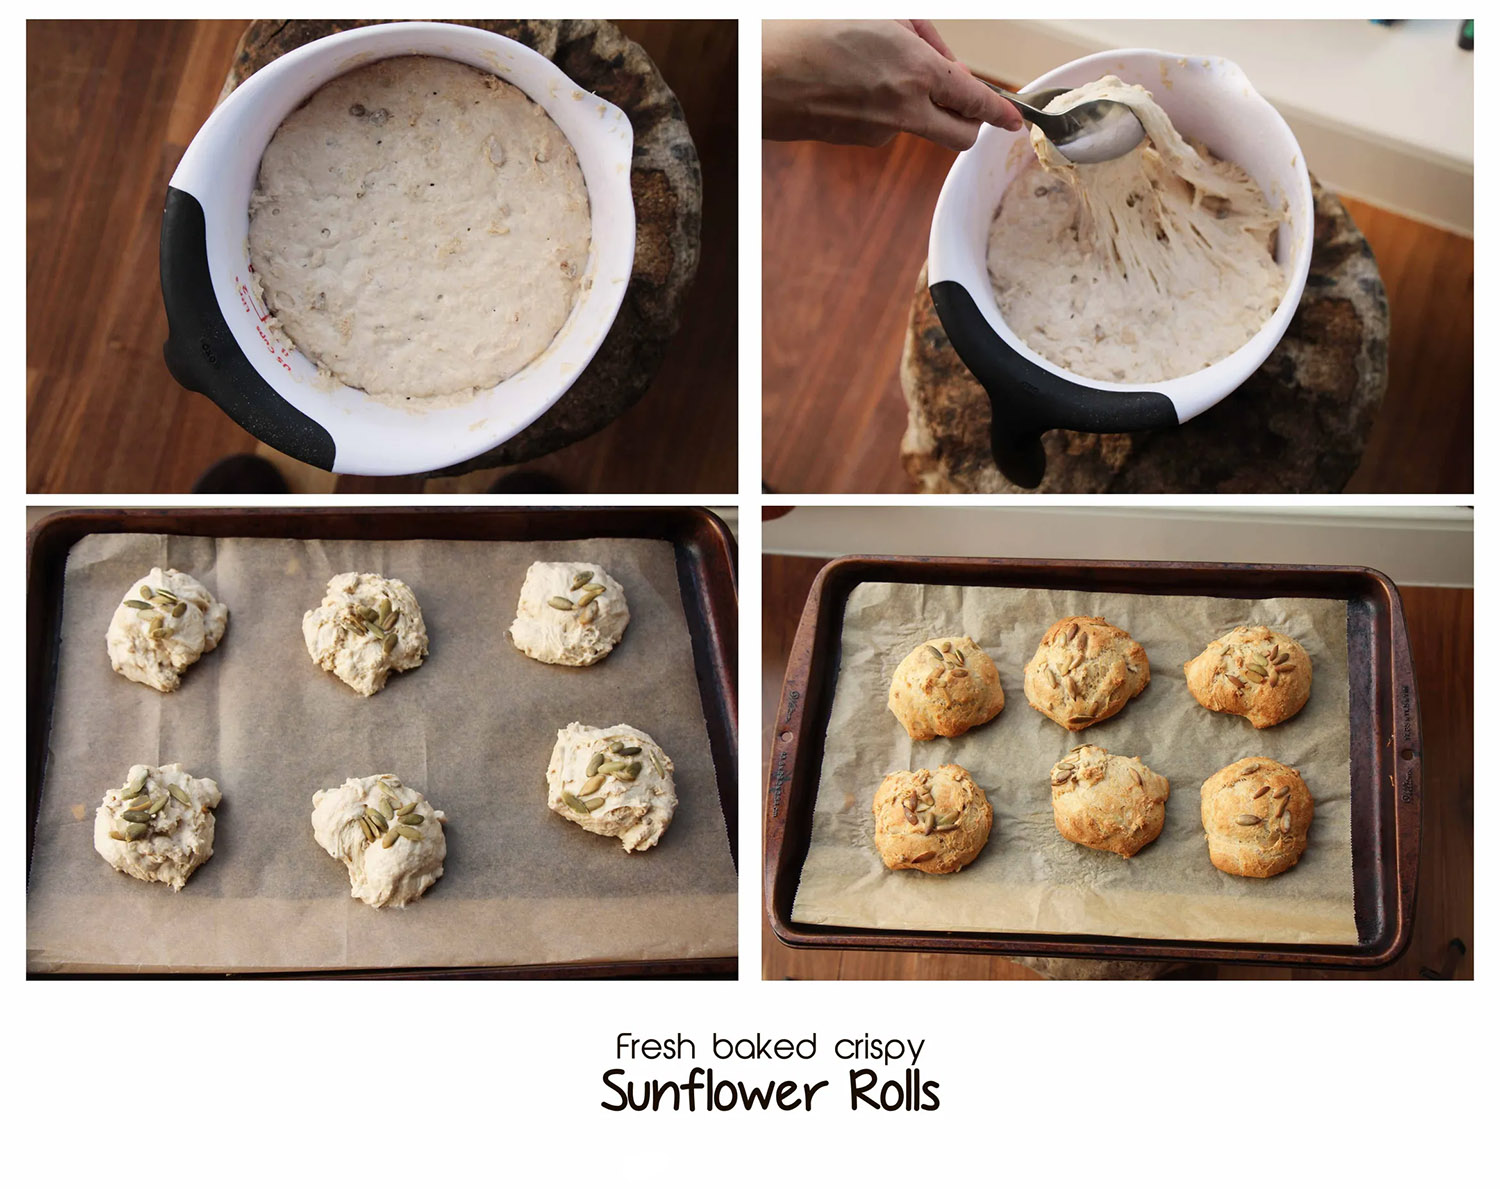
- Make the dough in the evening the day before you want to bake the rolls.
With a wooden spoon, mix water and yeast together in a bowl until the yeast has dissolved. Add the flours, sunflower seeds and salt and stir together. The dough should be sticky and not too firm or fluid. Cover the bowl with plastic wrap and let the bowl and dough sit in the refrigerator over night. - In the morning preheat the oven on convection bake at 450°F. Line two baking sheets with parchment paper and use two spoons to scoop the dough up into balls of about 1/2- 3/4 cup in size. Each baking sheet should hold about 6 rolls. Brush with water and sprinkle with seeds on top of each for decoration.
- Insert one baking pan at a time in the oven on the middle rack and bake for about 8 min. Then turn down the heat to 400°F bake for another 7 min or until the rolls turns golden and crisp.
- Take them out of the oven and let the rolls cool for about 5 min on a rack before serving.
- Repeat step 3 with the other baking sheets of rolls. Now you’ve got fresh baked bread straight from the oven and a really nice smell in the house!


