
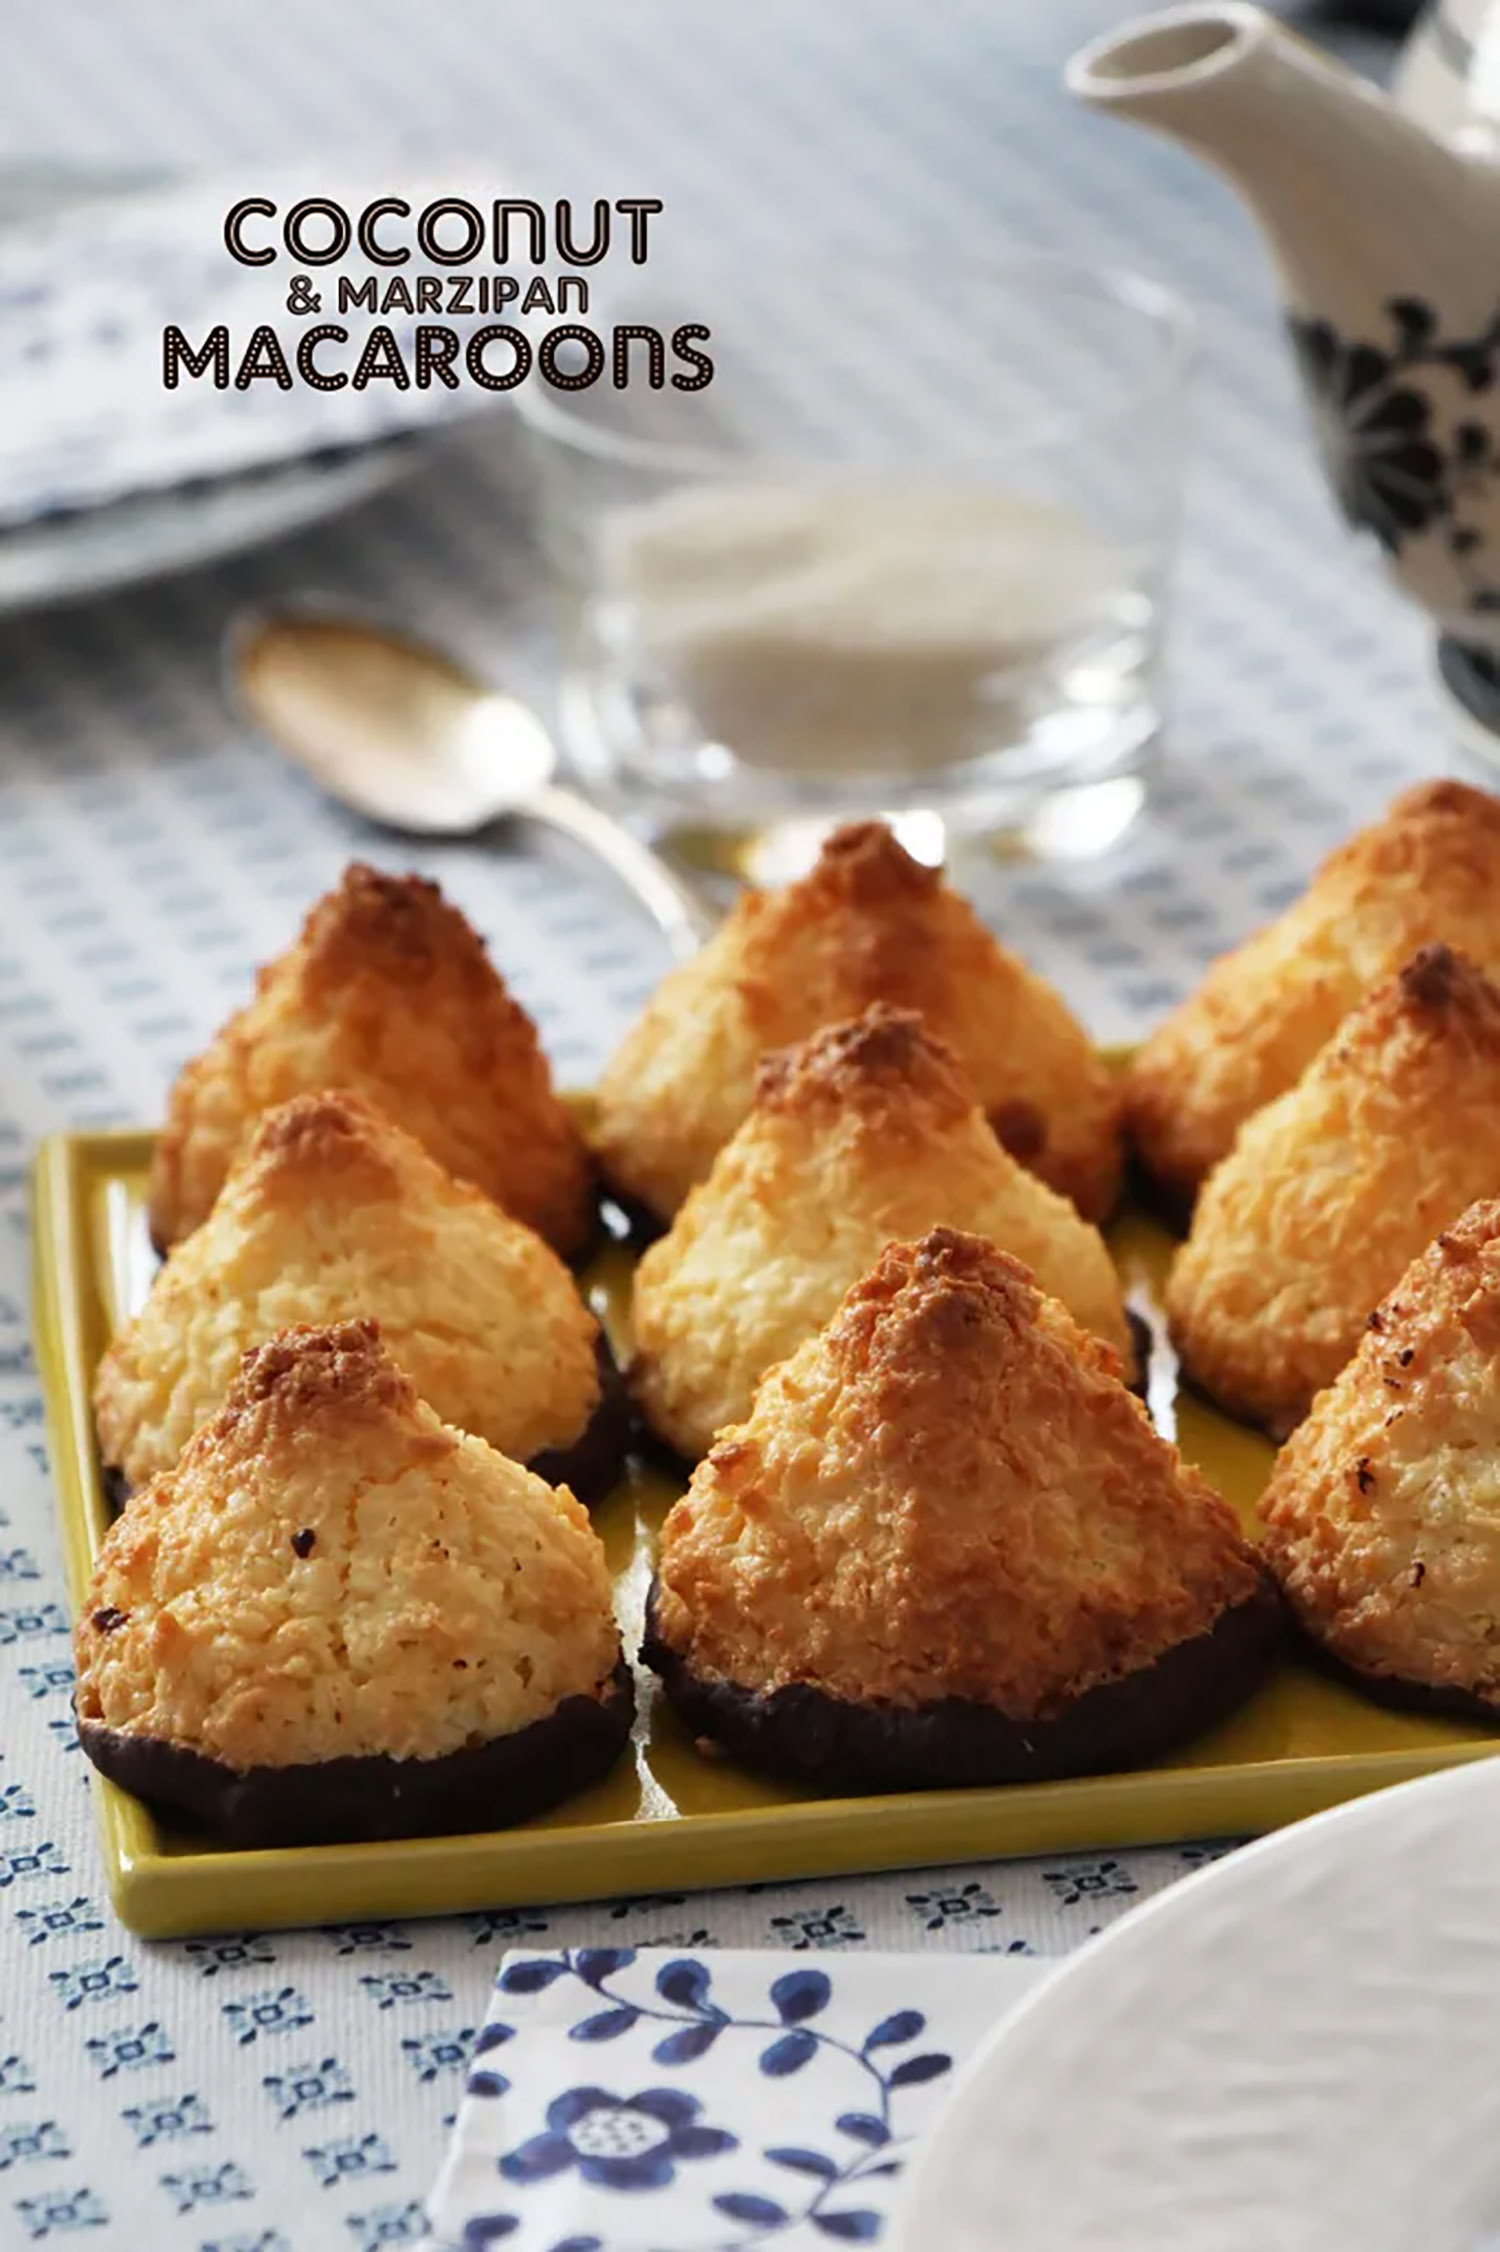
I recently had one of those days where I craved for something sweet and was in the mood to bake. I remembered that I loved eating coconut macaroons (‘kokos toppe’ in Danish) when I was growing up in Denmark – they were one of my favorite baked sweets. It struck me that I hadn’t eaten these for years. I had a giant roll of marzipan (almond paste) in my cabinet, and mixing in some marzipan with coconut sounding intriguingly good.
I baked four dozen, which were quickly long gone, and I am already thinking about making my next batch. For my gluten-free friends, you will love this recipe.
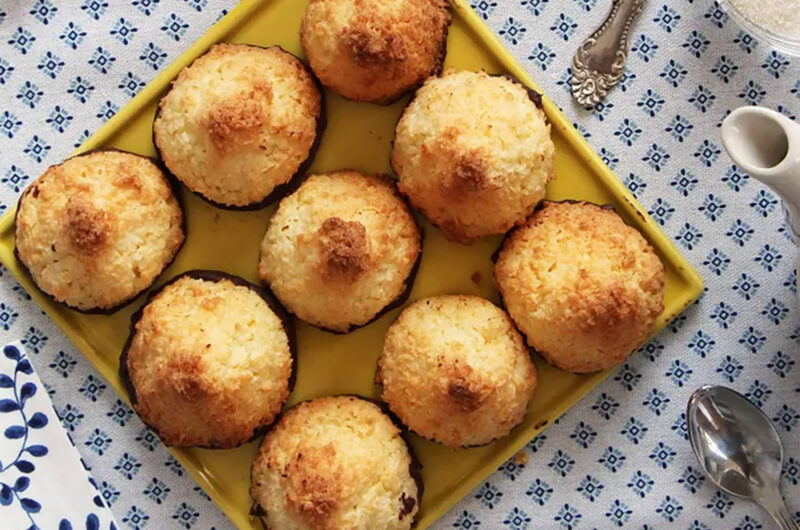
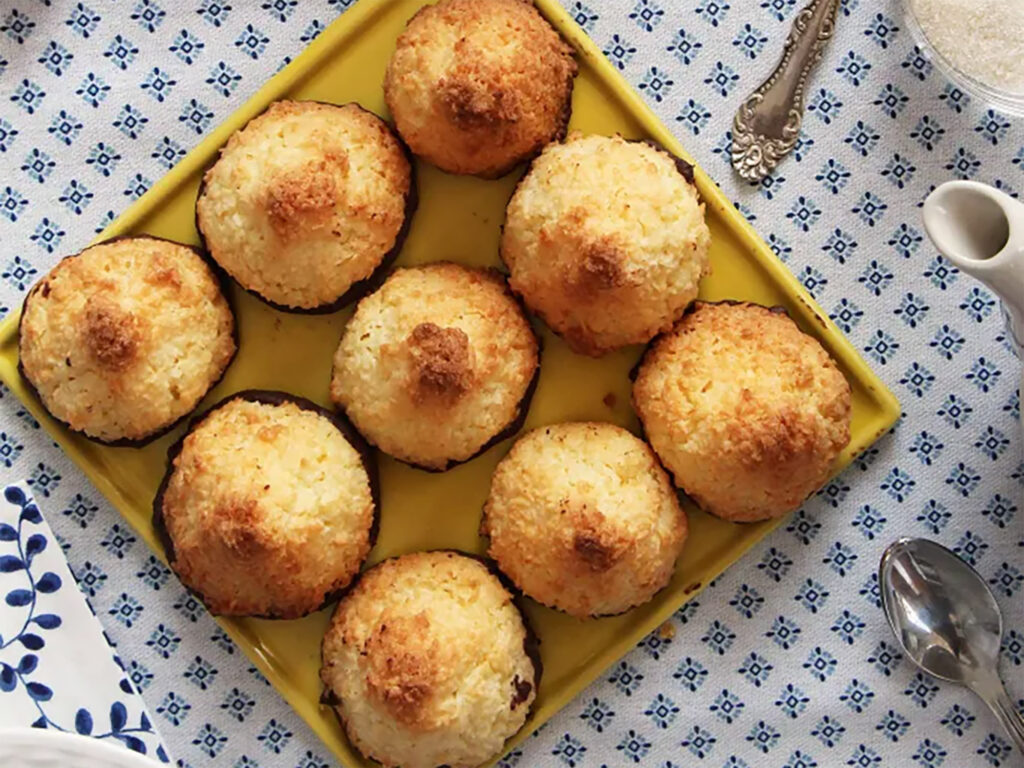
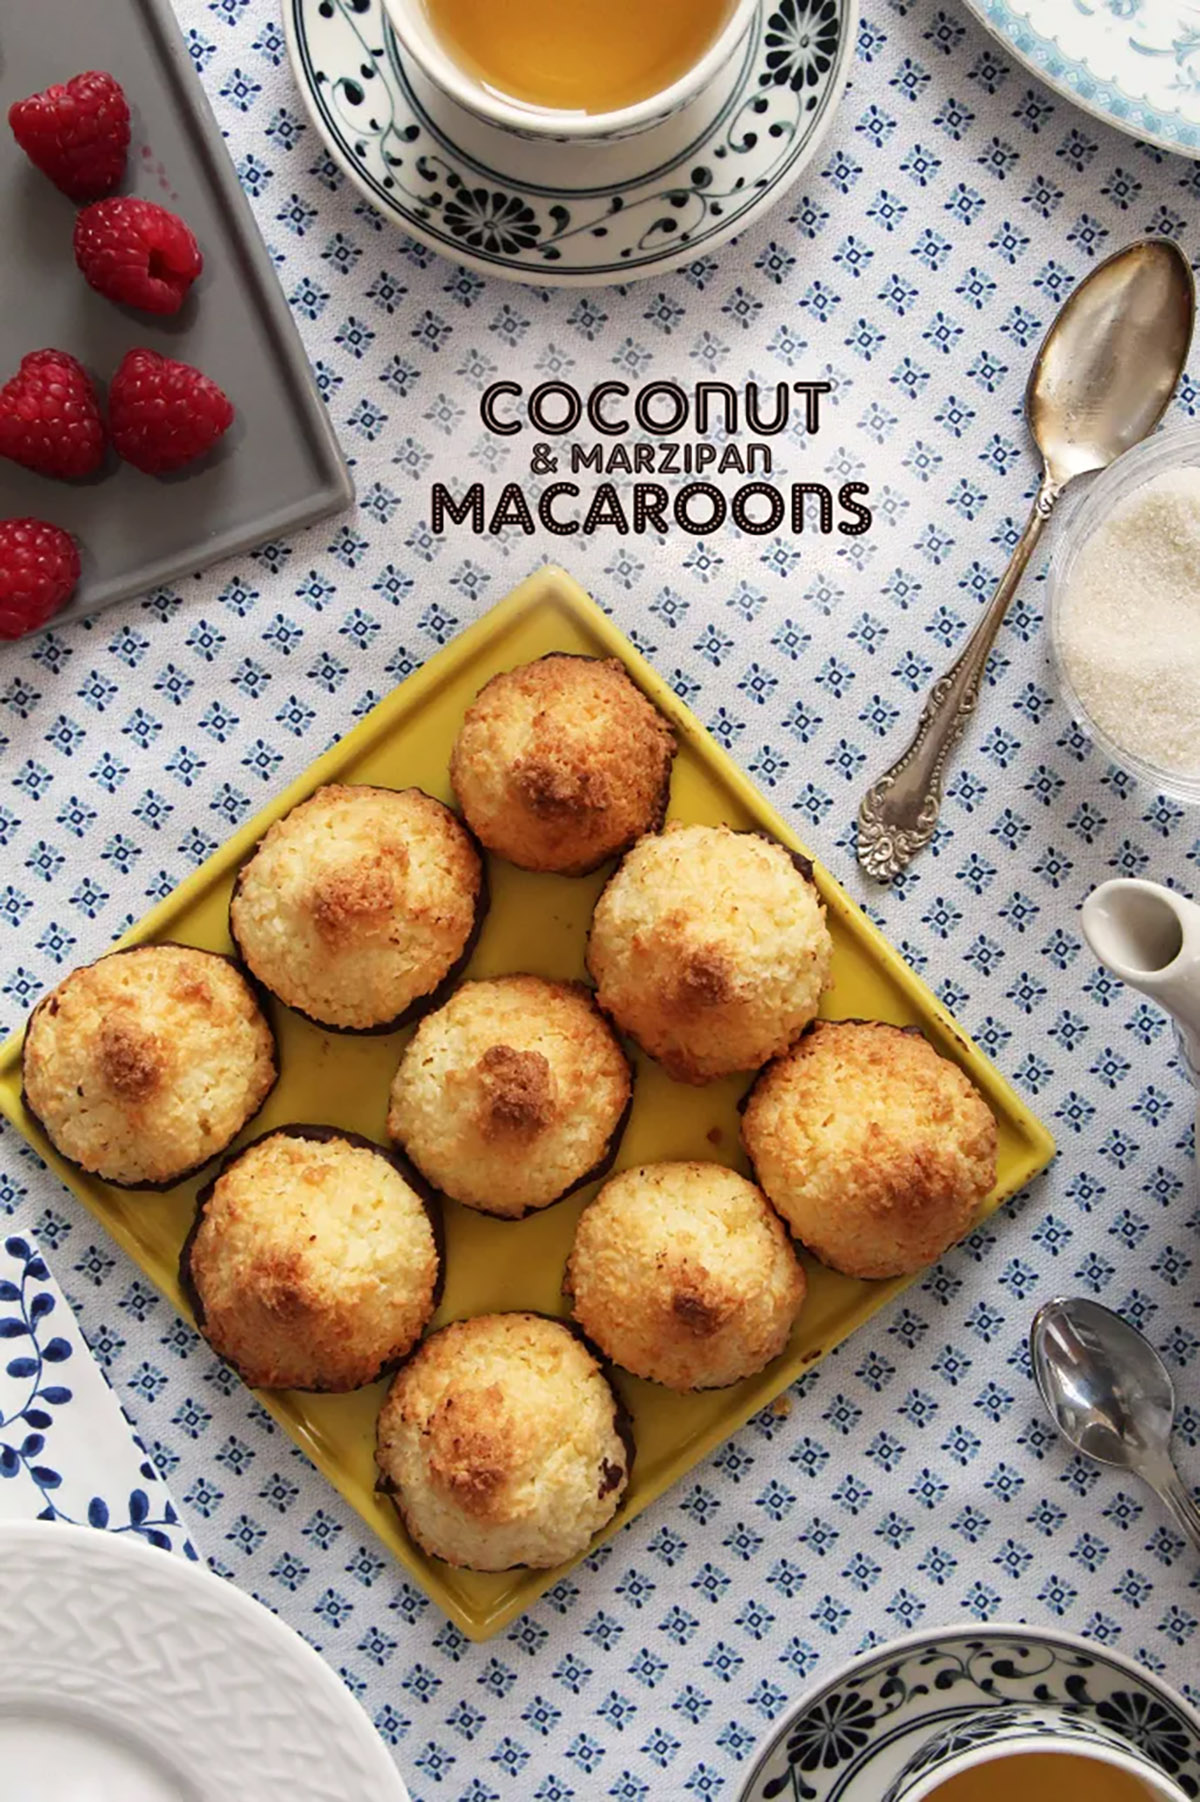
Recipe: Coconut and Marzipan Macaroons
48
macaroonsI recently had one of those days where I craved for something sweet and was in the mood to bake. I remembered that I loved eating coconut macaroons (‘kokos toppe’ in Danish) when I was growing up in Denmark – they were one of my favorite baked sweets.
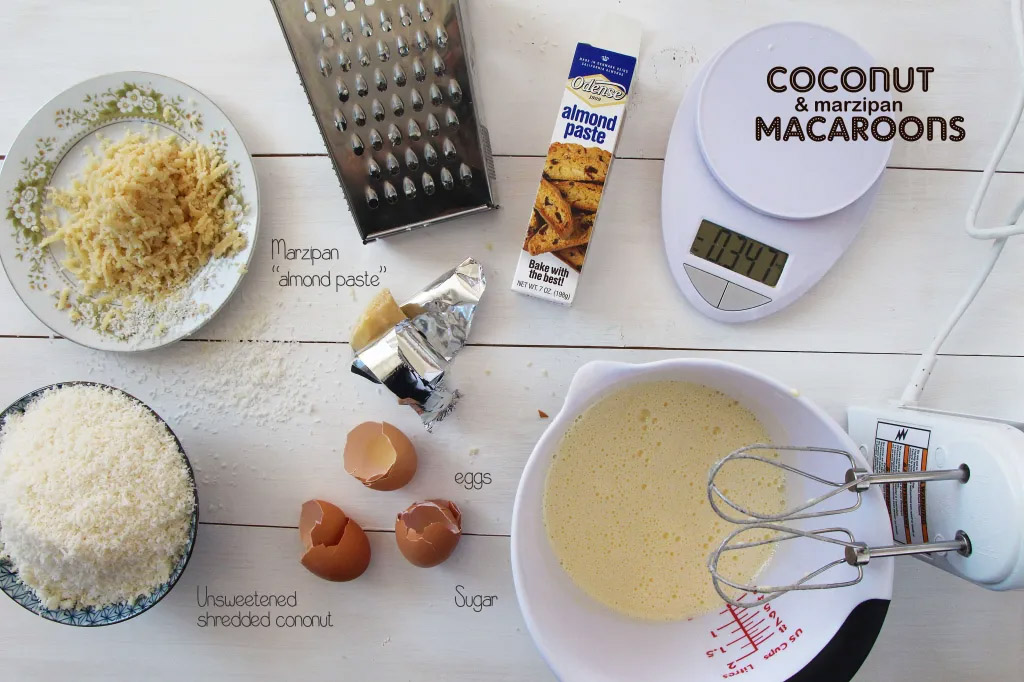
Ingredients
3 medium eggs
8 oz (225g) sugar
10½ oz (300g) unsweetened shredded coconut
3½ oz (100 grams) shredded marzipan (almond paste)
5 oz (150 grams) dark chocolate
Directions
- Beat eggs and sugar in a bowl with an electric mixer until the eggs and sugar turn white, about 2-3 minutes. Add shredded coconut and marzipan together until the dough is evenly mixed.
- Shape the dough into a ball and let it rest in the refrigerator for one hour. This will help the dough stick together easily.
- Preheat the oven to 350 °F (175°C).
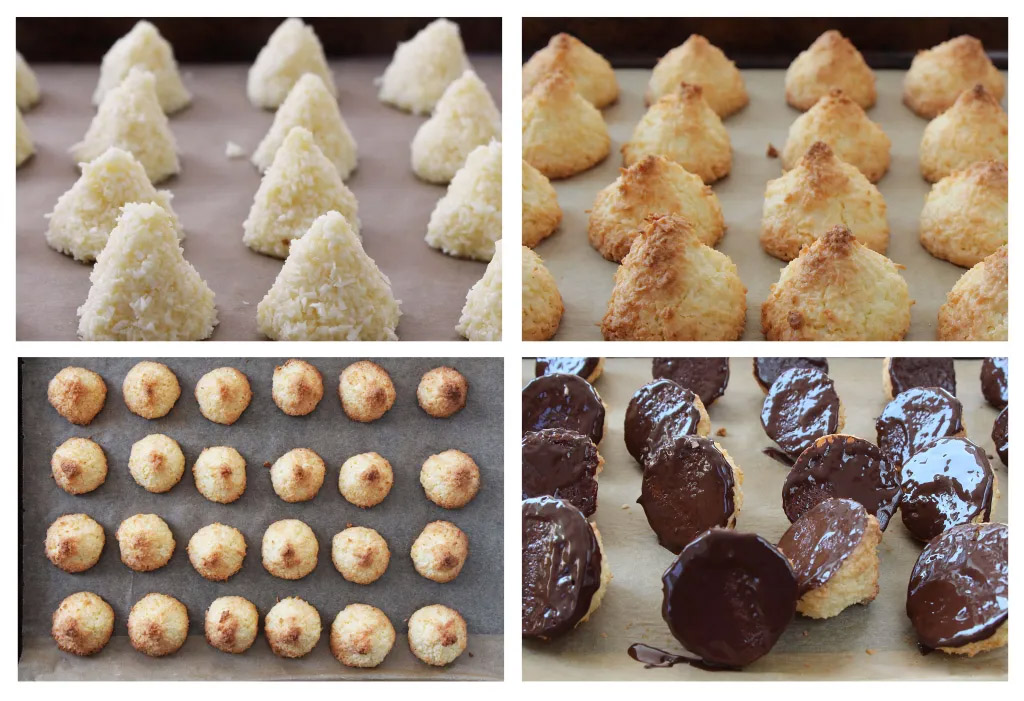
- In the meantime use your fingers to shape the dough for each macaroon into small cones (I like them bite-sized, but you can shape them any size you prefer). Make sure to press the coconut as tightly together as possible, as any coconut that is sticking out will burn easily.
- Bake the coconut macaroons about 15-20 minutes or until they are lightly golden and crisp.
- Take them out of the oven and let them cool off.
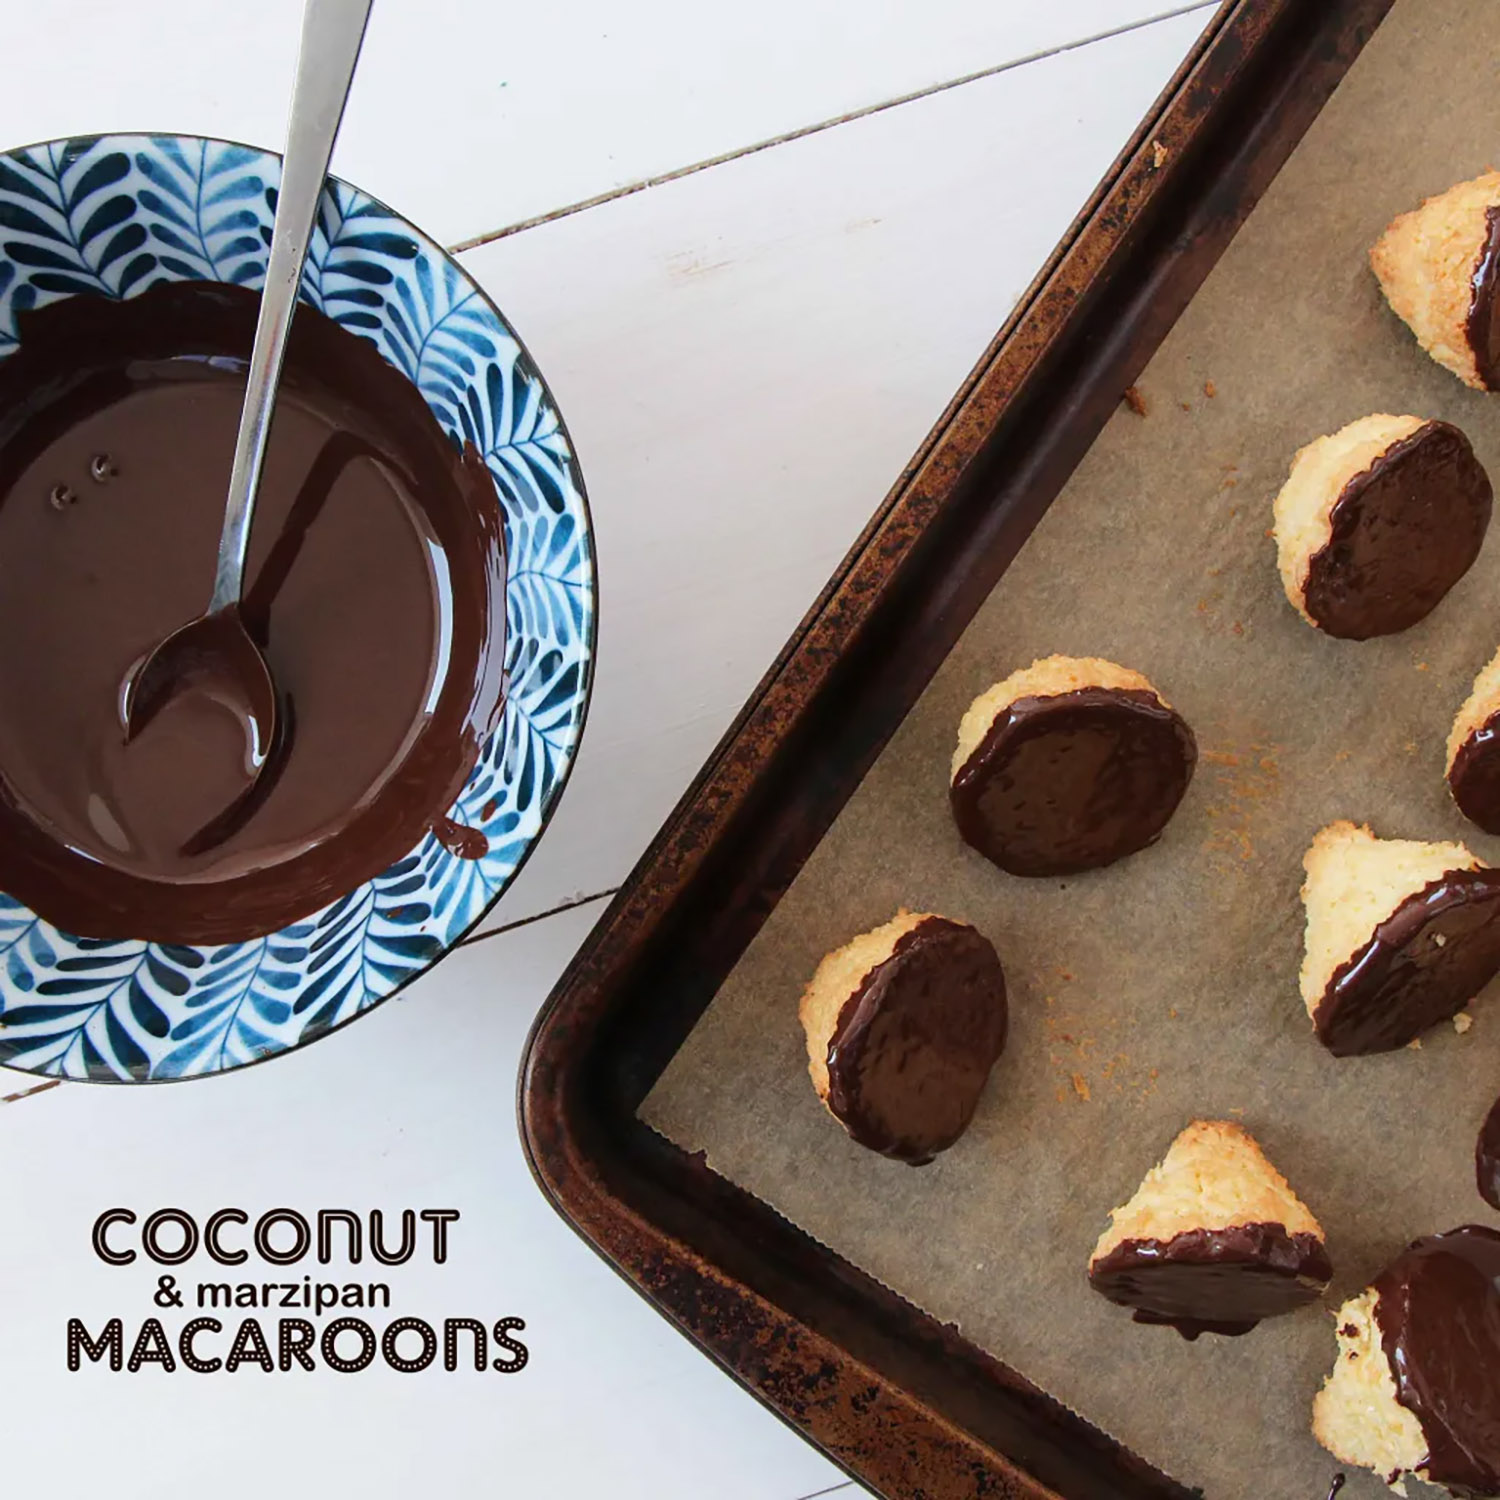
- Melt the chocolate and dip/brush the bottom of the coconut kisses with chocolate. Let them rest while the chocolate hardens (you can also put the tray in the refrigerator for 5 minutes to speed up the chocolate hardening process). Devour these with some coffee or tea:)


