")
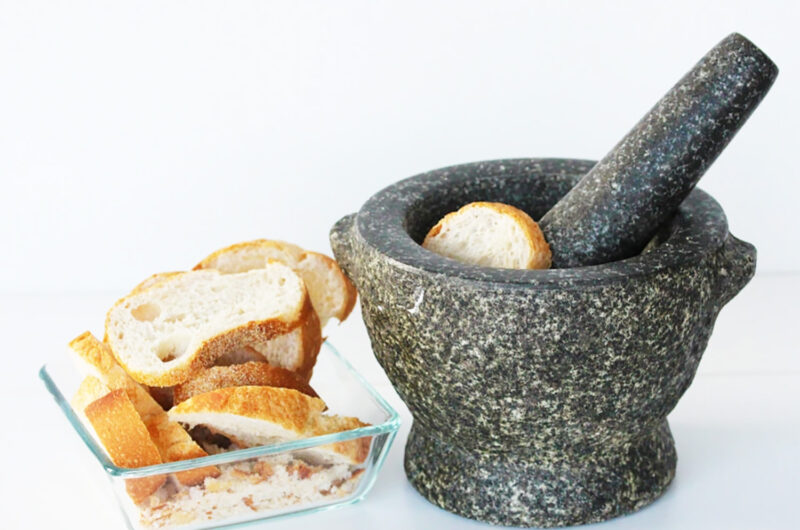
When I first moved to New York, I realized how much I missed Danish bread. It was kind of frightening to me that store bought bread would not get moldy for more than a month, whereas bread in Denmark would typically only last 4 to 5 days. This is the trade off in convenience with processed foods, but it is also the reason why I started baking my own breads.
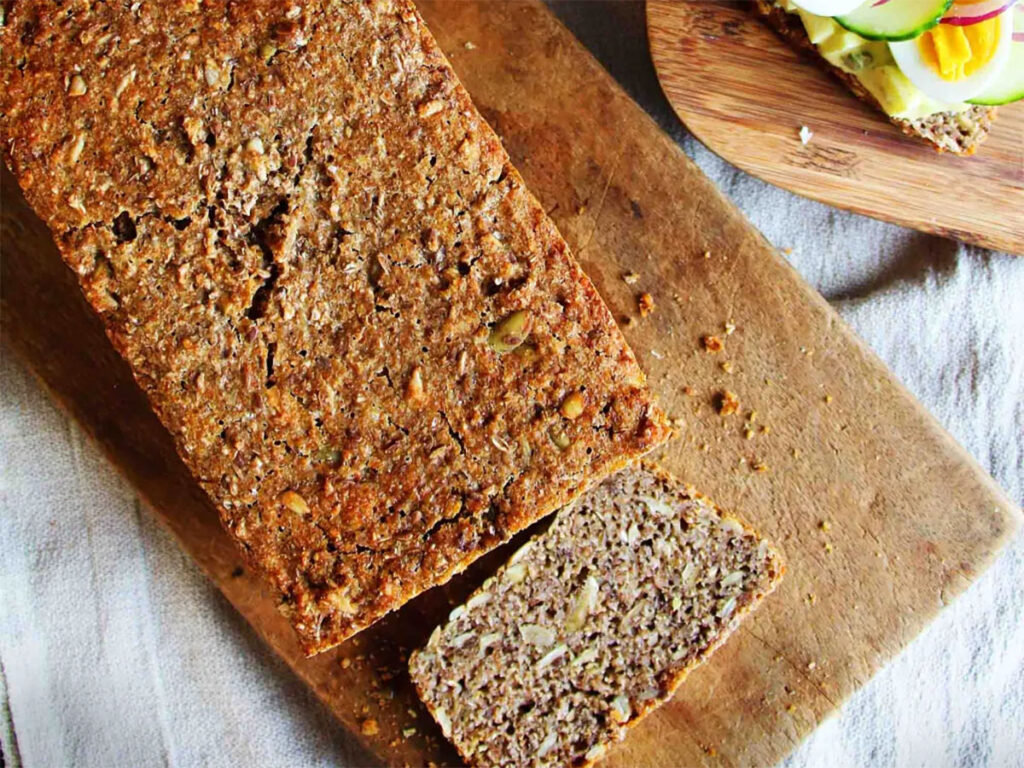
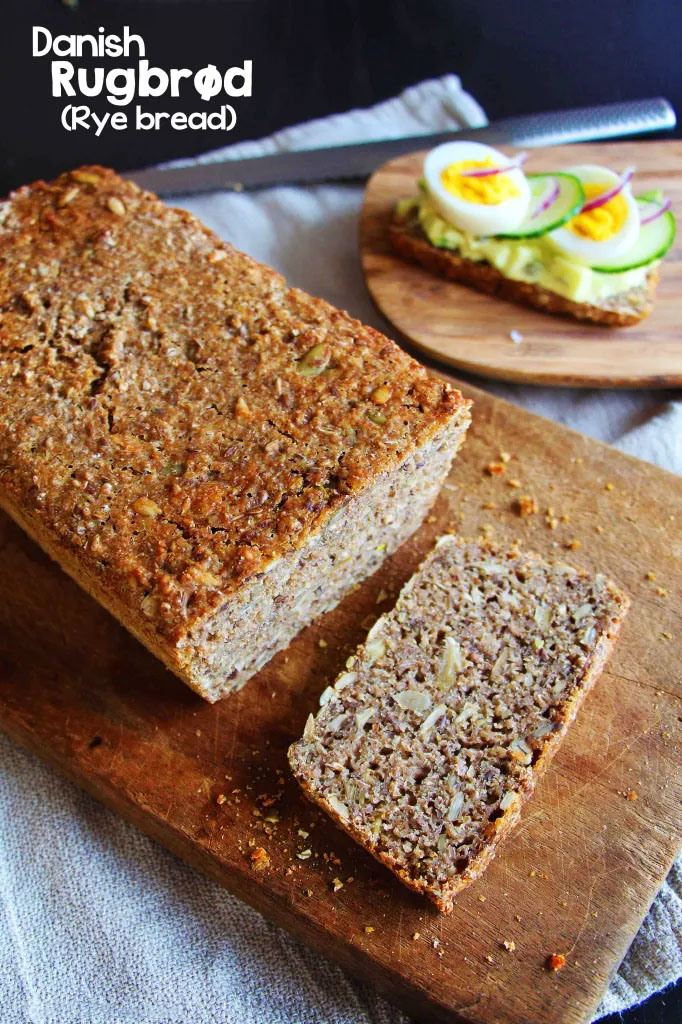
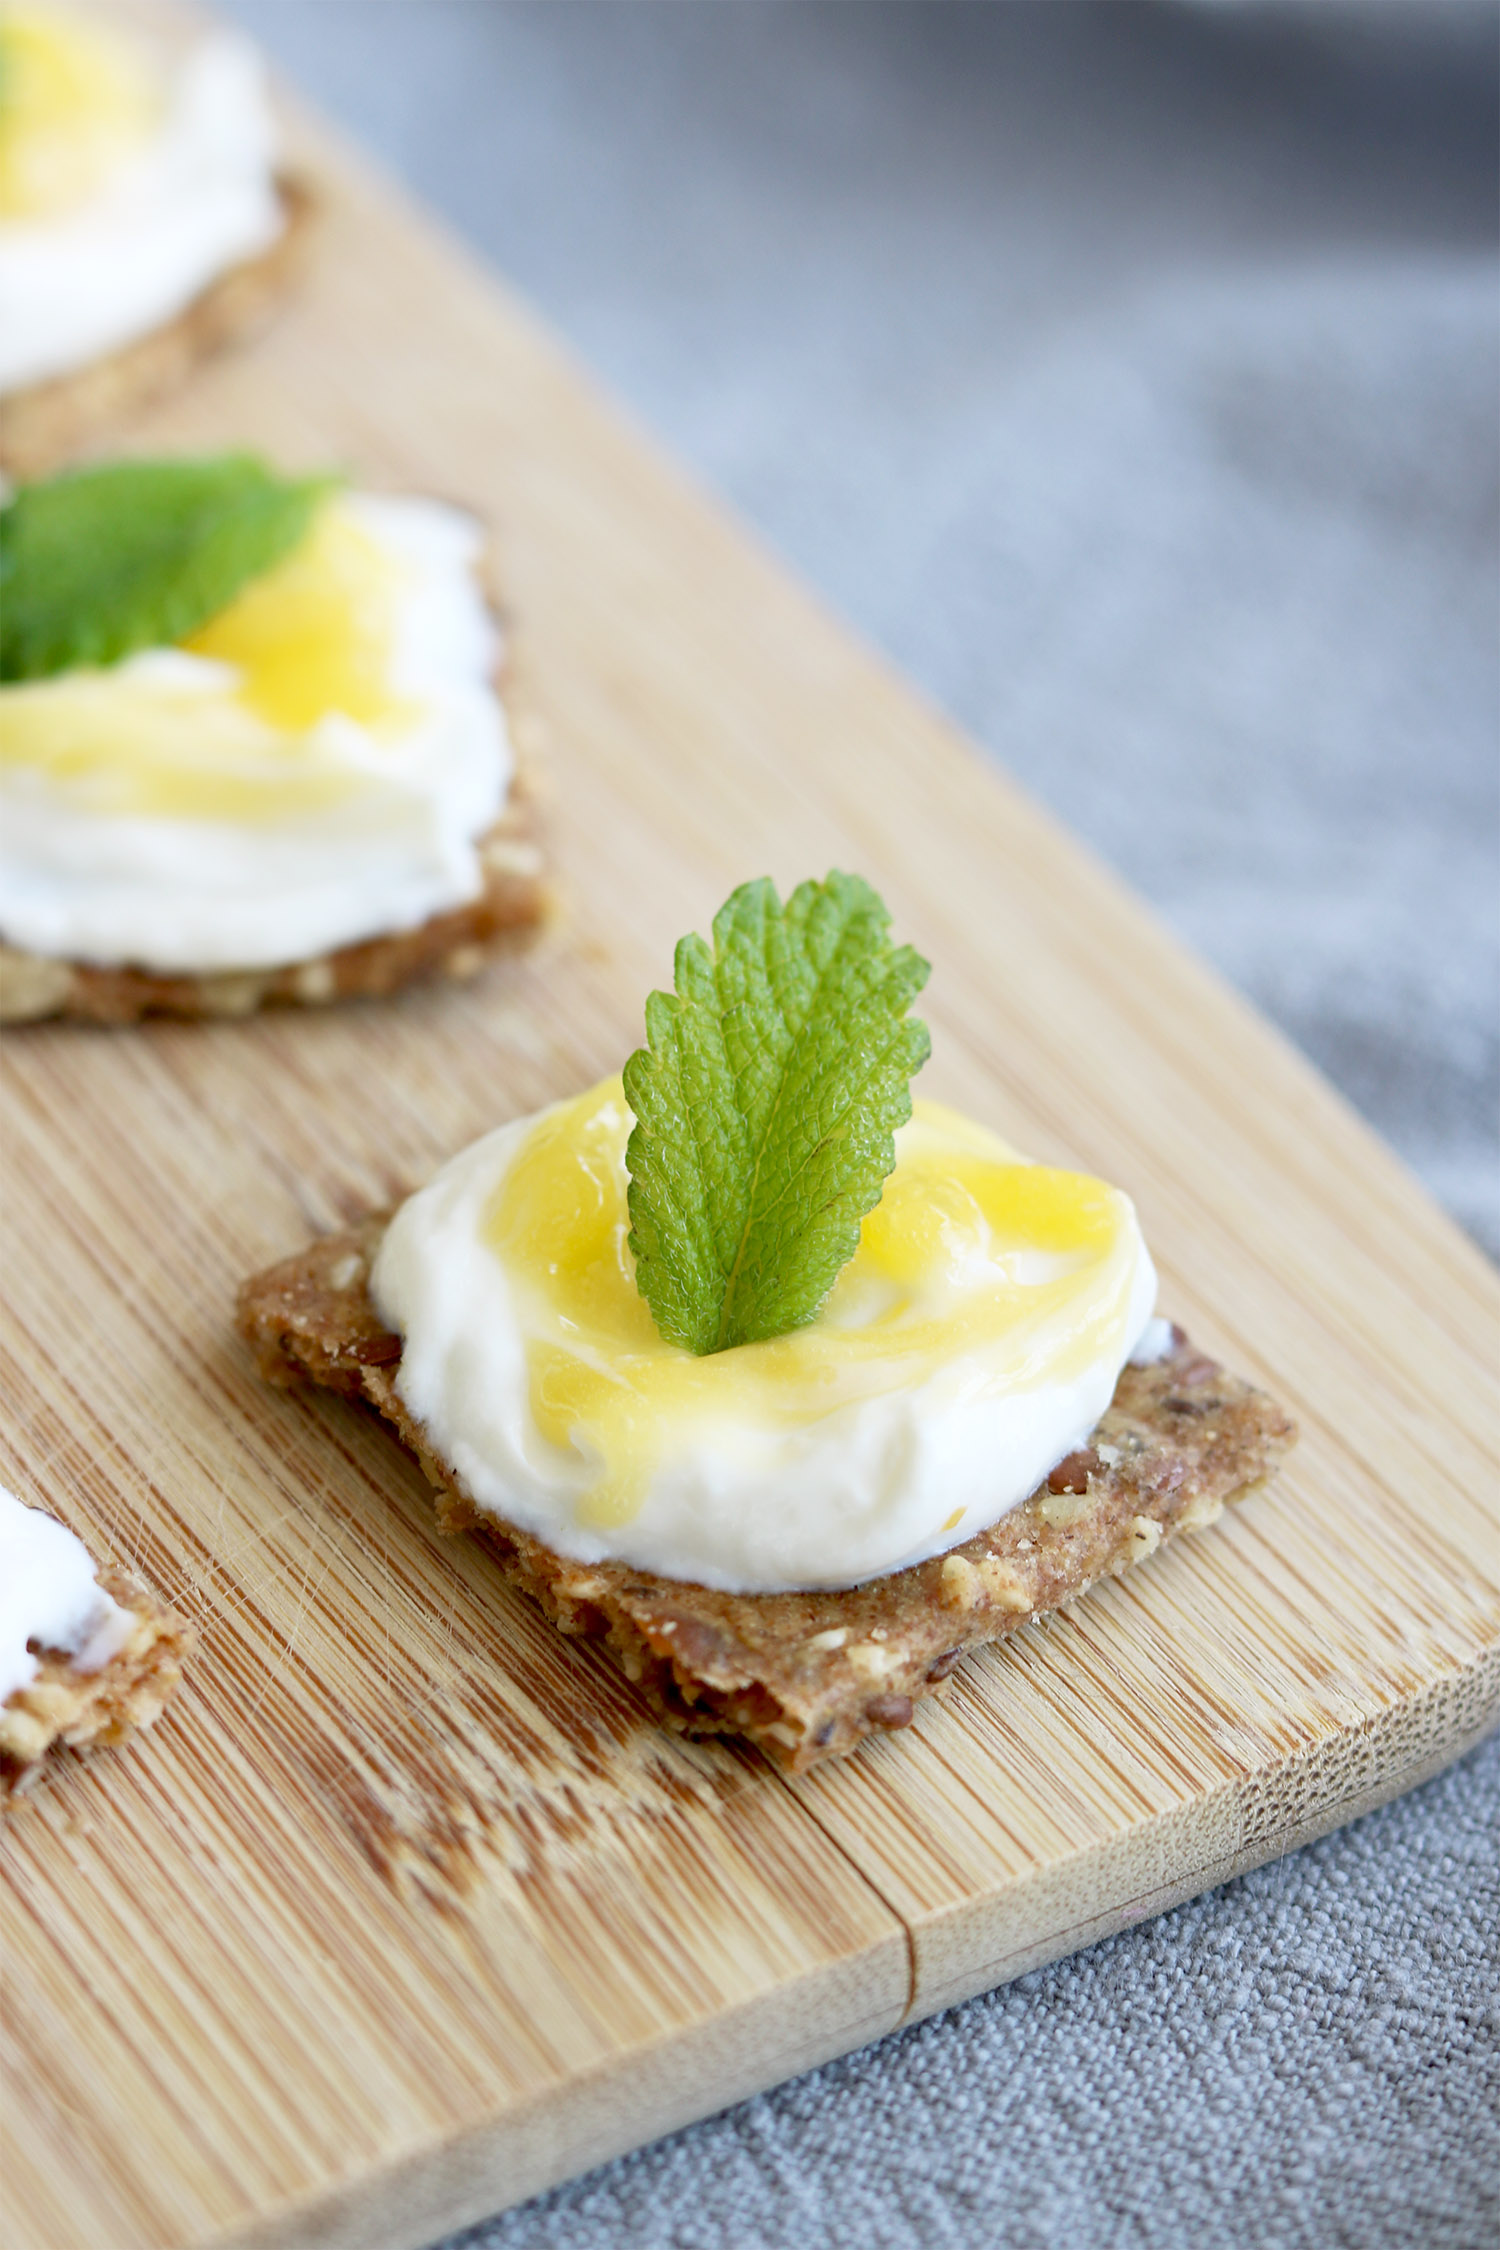
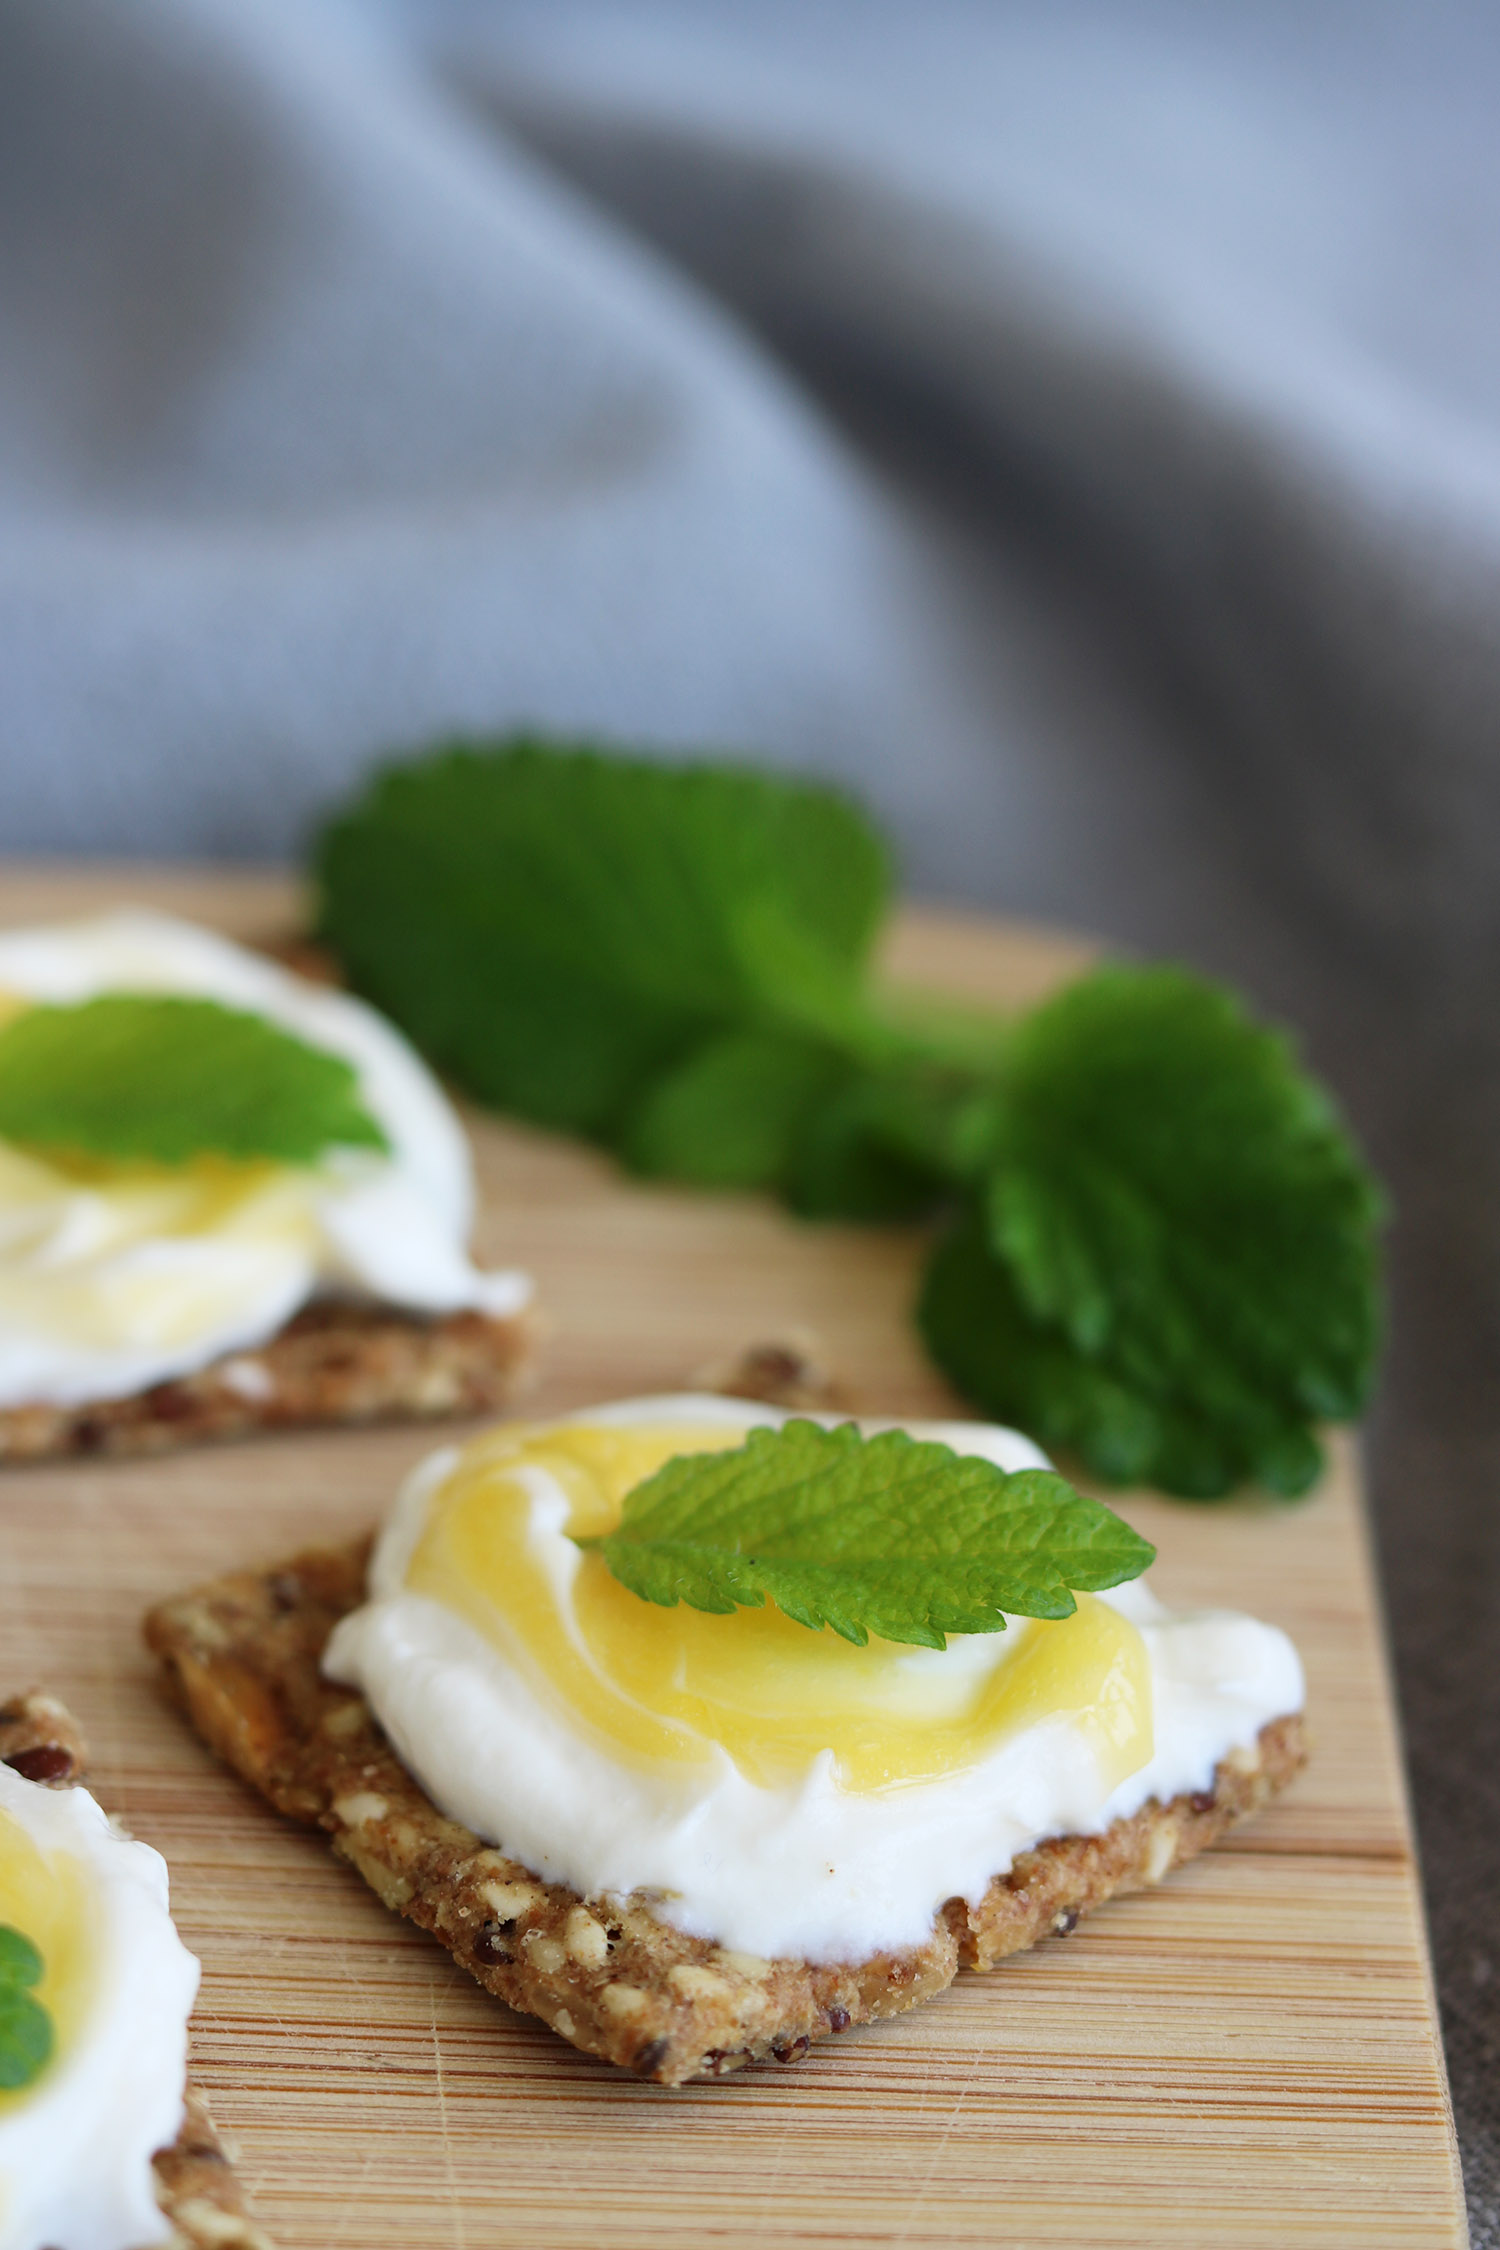
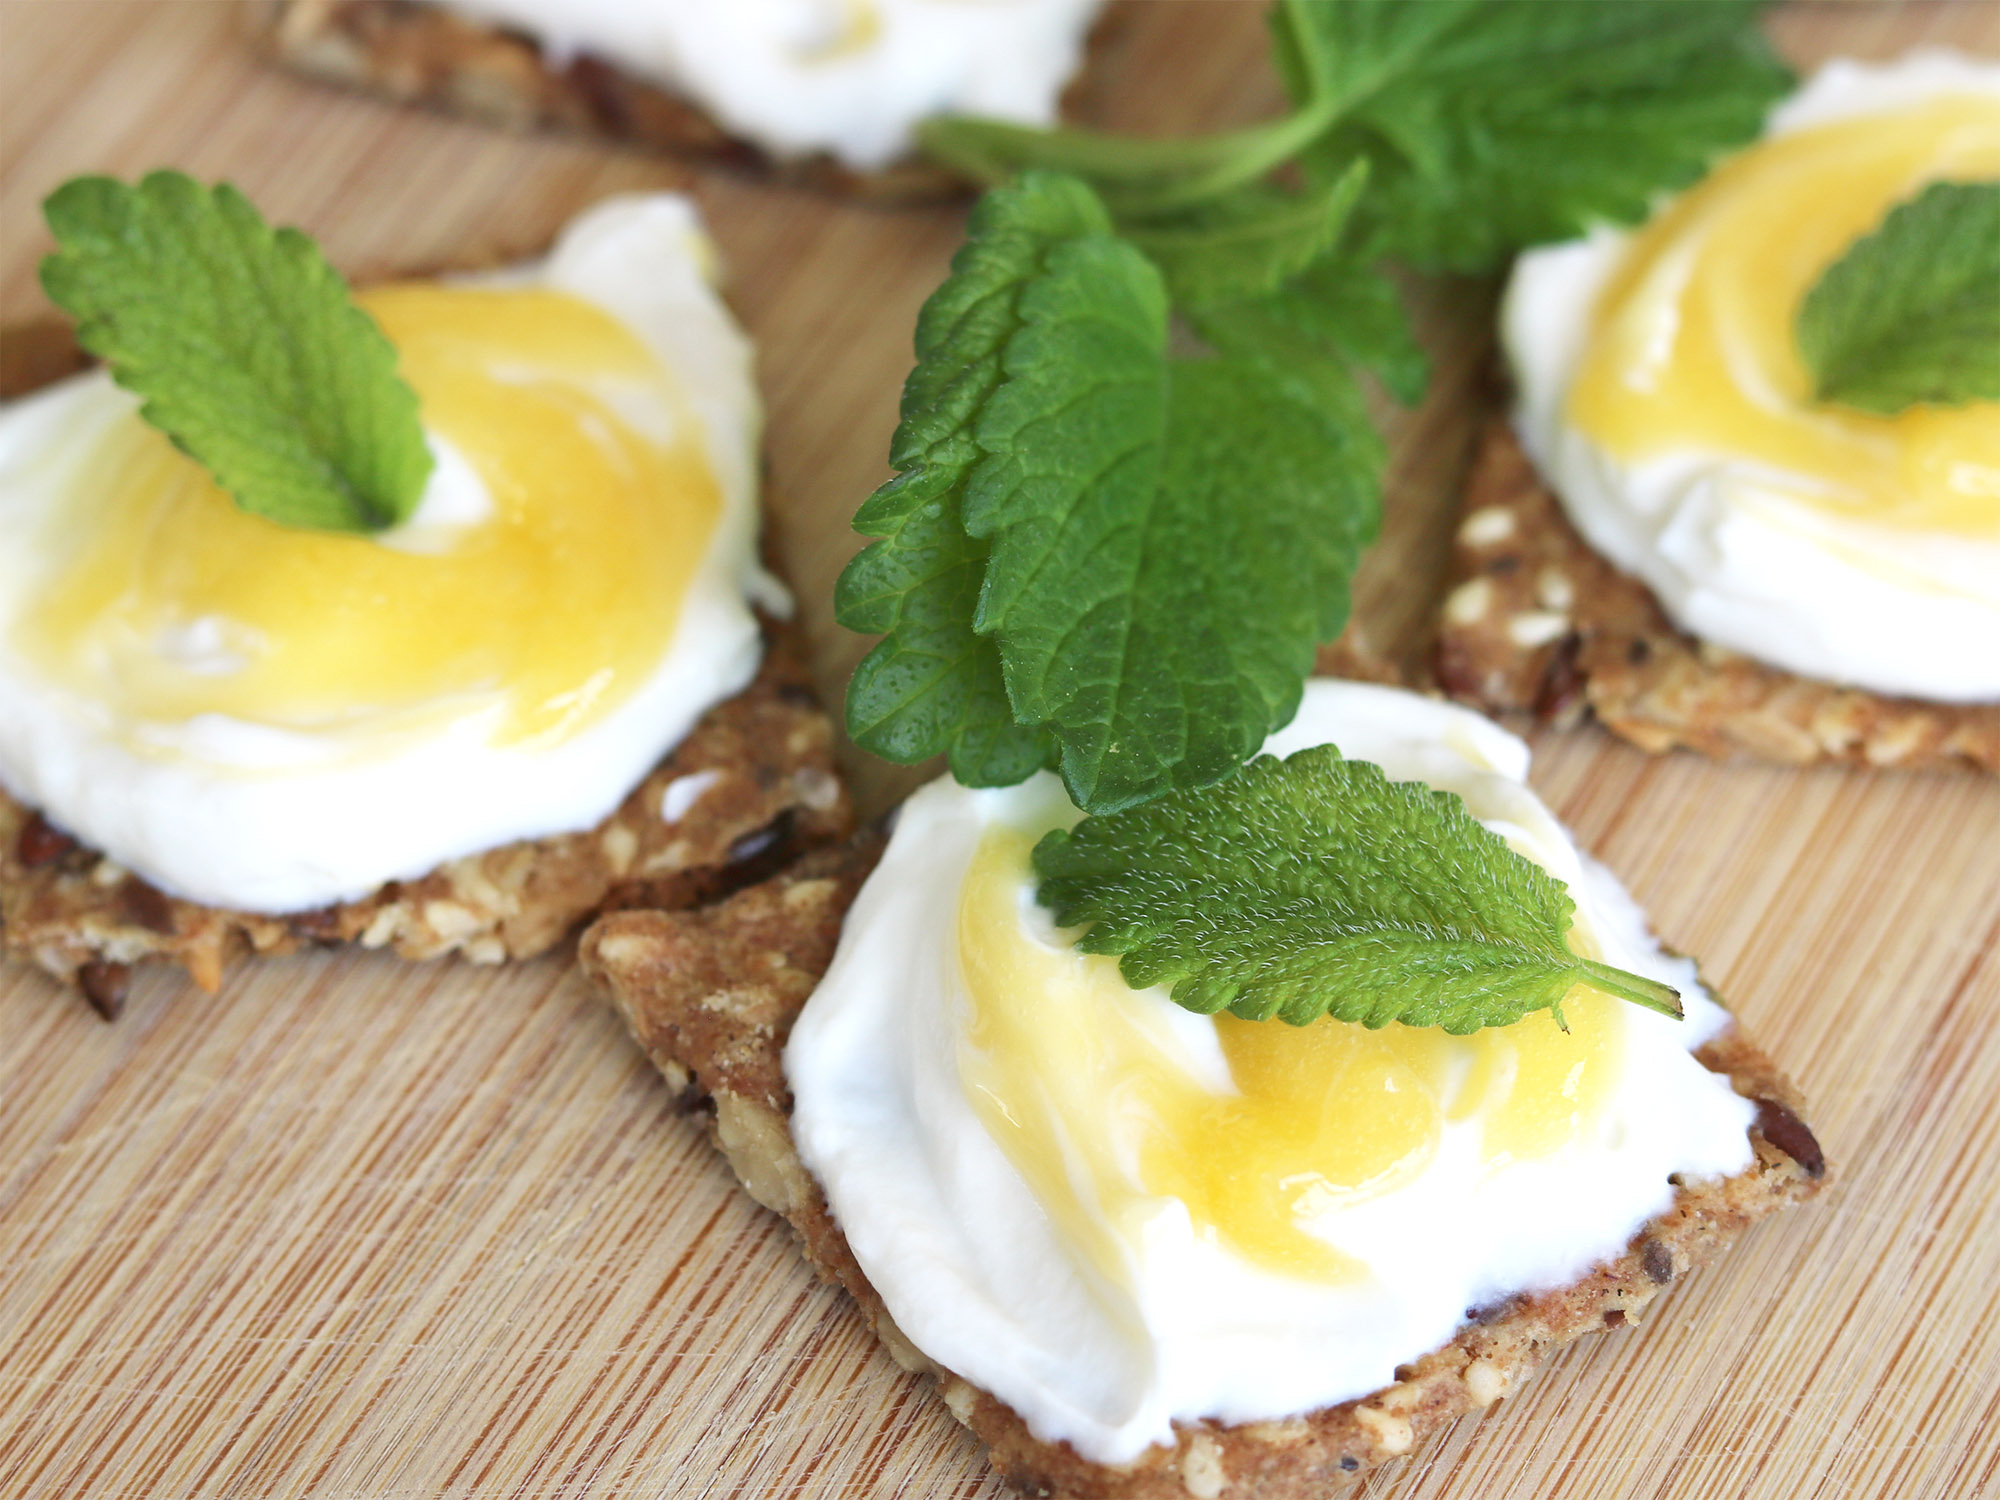
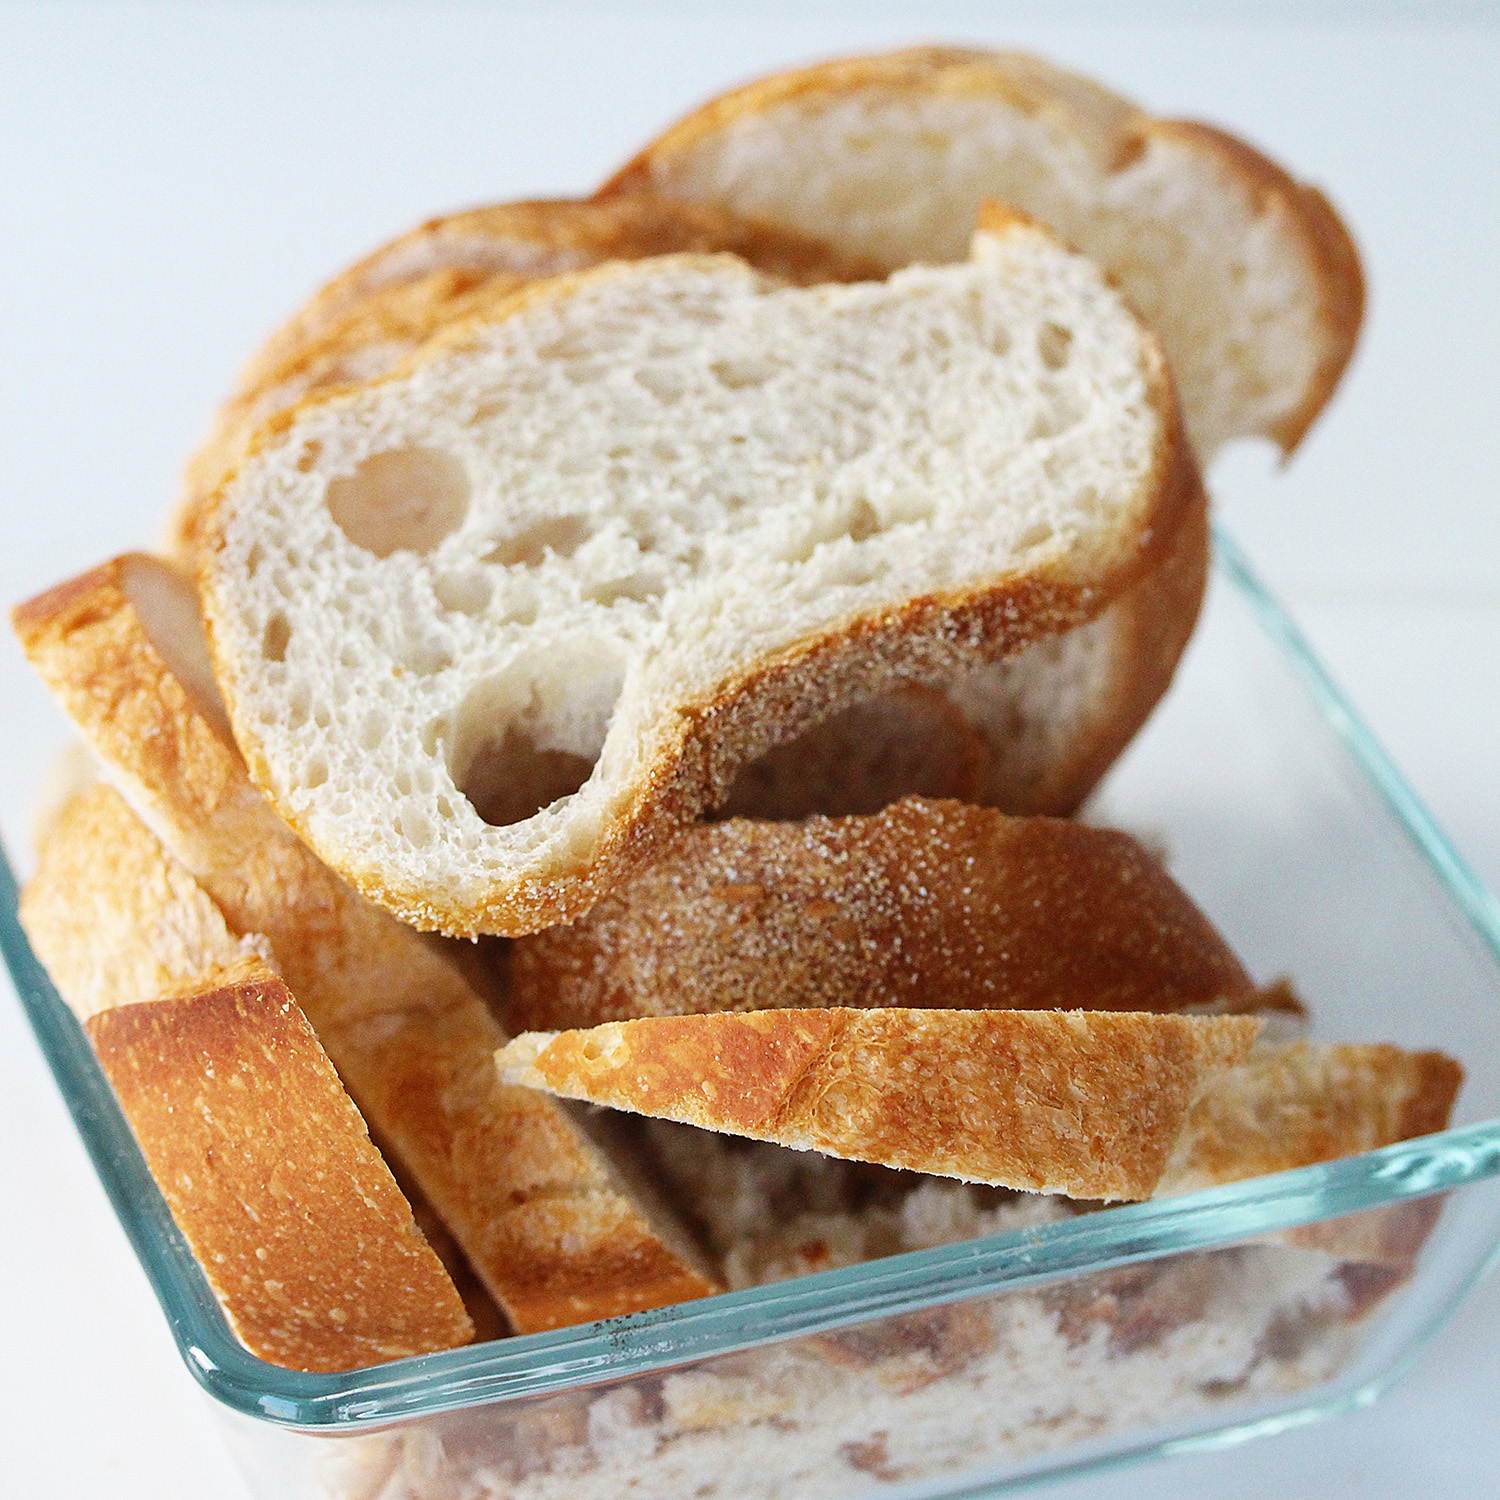
Danish rugbrød (rye bread) is a dark rectangular loaf of bread, and is denser than the normal rye bread you will find in most stores. Filled with grains and dietary fiber, it is low in fat and contains no oil or refined sugar, which makes this bread very healthy and filling. Because of the density of the bread, the Danes don’t eat the rugbrød in a traditional American sandwich format, but rather as an open-faced sandwich.
You might have seen me post some of the recipes that go very well with rugbrød. We also call it smørrebrød.
The recipe is based on sourdough, which has a distinguished flavor and also helps to keep the rugbrød naturally fresh for a longer period. Although it is easy to make, be aware that the sourdough takes 4 days before it can be used for baking.
My friend Anne H. passed me the best recipe that I have ever tried, so you have her to thank for sharing. The following recipe is reduced to one loaf instead of two, since I prefer to eat my bread as fresh as possible, and I altered it slightly by adding pepitas (pumpkin seeds).
The bread needs to be completely cool before you can slice it.
*To keep your bread fresh wrap the bread tightly in a clean dish towel and leave it in a dry place at room temperature. The kitchen counter is perfect. Wrapping the bread can keep your bread fresh for a week.

Recipe: Danish Rugbrød (rye bread)
1
loafThe recipe is based on sourdough, which has a distinguished flavor and also helps to keep the rugbrød naturally fresh for a longer period. Although it is easy to make, be aware that the sourdough takes 4 days before it can be used for baking.
Ingredients
- Day 1
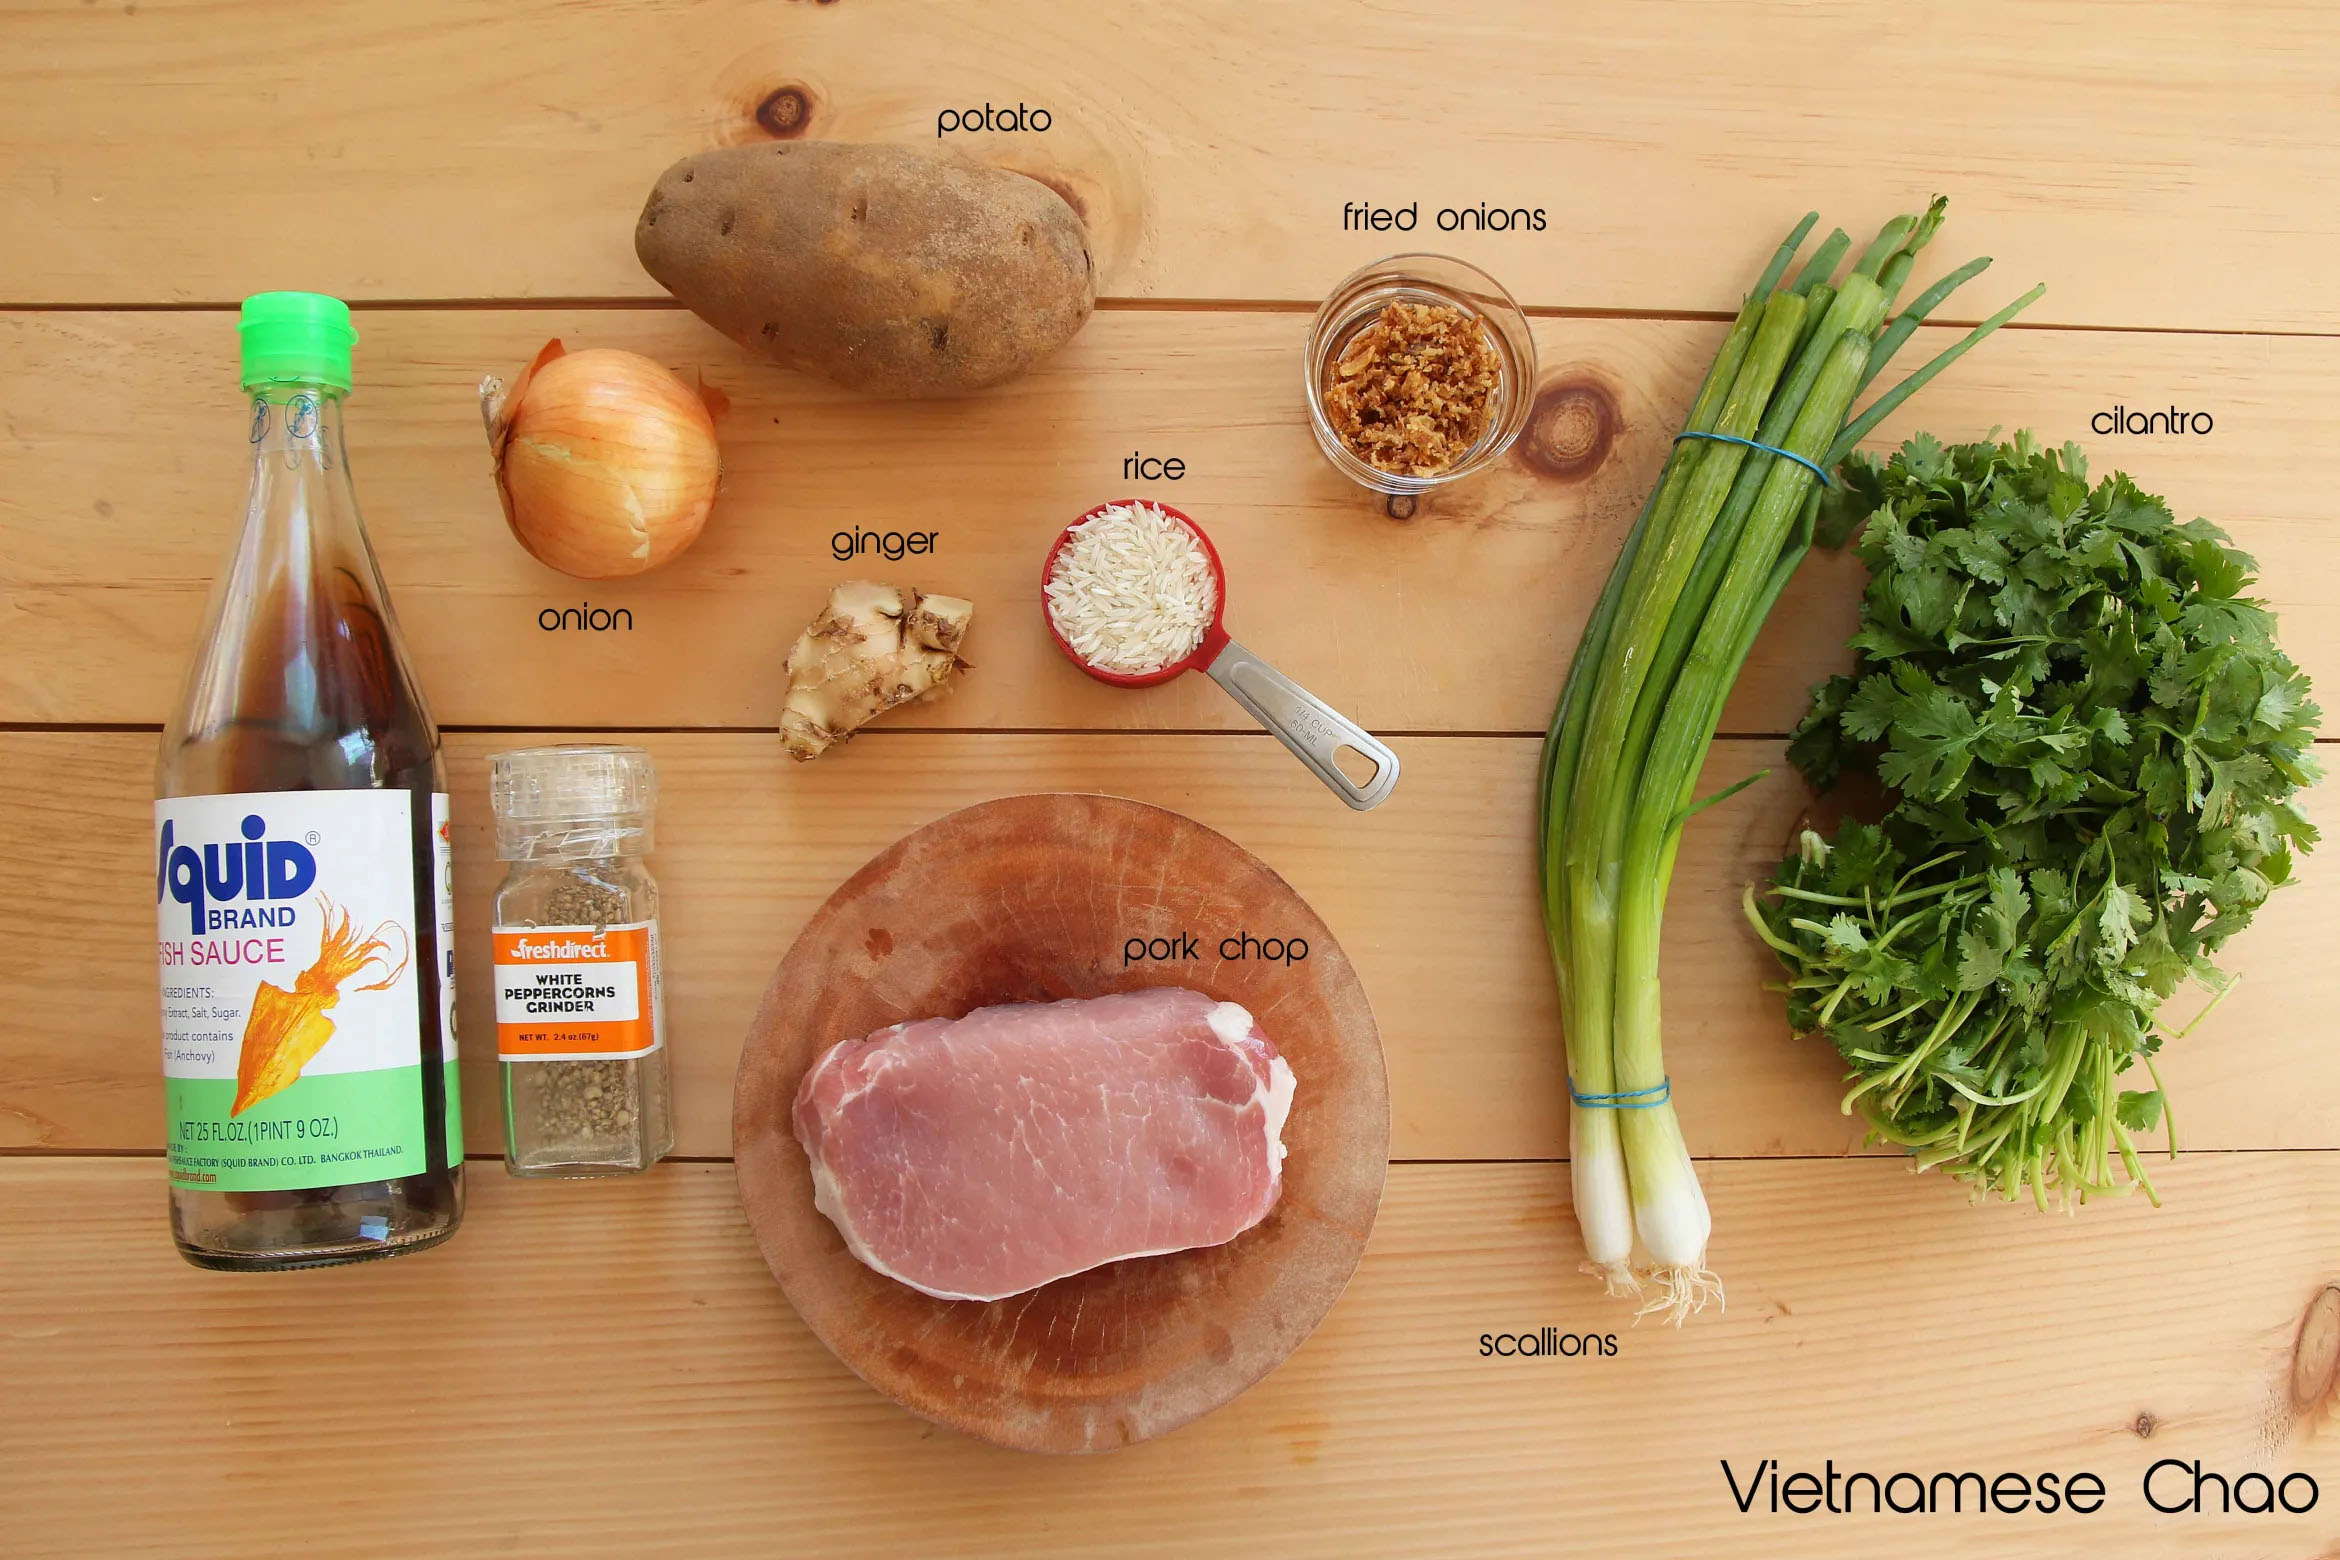
105 g rye flour
1½ dL water
8 g dry yeast
- Day 2
- Day 4
3¼ dL water or (93 grams malt beer and 233 grams water-this will give the rye bread a nice brown color)
150 g all-purpose flour
137 g rye flour
10 g salt
35 g flax seeds
45 g sunflower seeds
45 g pumpkin seeds (pepitas) + a little extra for the bottom of the loaf
125 g cracked rye
1 tablespoon honey
Sourdough
Directions
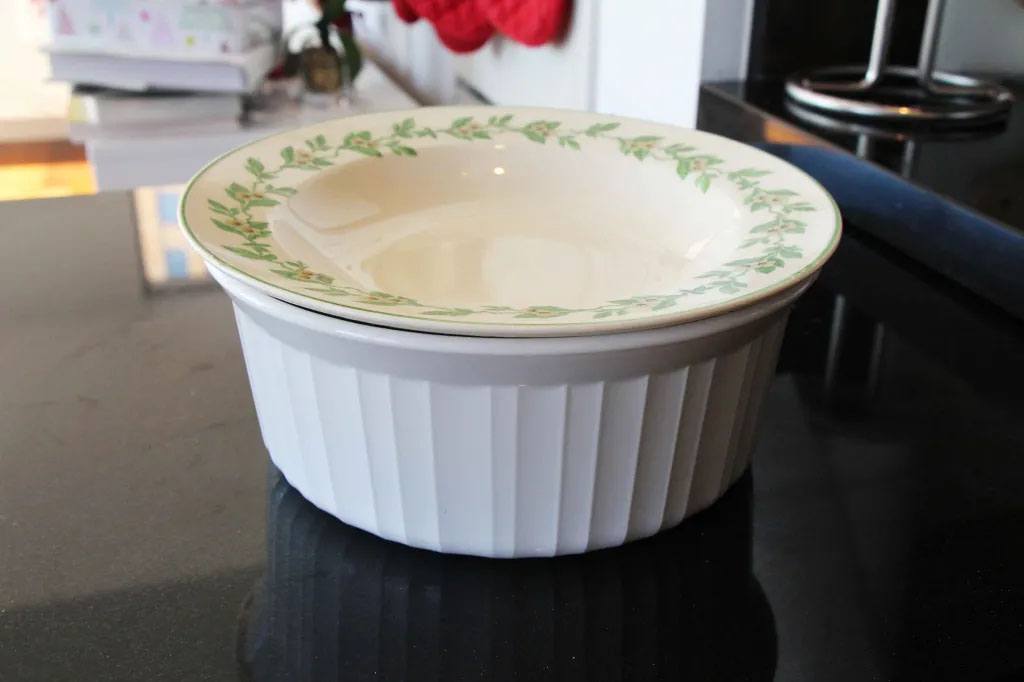
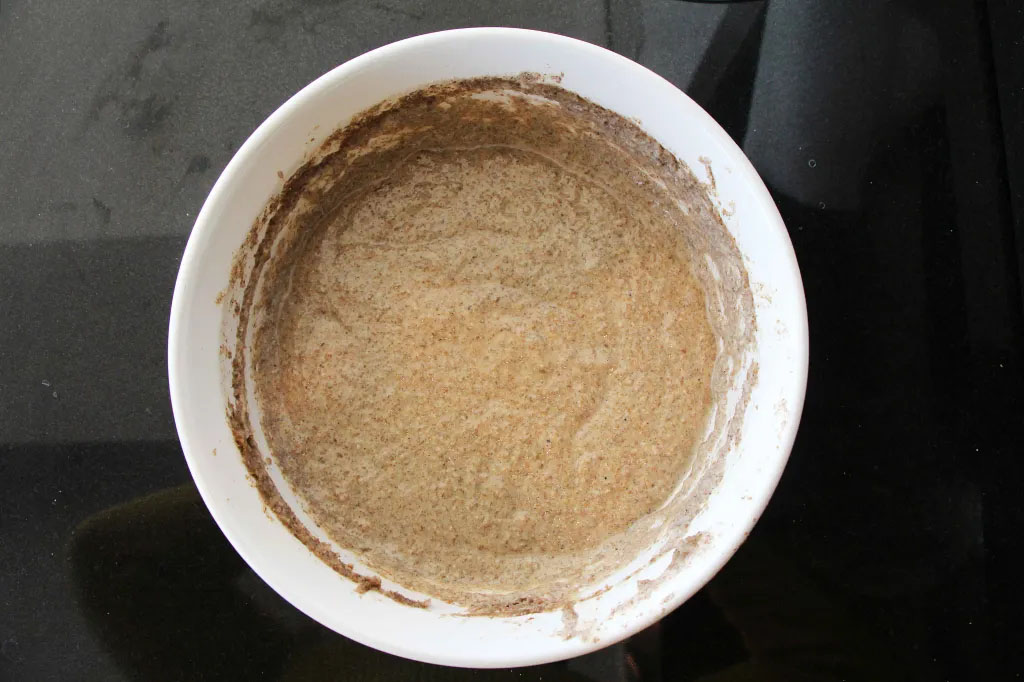
- To prepare the sourdough, mix the Day 1 ingredients in a bowl and cover with a plate. Let the mixture sit at room temperature on your kitchen counter.
- On day 2, add the Day 2 ingredients and stir. Let the mixture sit for two more days, stirring each day.
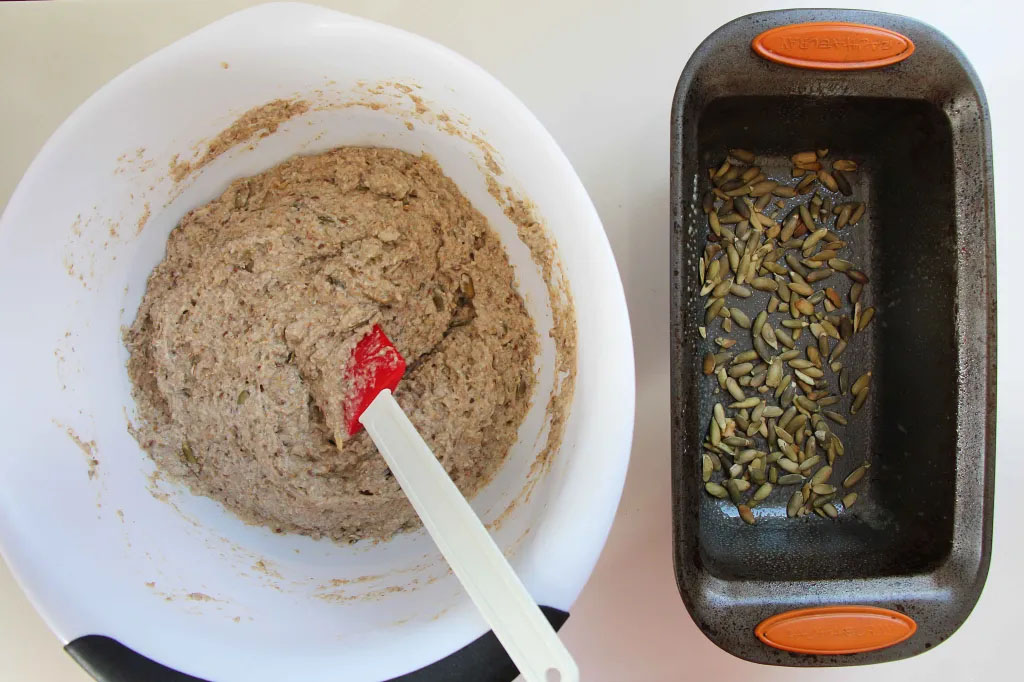
- On day 4, mix all the Day 4 ingredients (including the sour dough) in a large bowl.
- Grease a bread pan with oil and toss some pepitas in the bottom of the pan (this optional step allows the bread to come out with a beautiful bottom covered with pepitas). Pour the dough in the pan and cover with plastic wrap. Let the dough rise on your kitchen counter for about 6 hours or until the dough reaches the edge of the pan.
- Brush the rye bread with a mix of oil and water and bake for 1 hour and 5 min at 200°C / 390°F in the middle rack of your oven.
- Brush the rye bread with a mix of oil and water and bake for 1 hour and 5 min at 200°C / 390°F in the middle rack of your oven.


)