

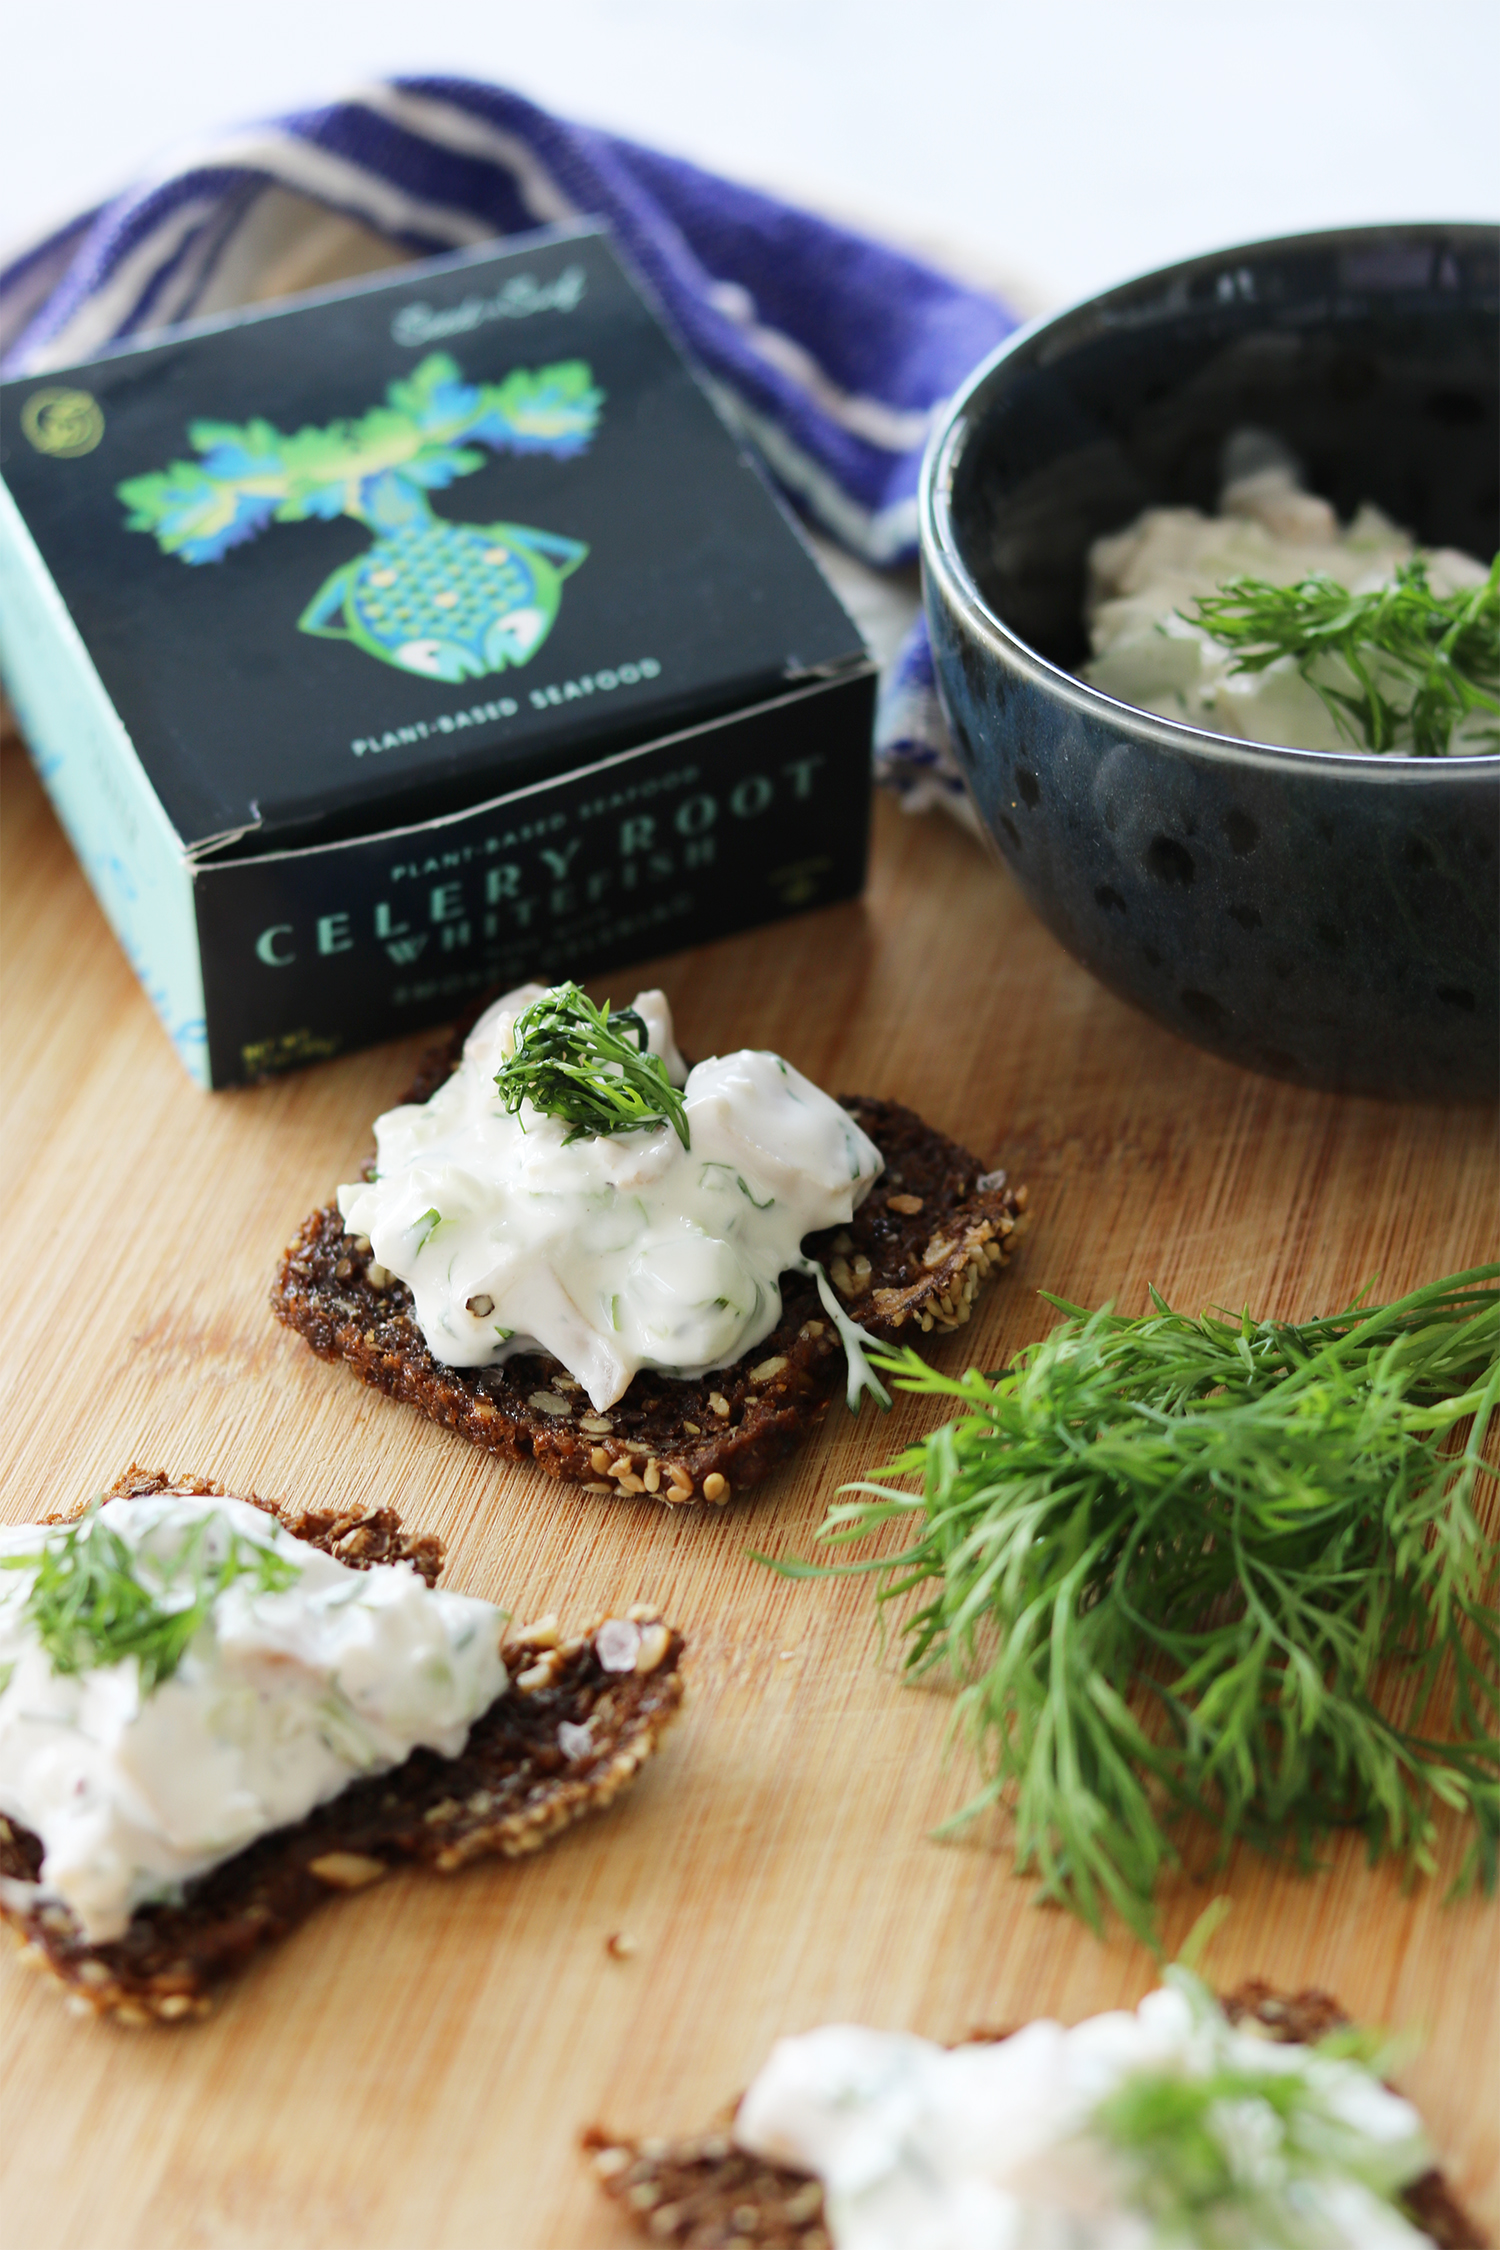
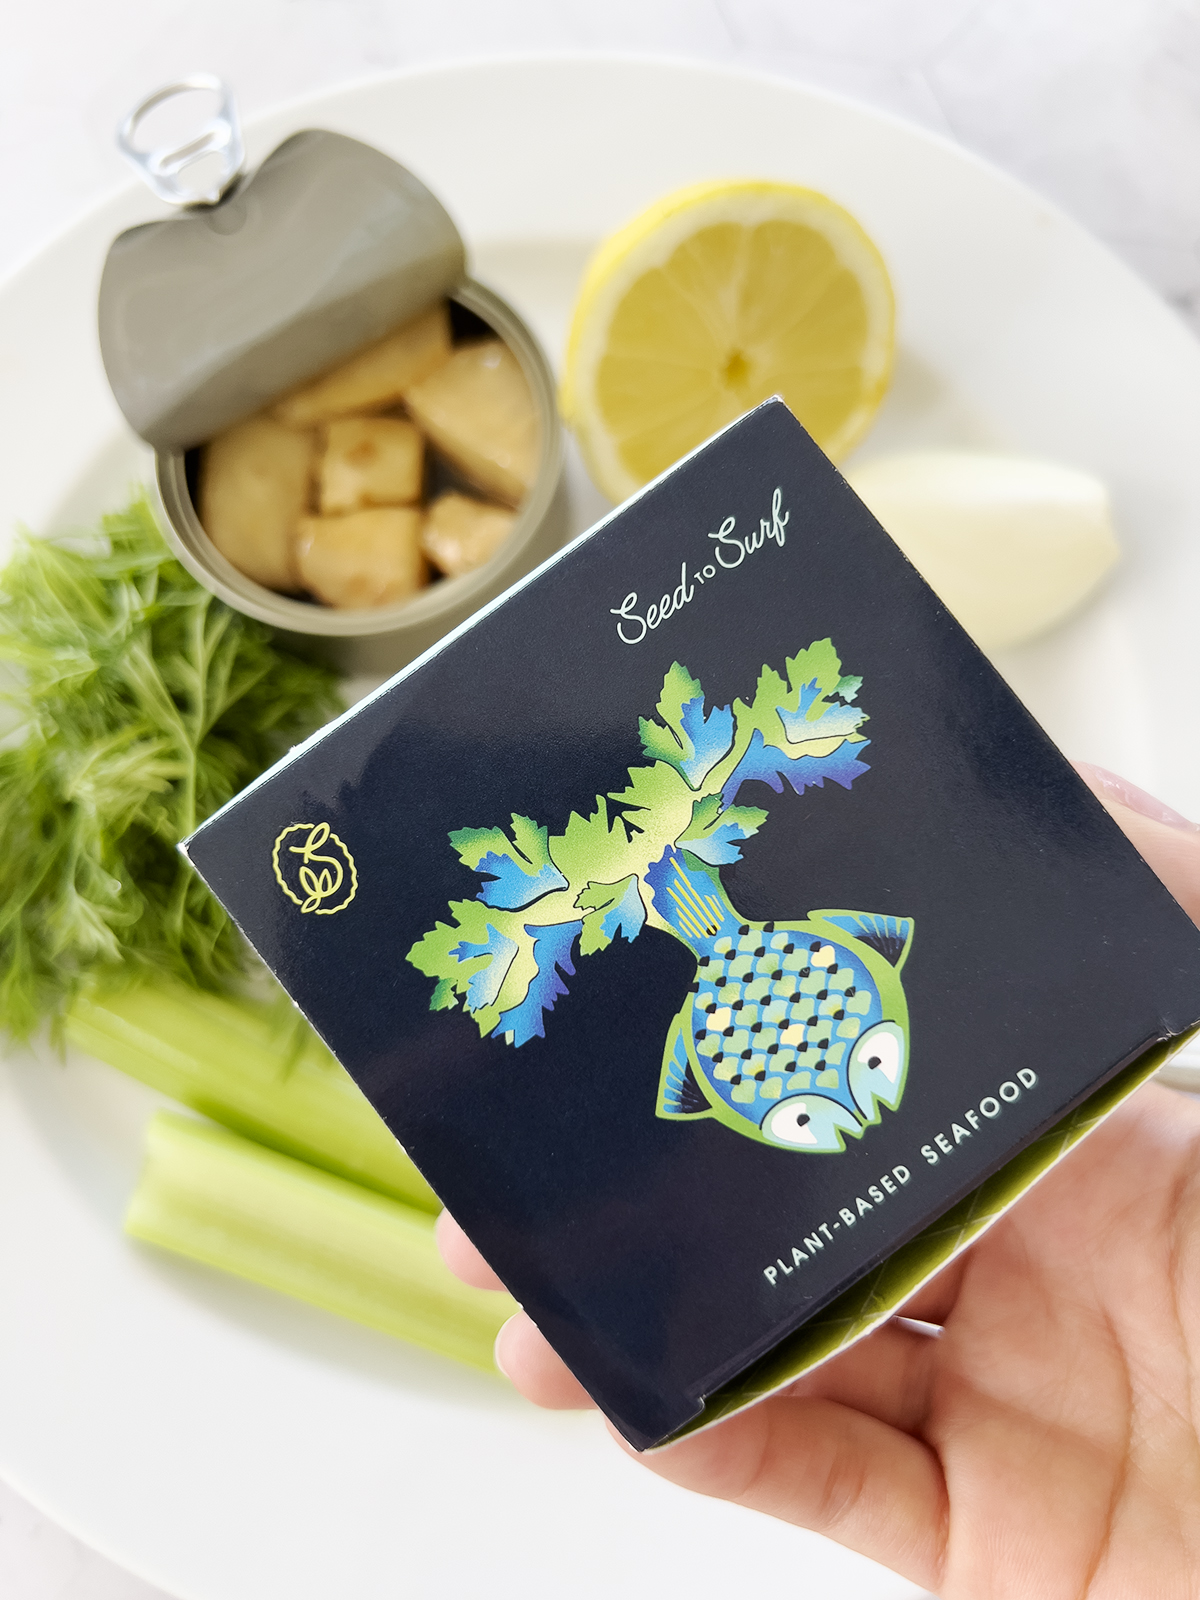
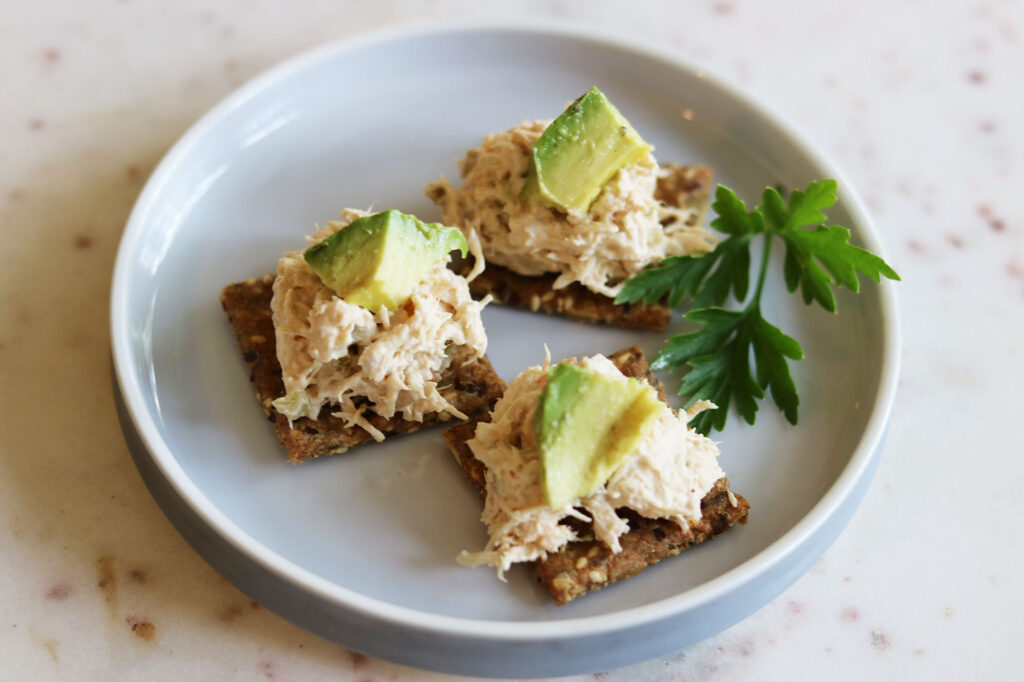
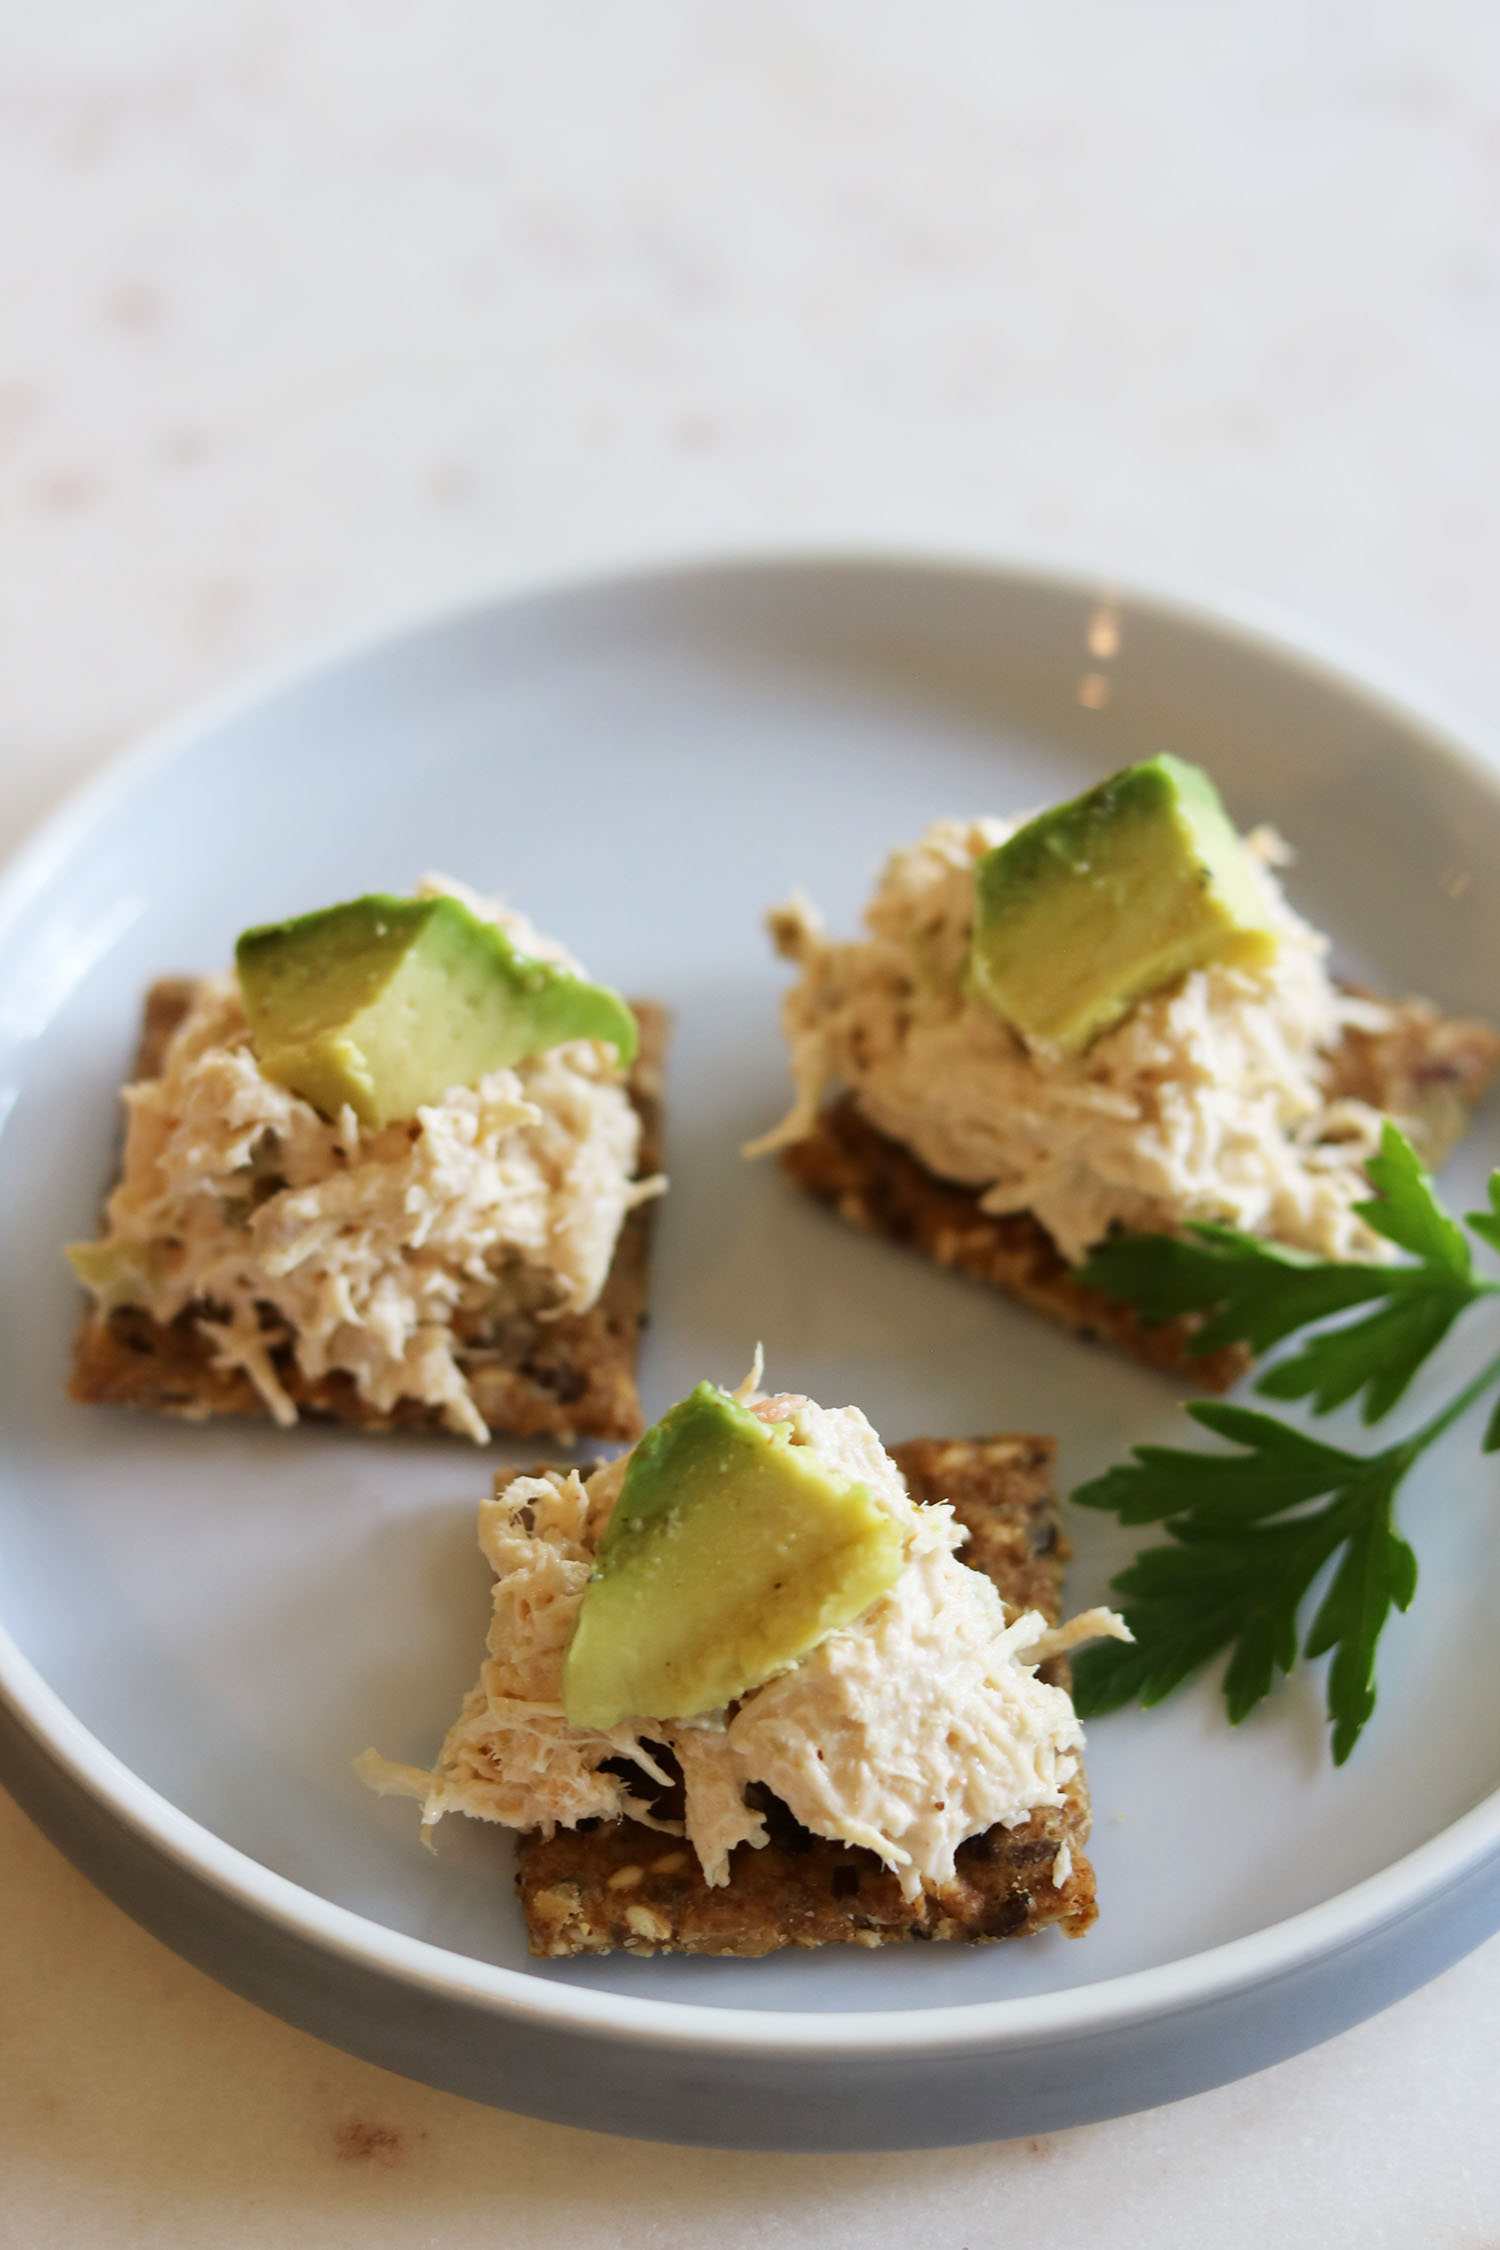
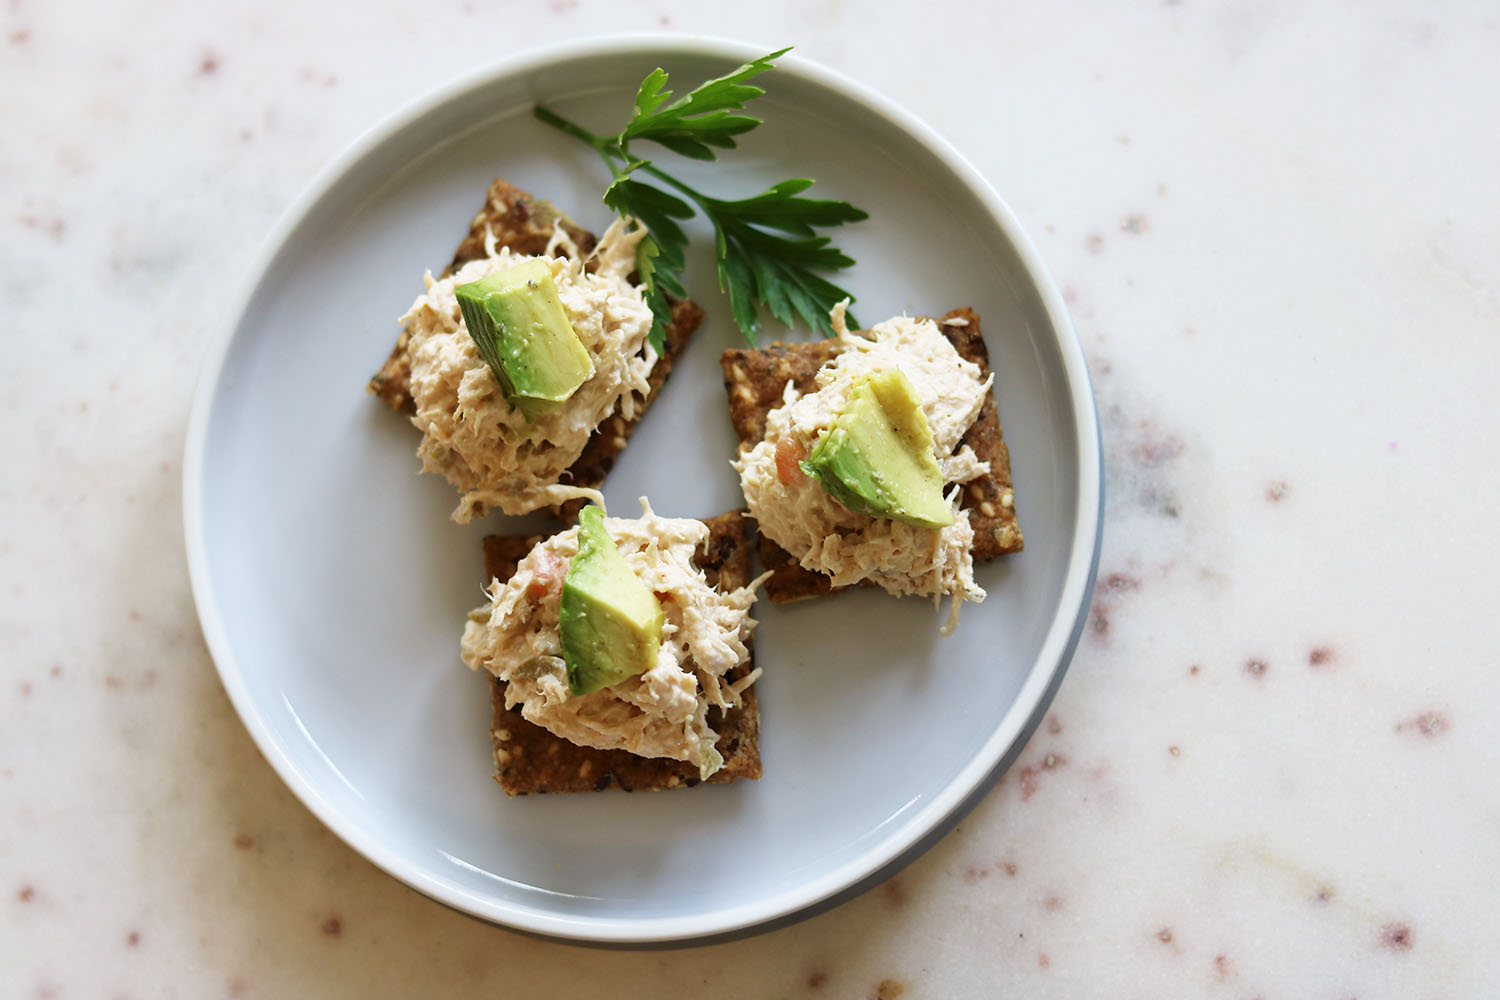
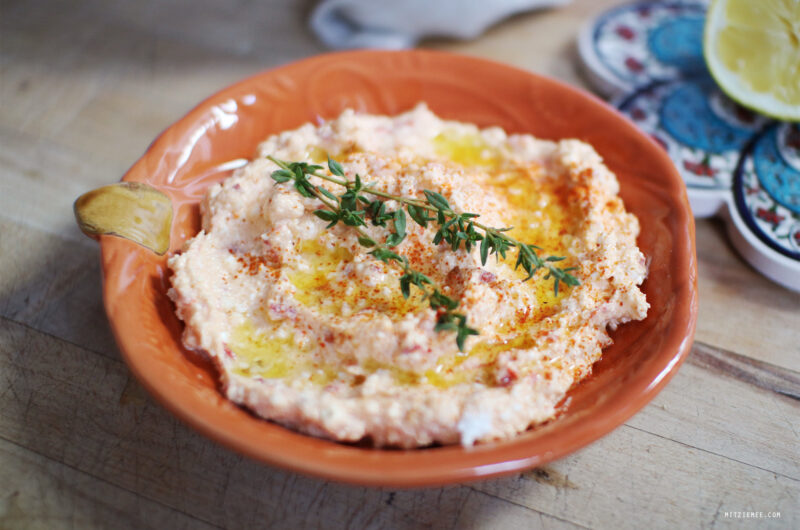
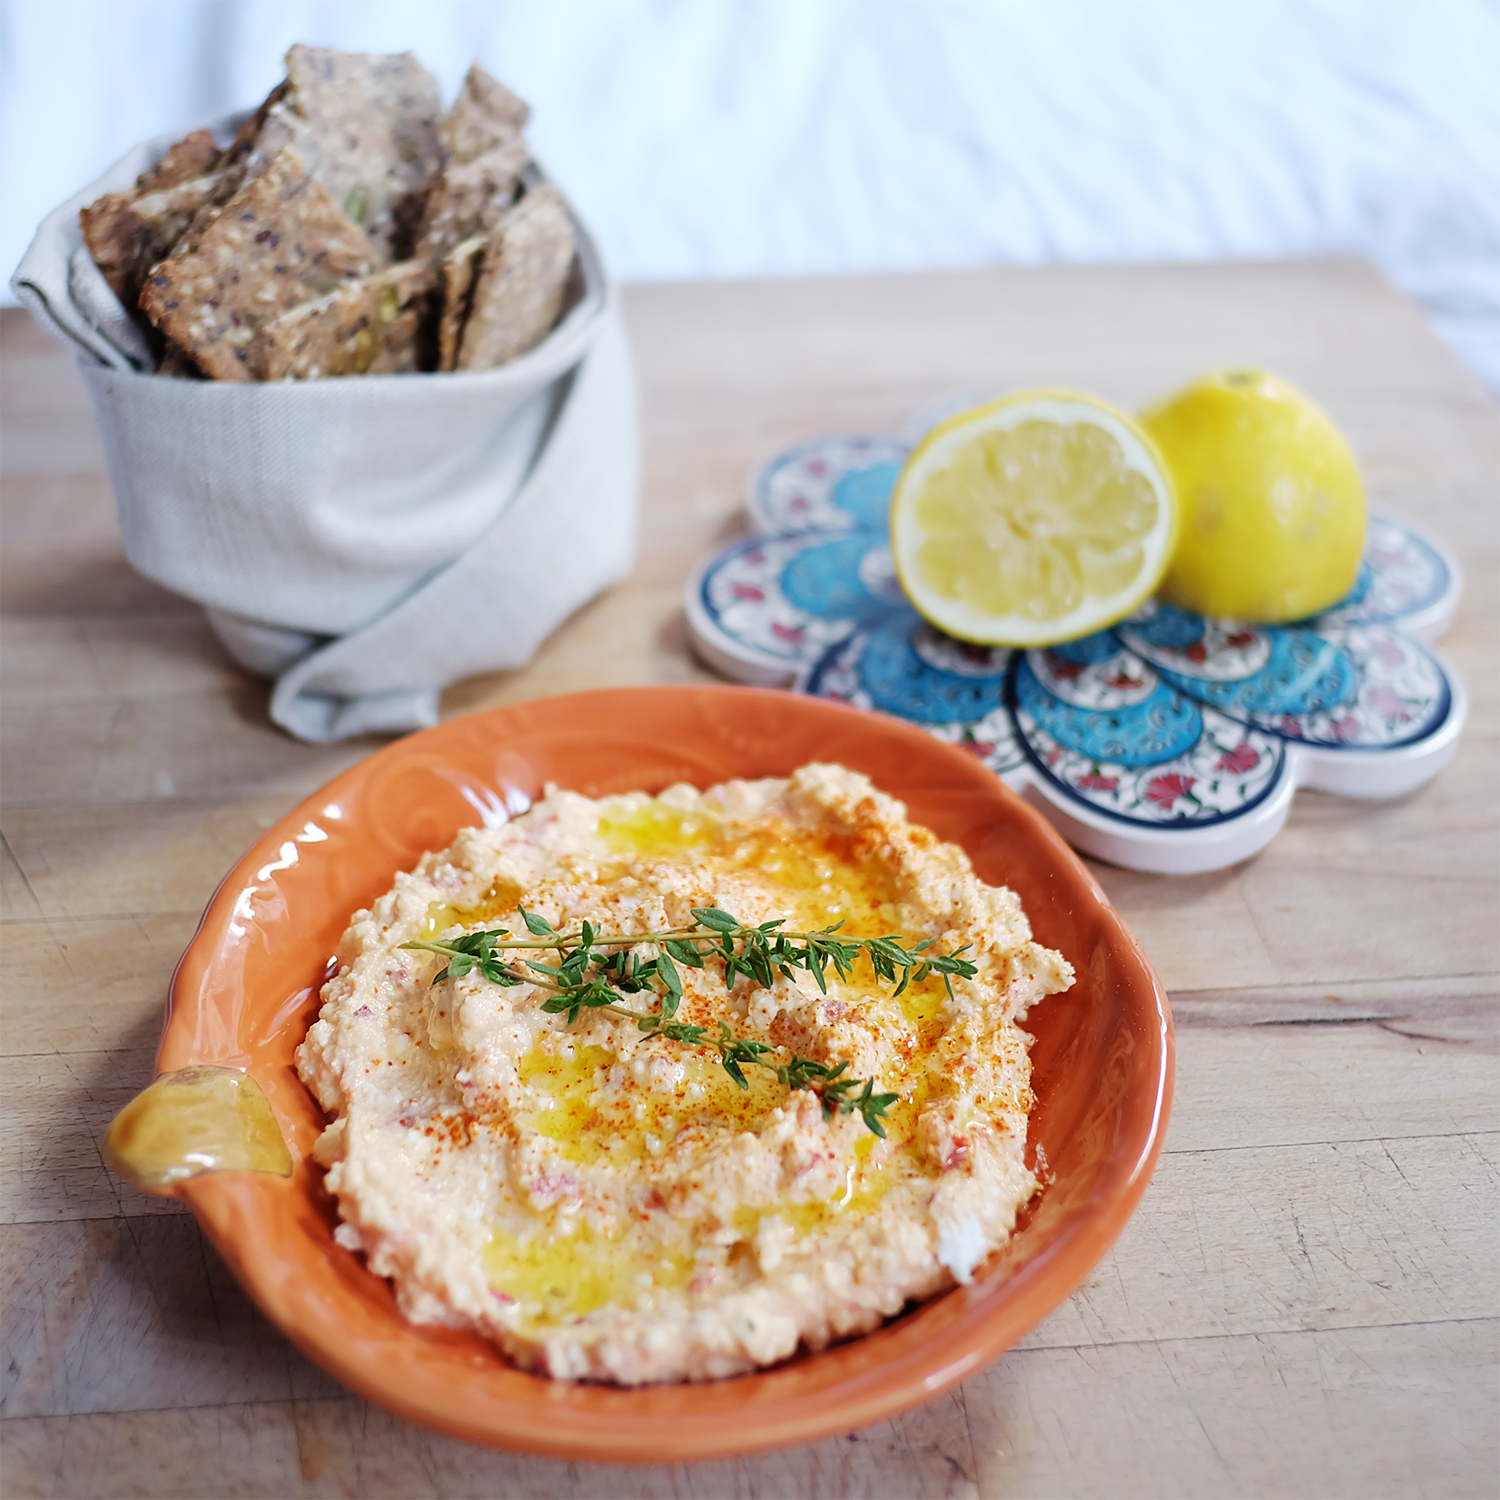
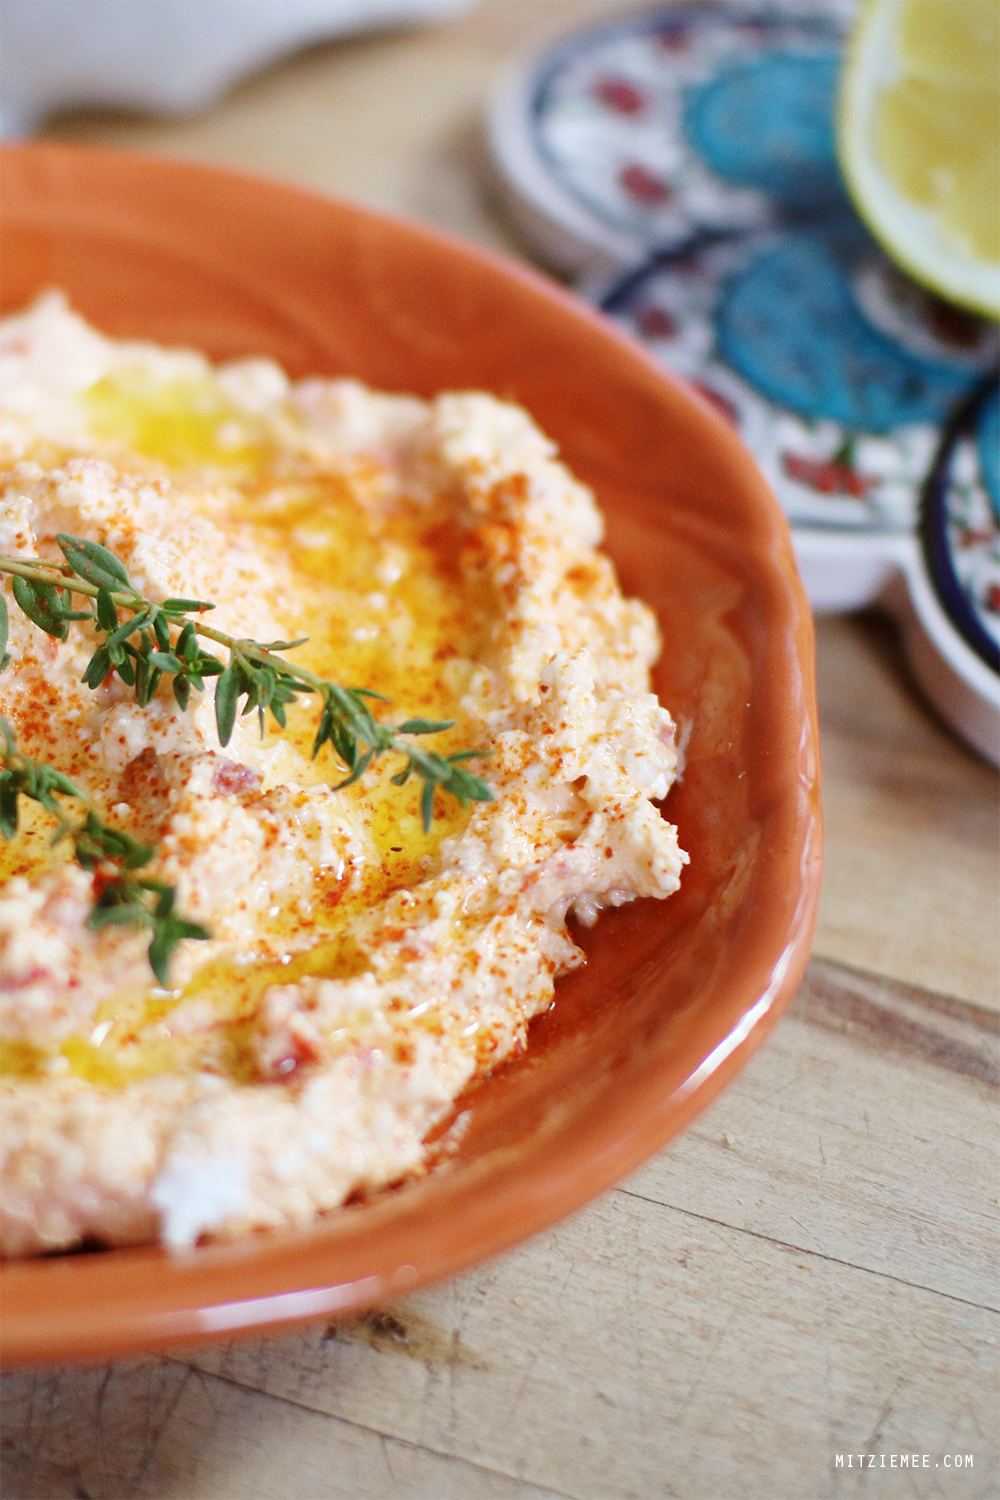
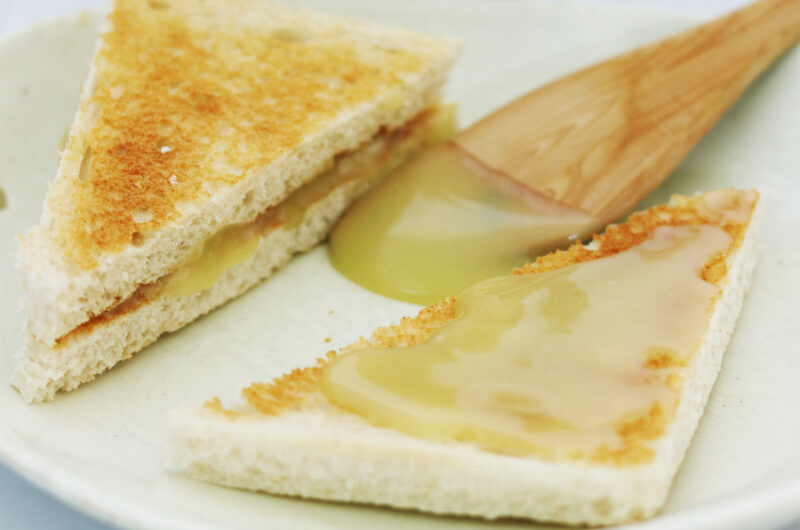
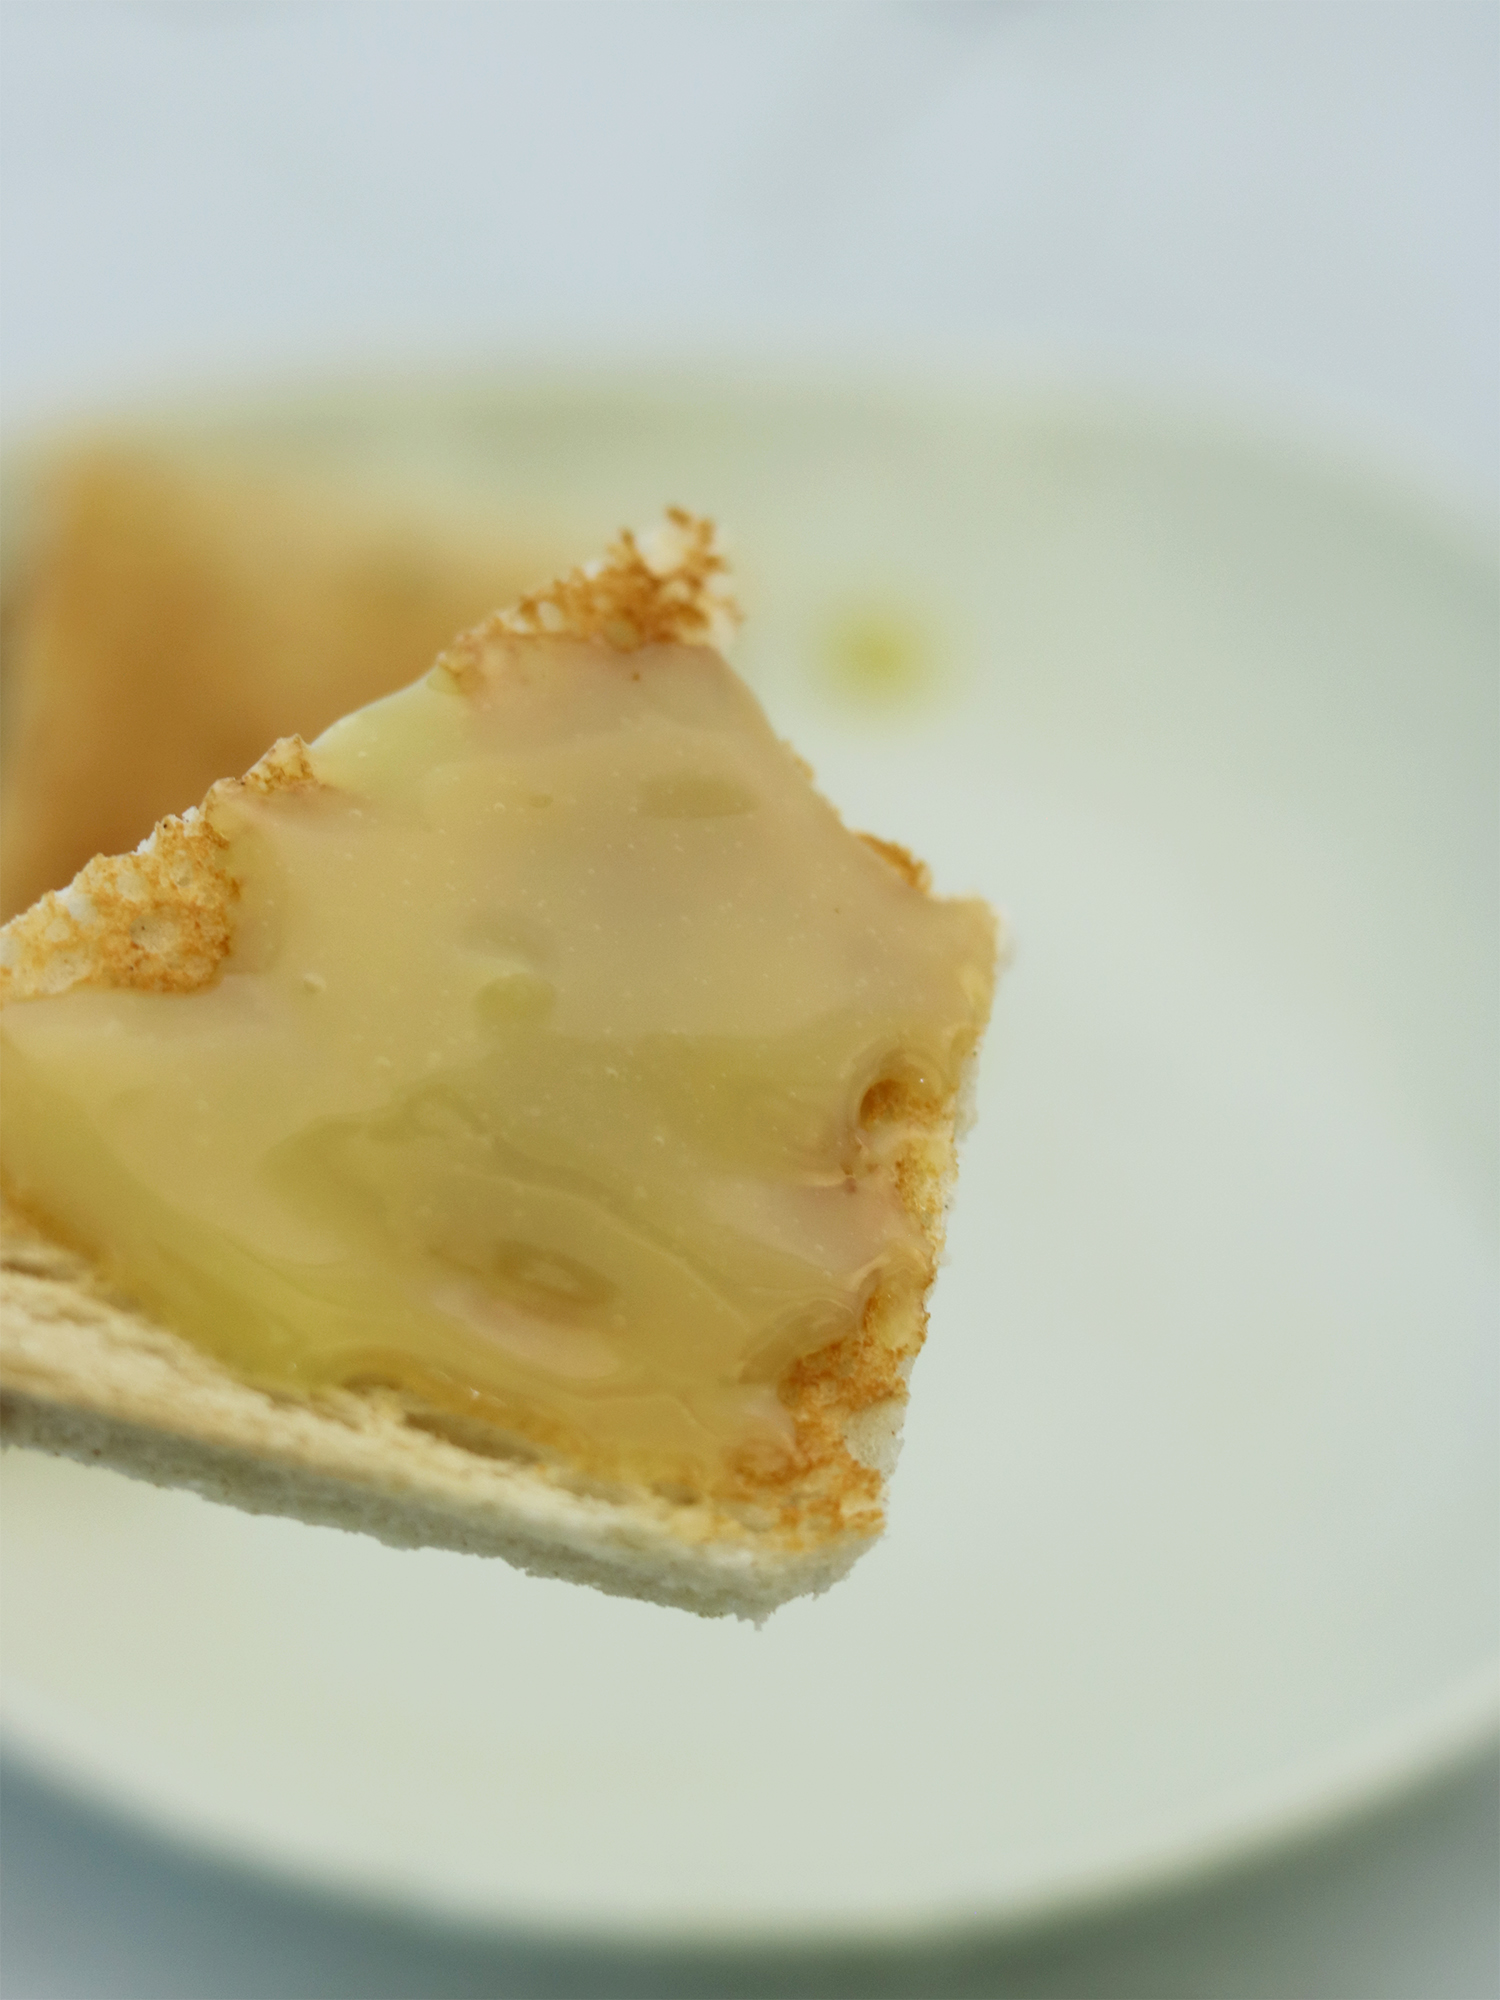
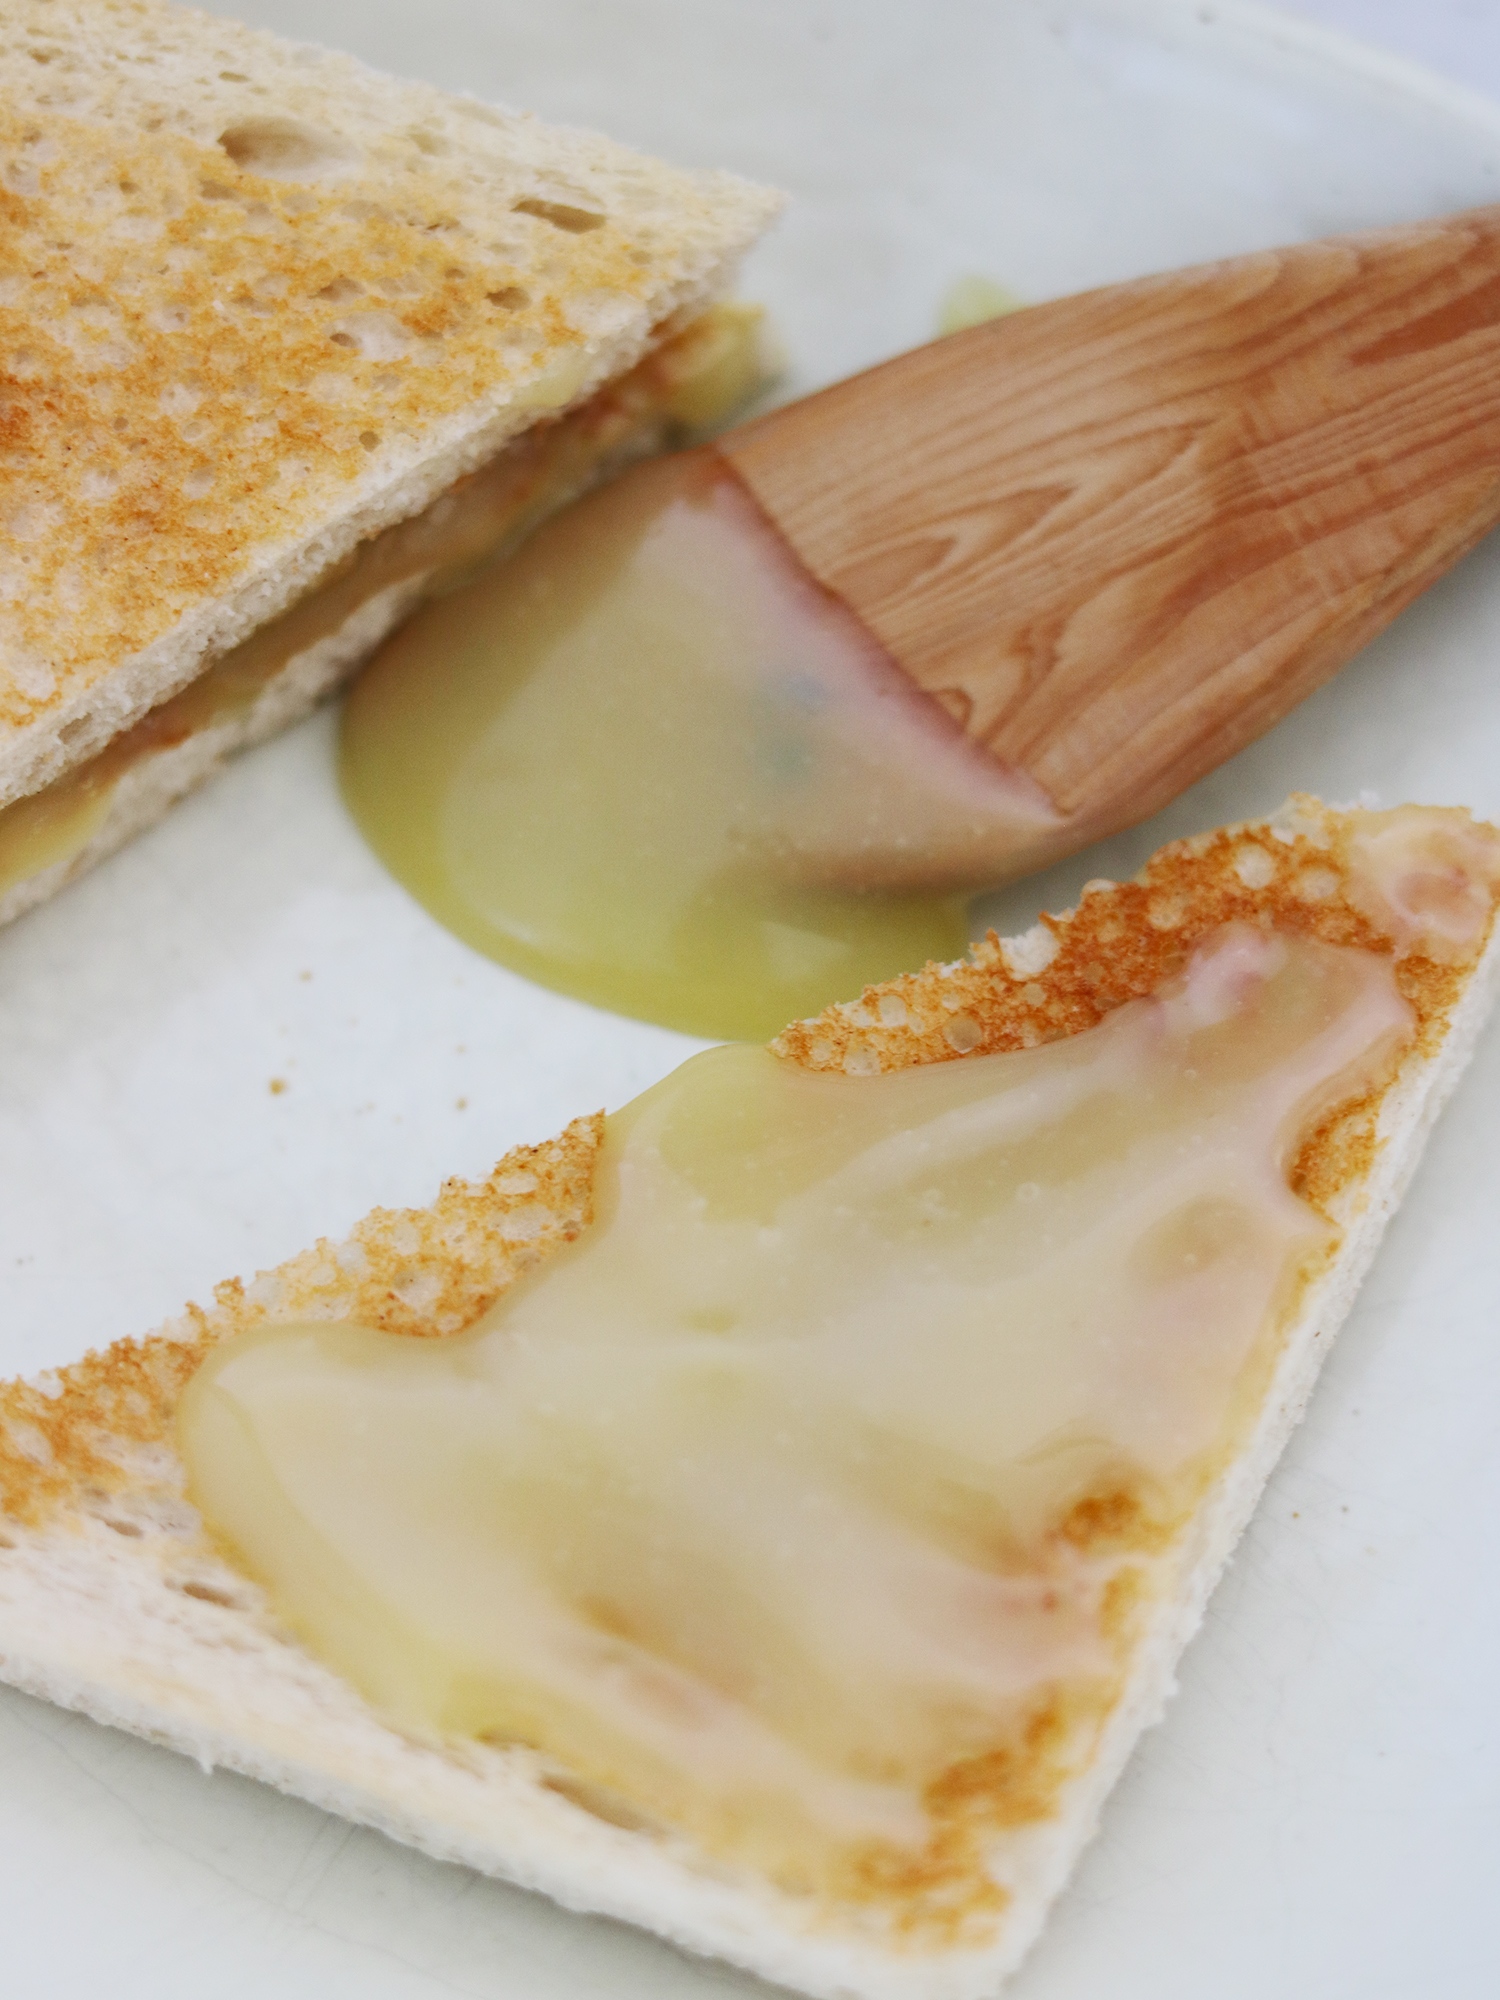
One of my favorite ways to use the Celery Root plant-based Whitefish from Seed to Surf is in a traditional whitefish salad. The smoked celery adds the same satisfying umami flavors that you find in a traditional whitefish salad, offering a similar texture and flavor profile without the need for actual seafood. This makes it a great option for vegetarians, or anyone looking to reduce their impact on the planet.
Notes
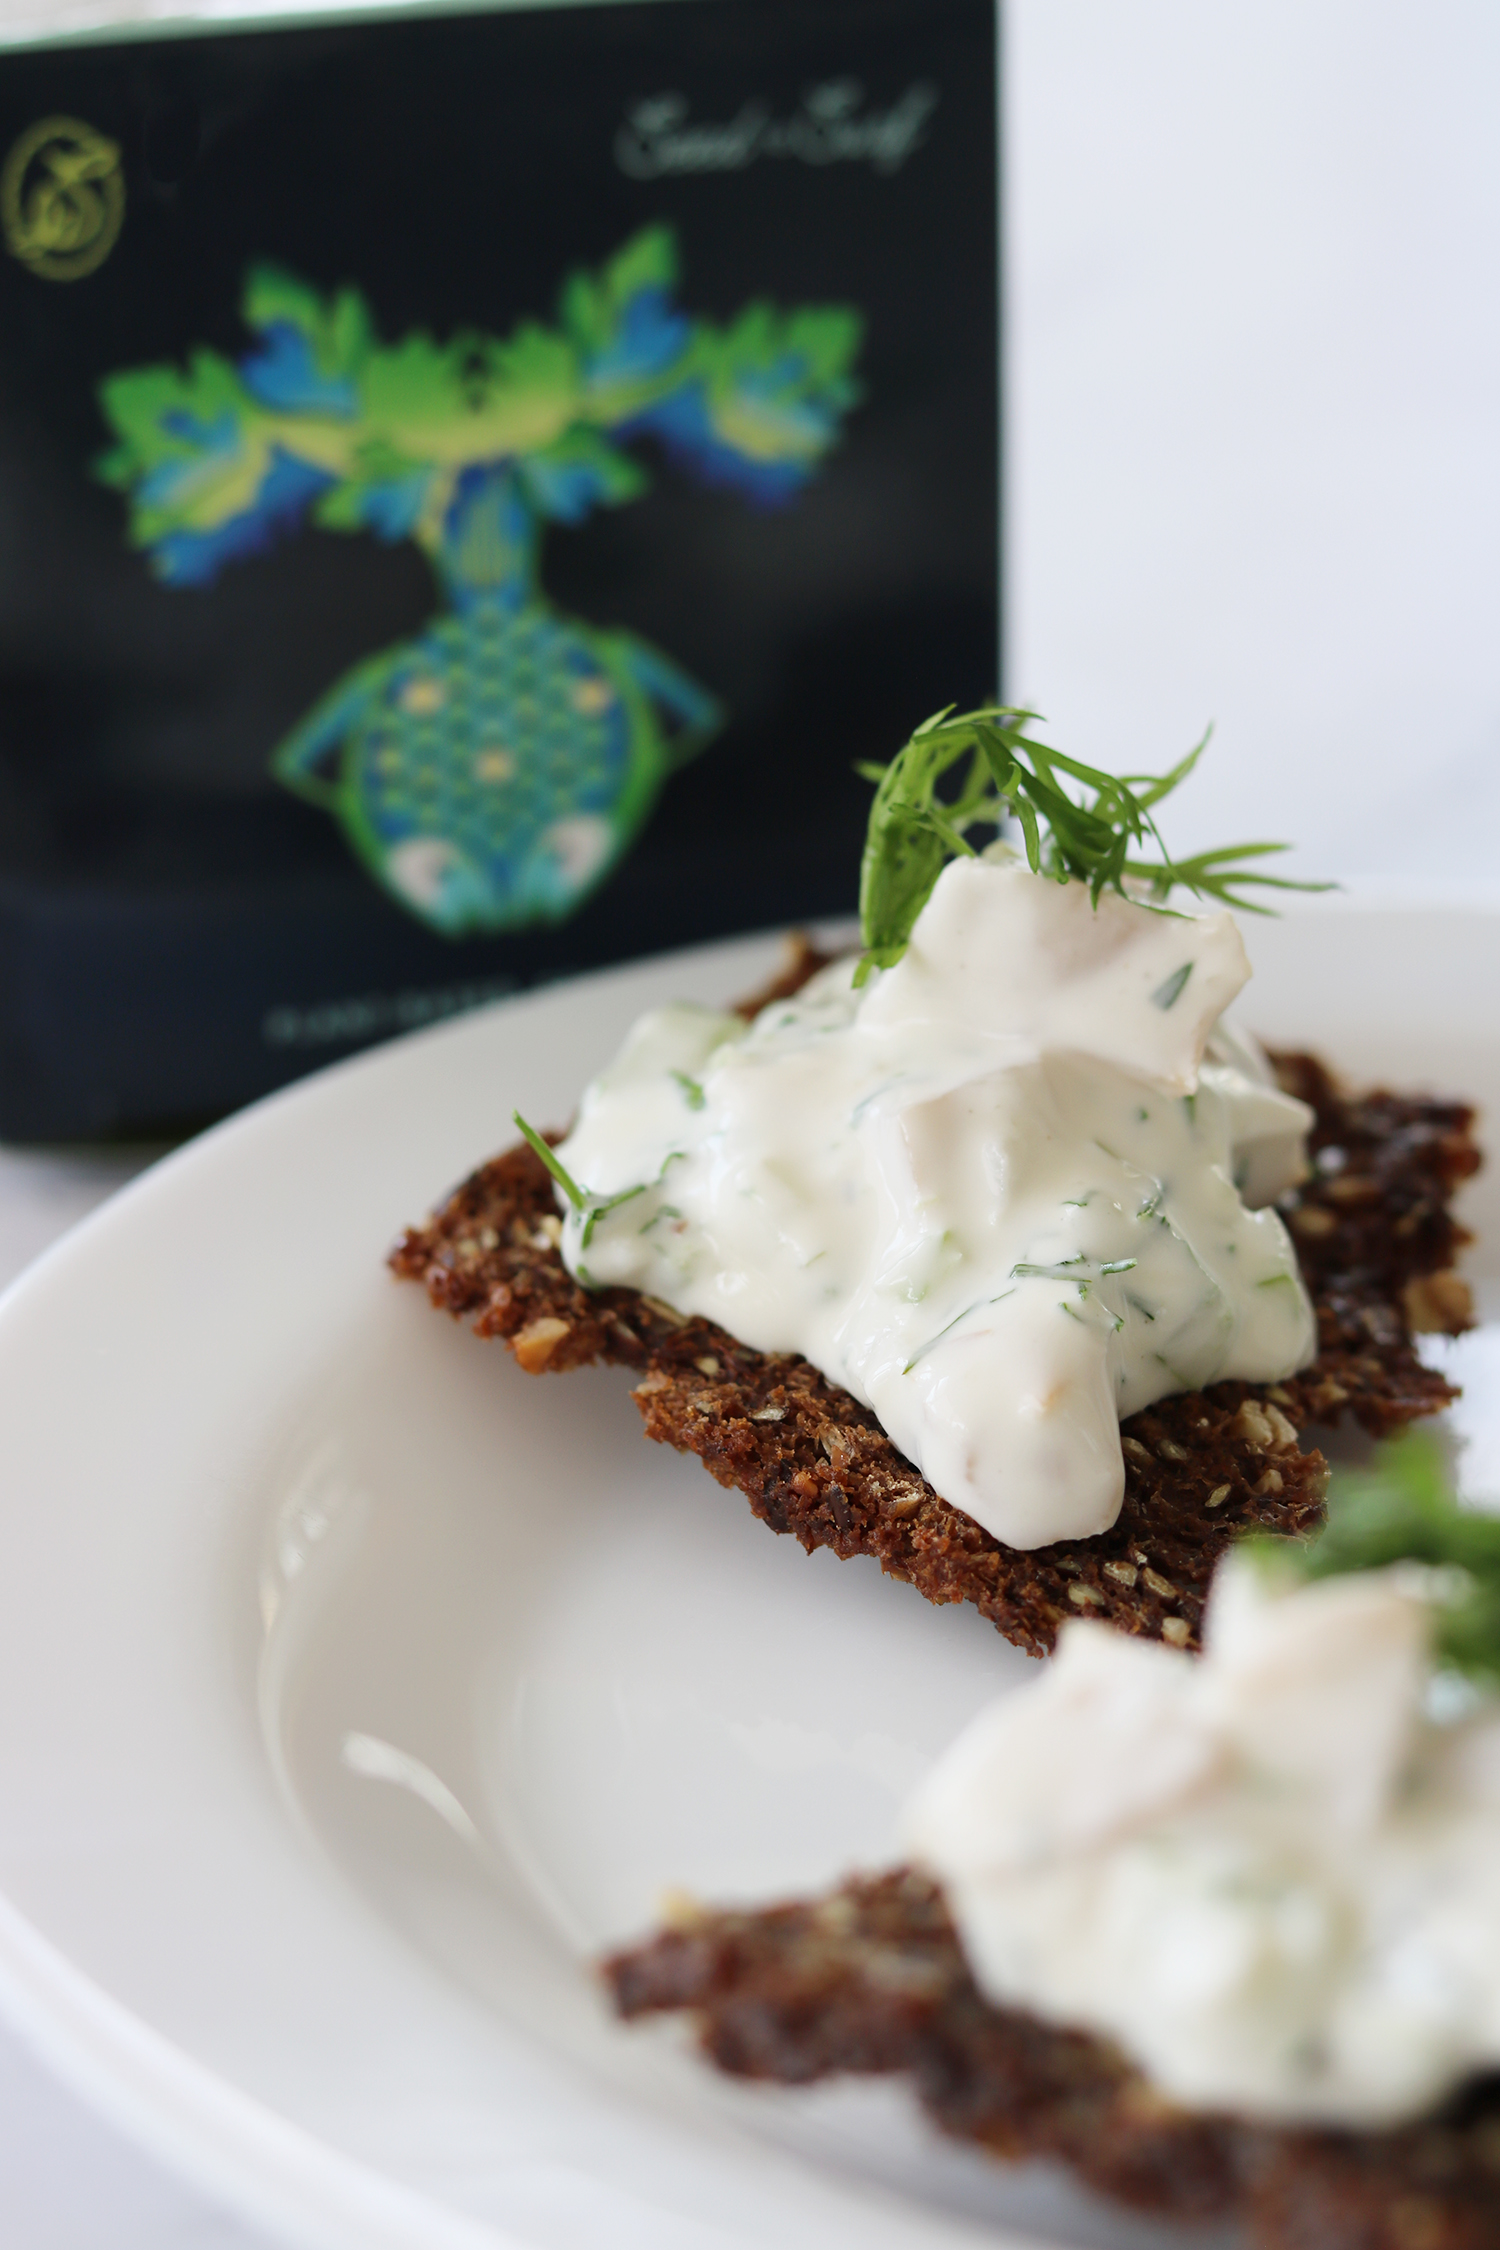
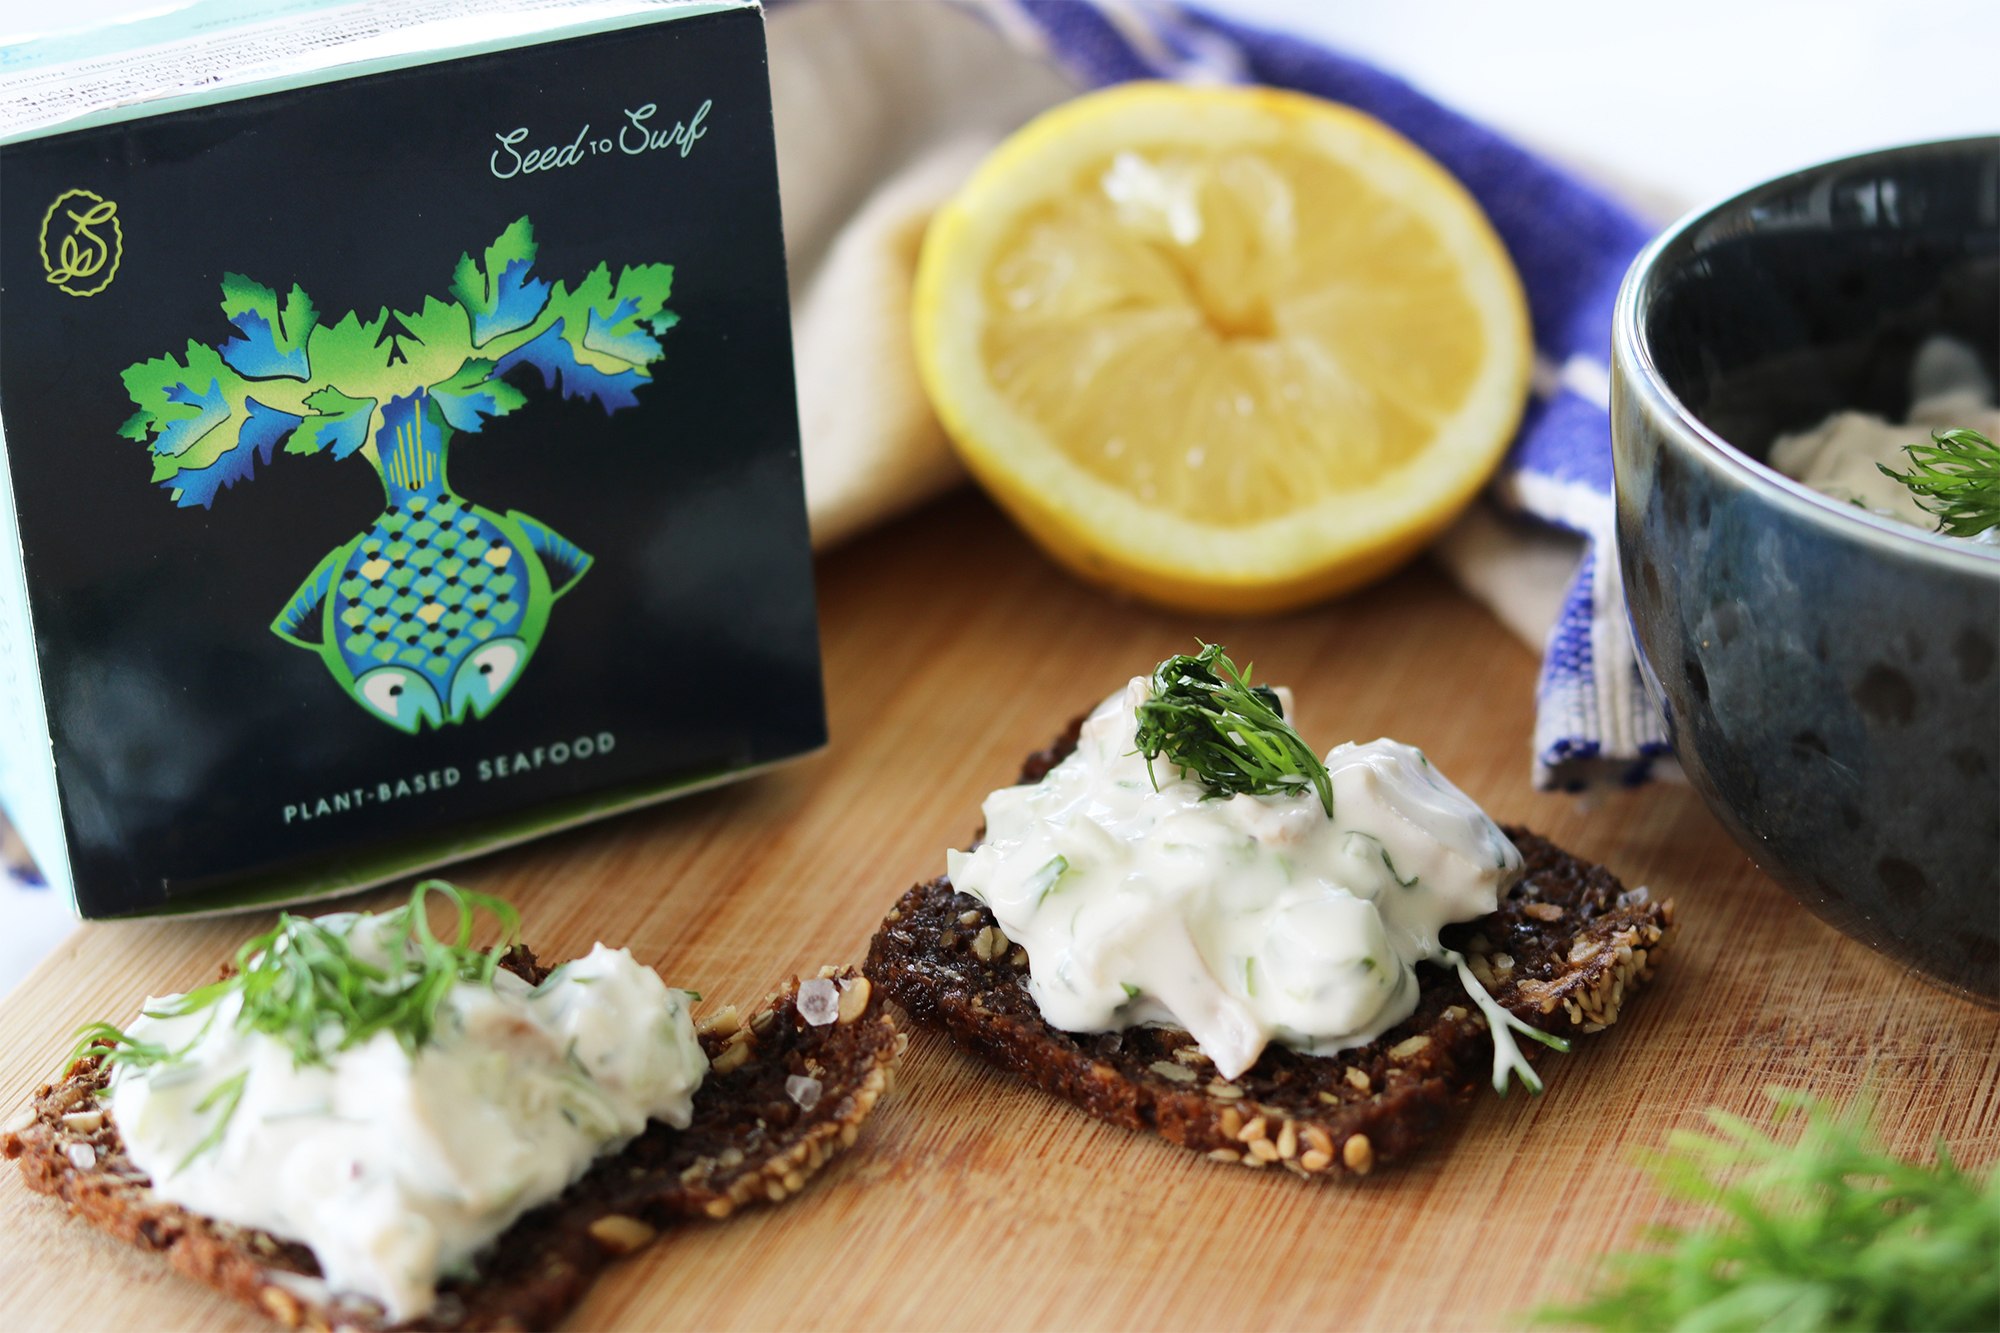
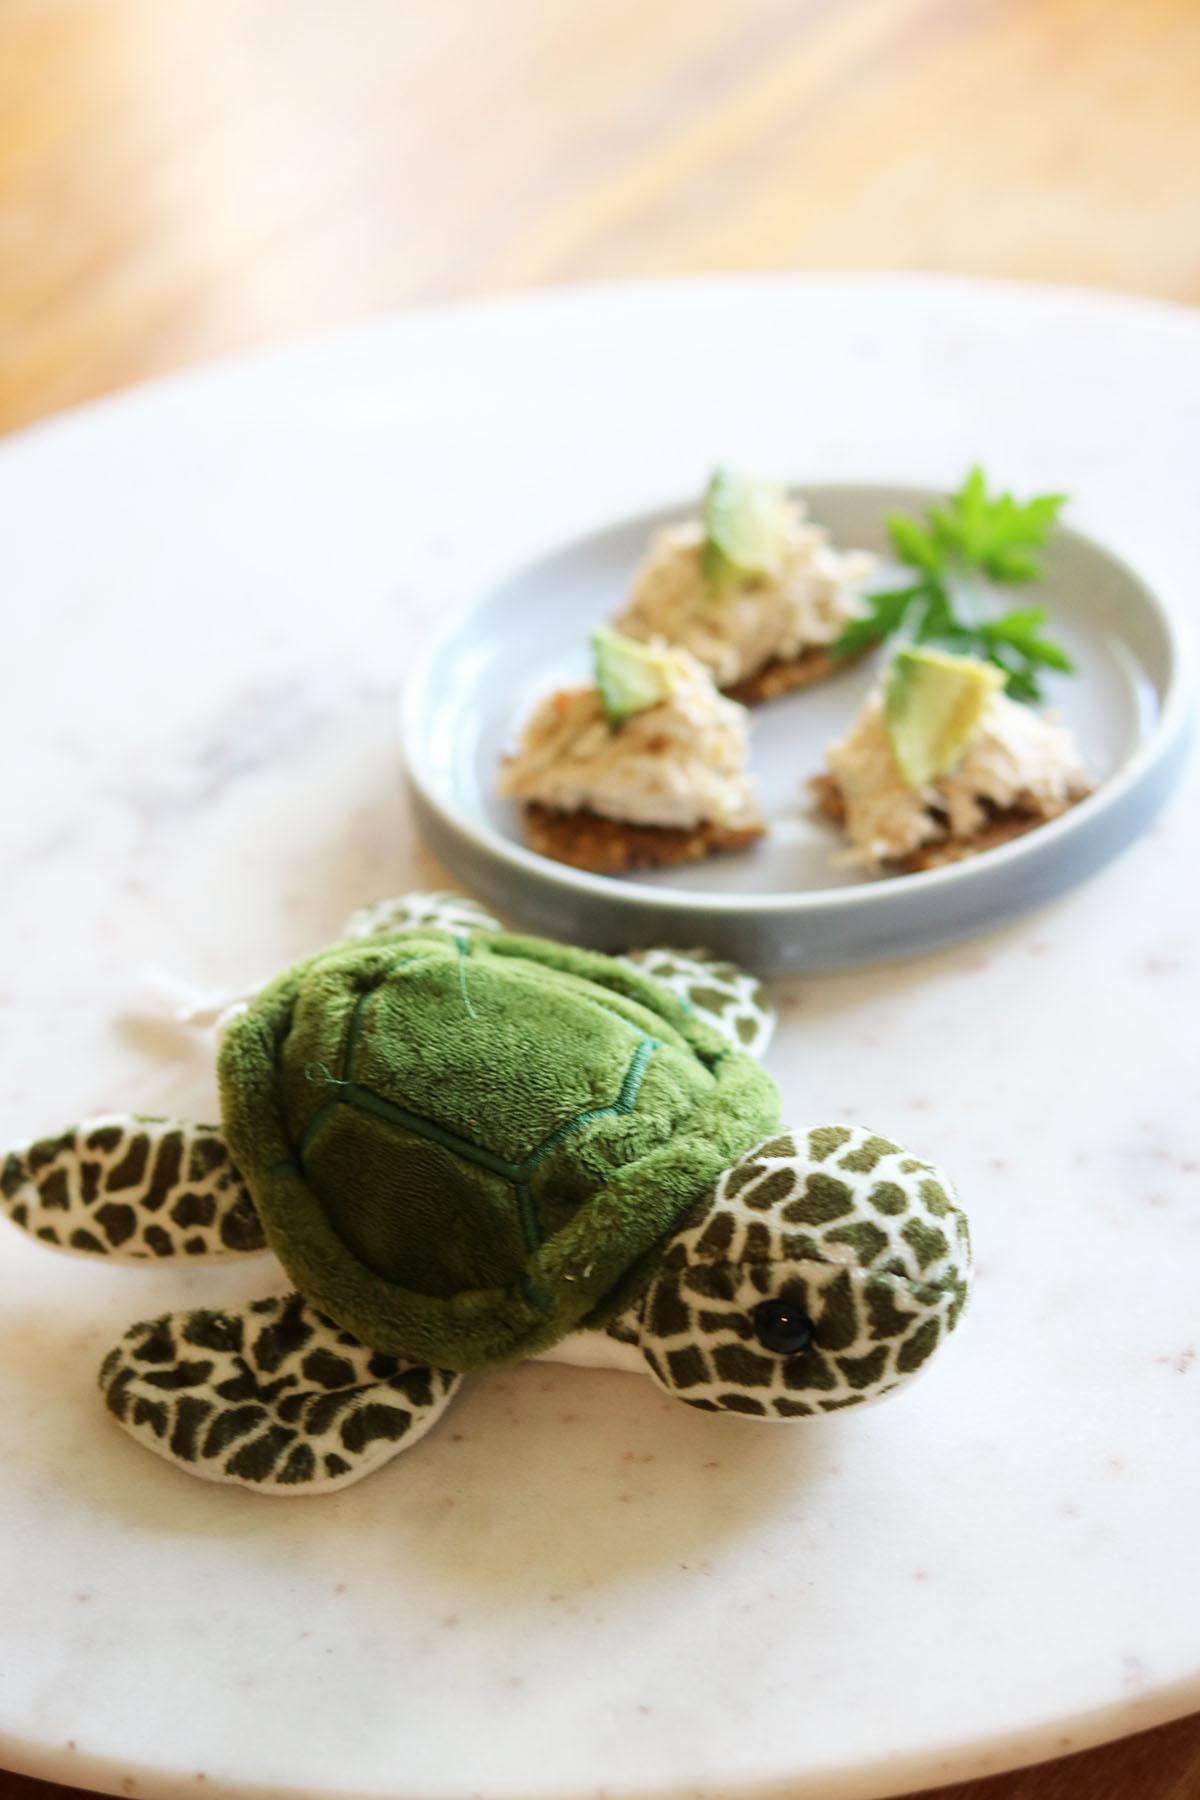
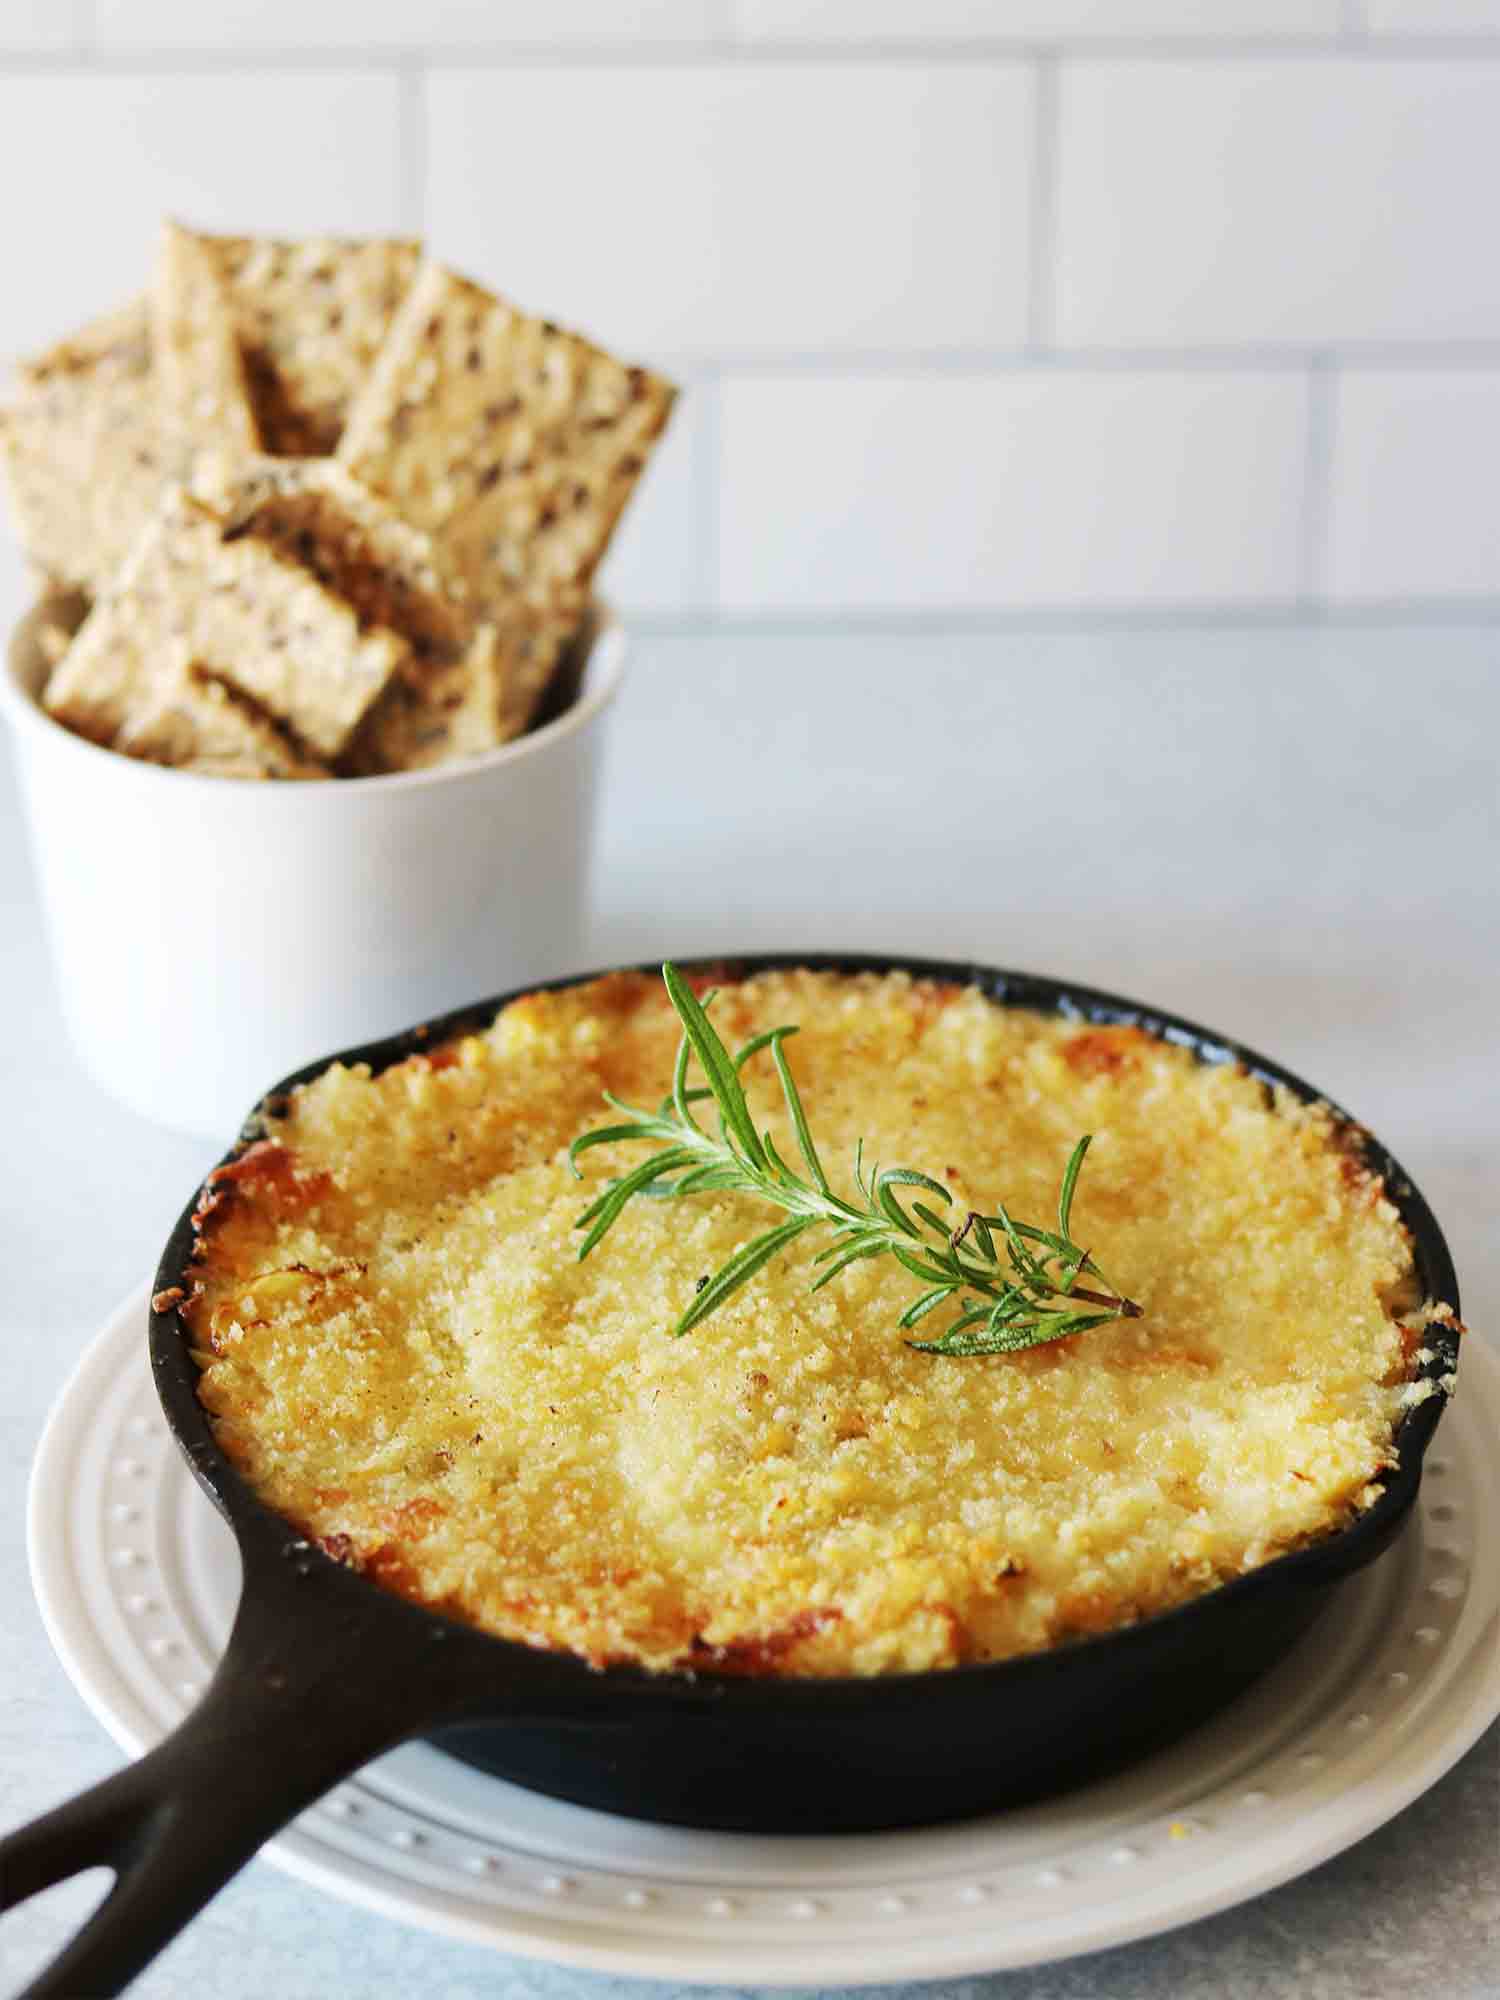
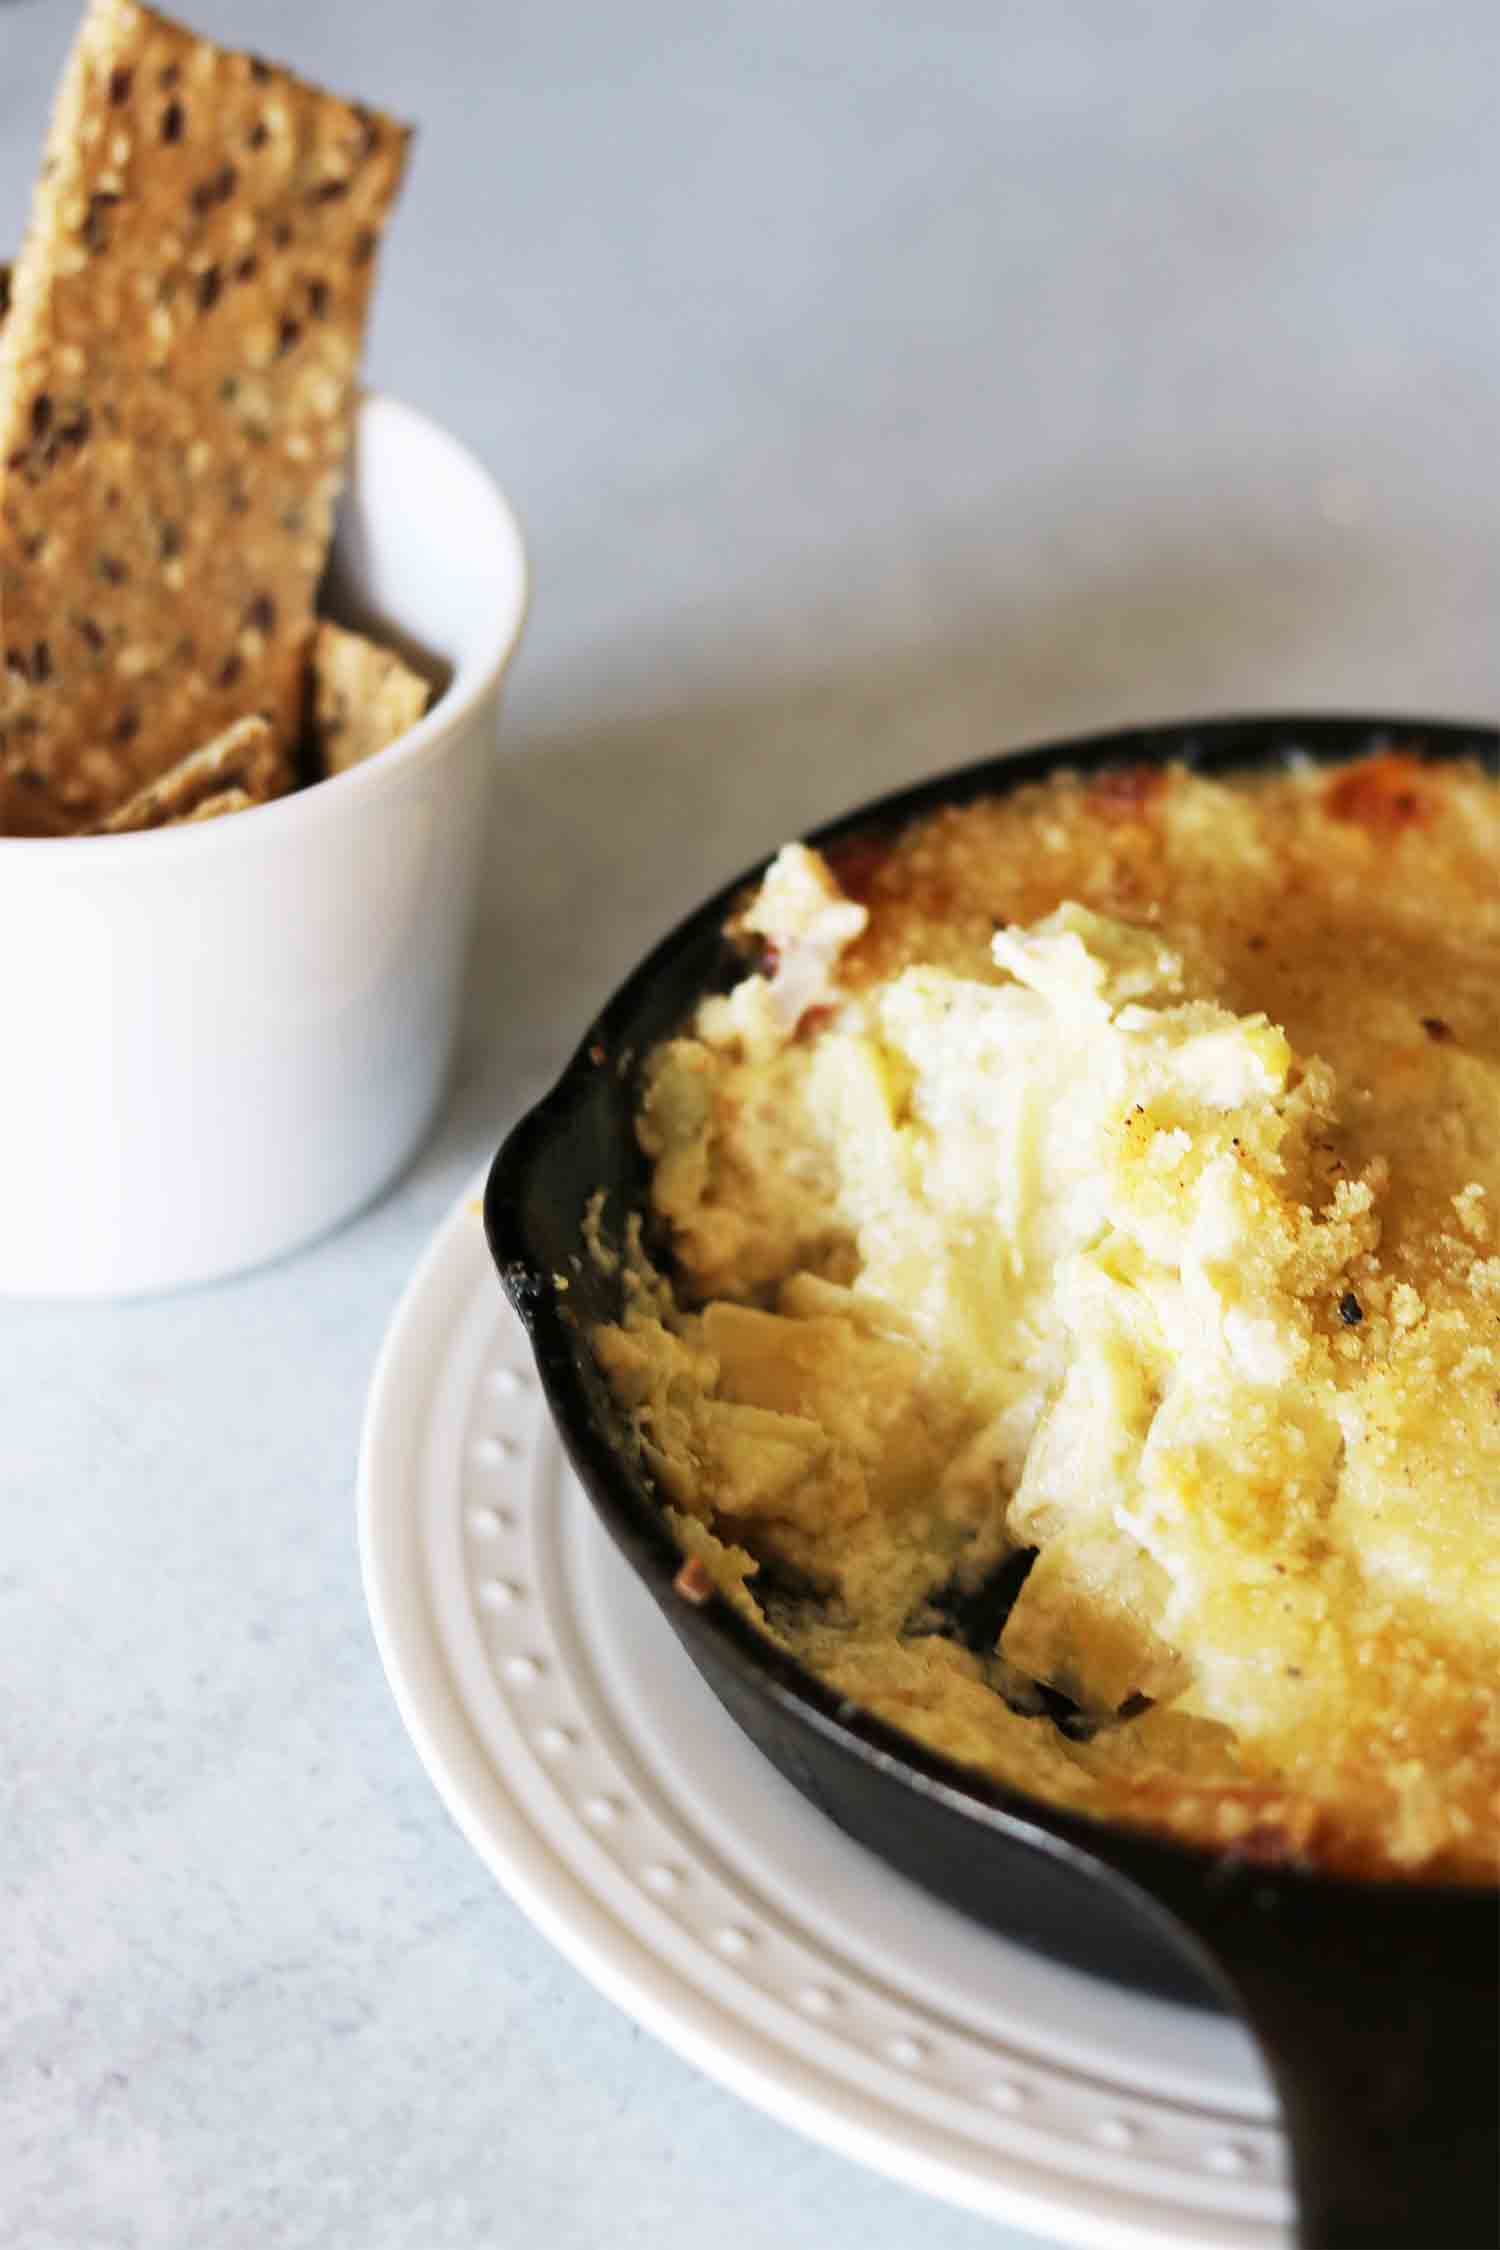
The salad is perfect for a light lunch, or as a snack, served with seed crackers or Danish rye bread. It only takes a couple of minutes to prepare, and it will last 3-4 days in the fridge.
You can turn the salad vegan by using plant-based mayonnaise and greek yogurt.

Recipe: Celery Root imitation Whitefish salad – Seed to Surf Plant-based Seafood alternative
One of my favorite ways to use the Celery Root plant-based Whitefish from Seed to Surf is in a traditional whitefish salad. The smoked celery adds the same satisfying umami flavors that you find in a traditional whitefish salad, offering a similar texture and flavor profile without the need for actual seafood. This makes it a great option for vegetarians, or anyone looking to reduce their impact on the planet.
1
small bowlIngredients
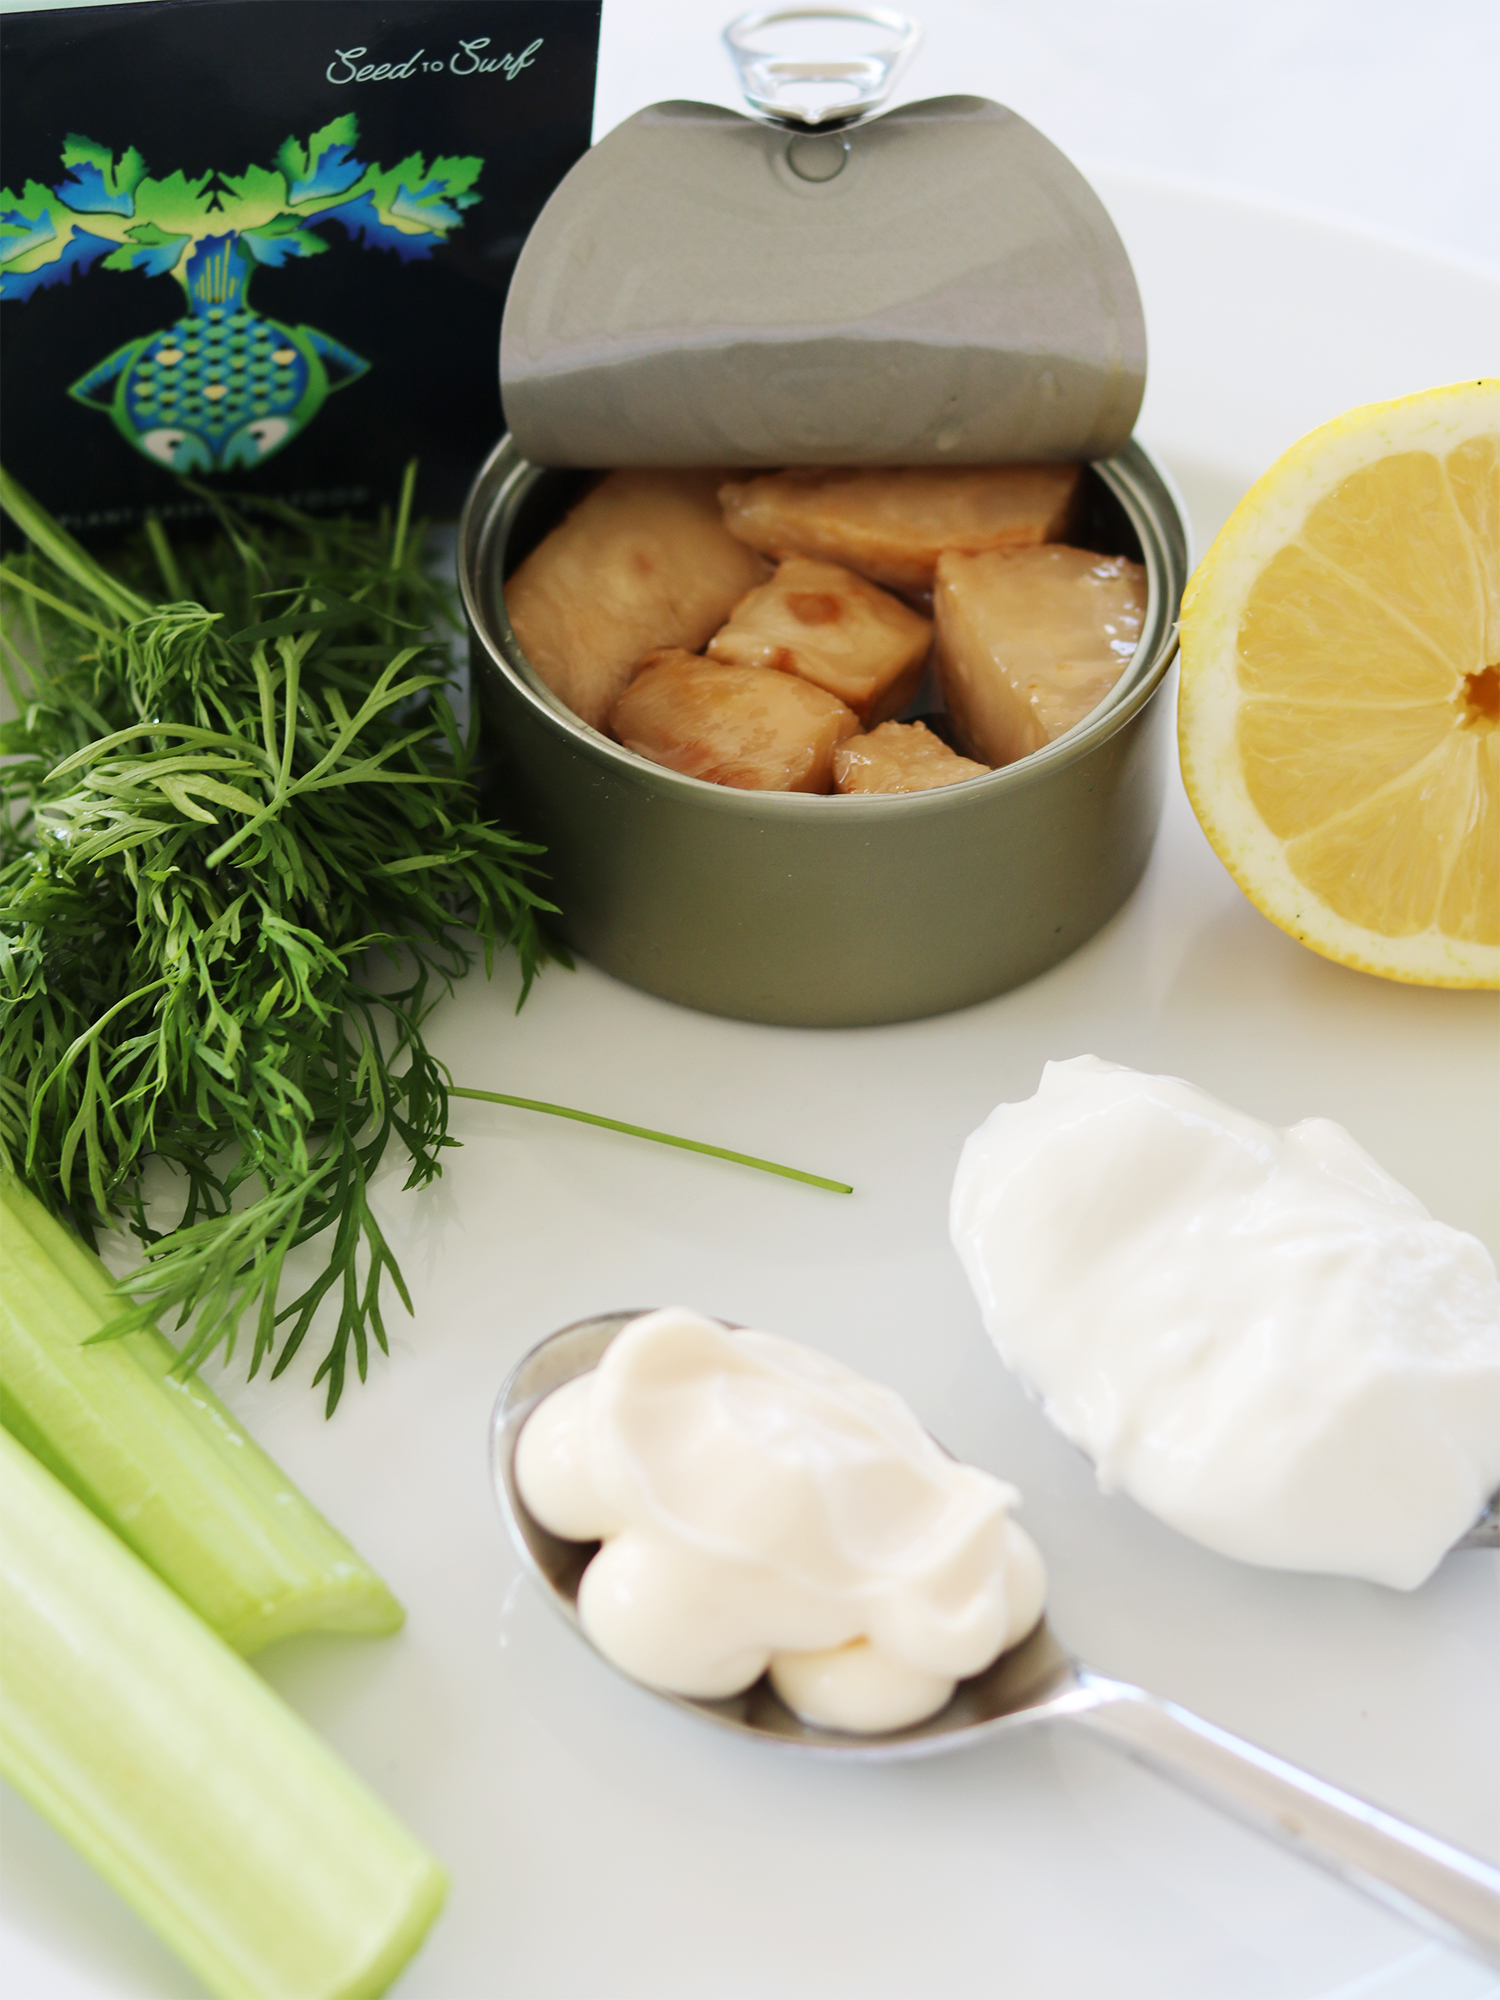
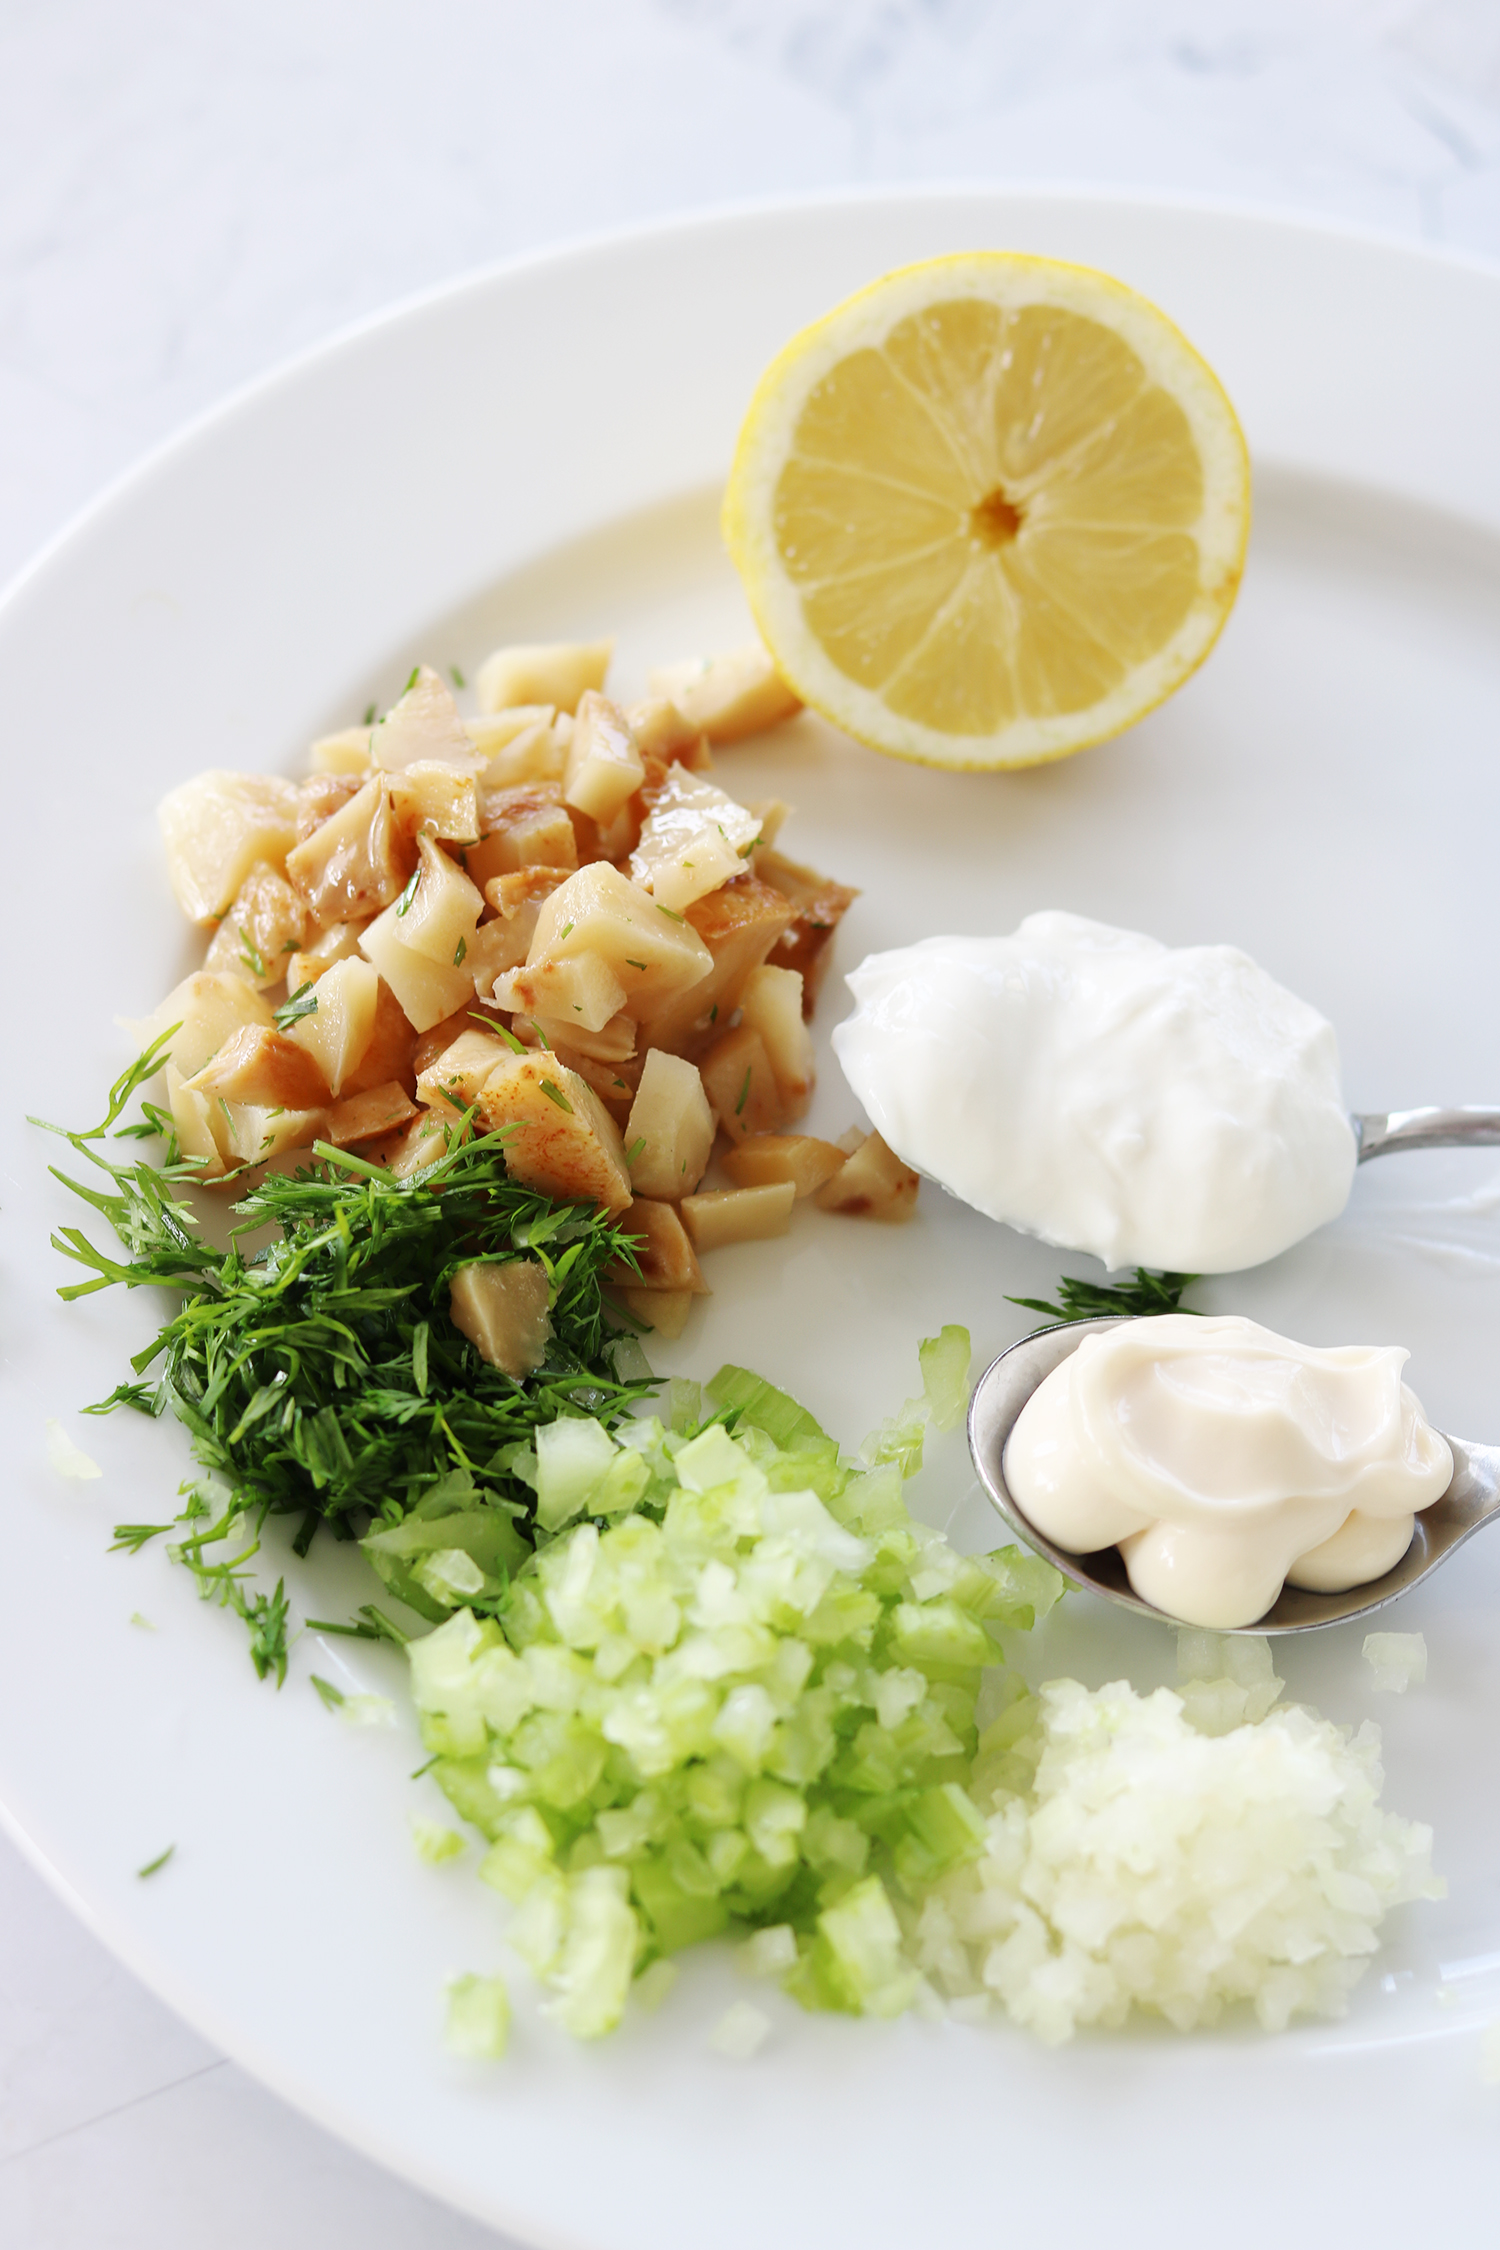
2 tablespoons Greek yogurt
2 tablespoons mayonnaise
salt and pepper to taste
Juice from ½ lemon
1 tin Seed to Surf Celery Root Whitefish, coarsely chopped
1 tablespoon chopped dill
1 tablespoon finely chopped yellow onion
2 tablespoons chopped celery
Directions
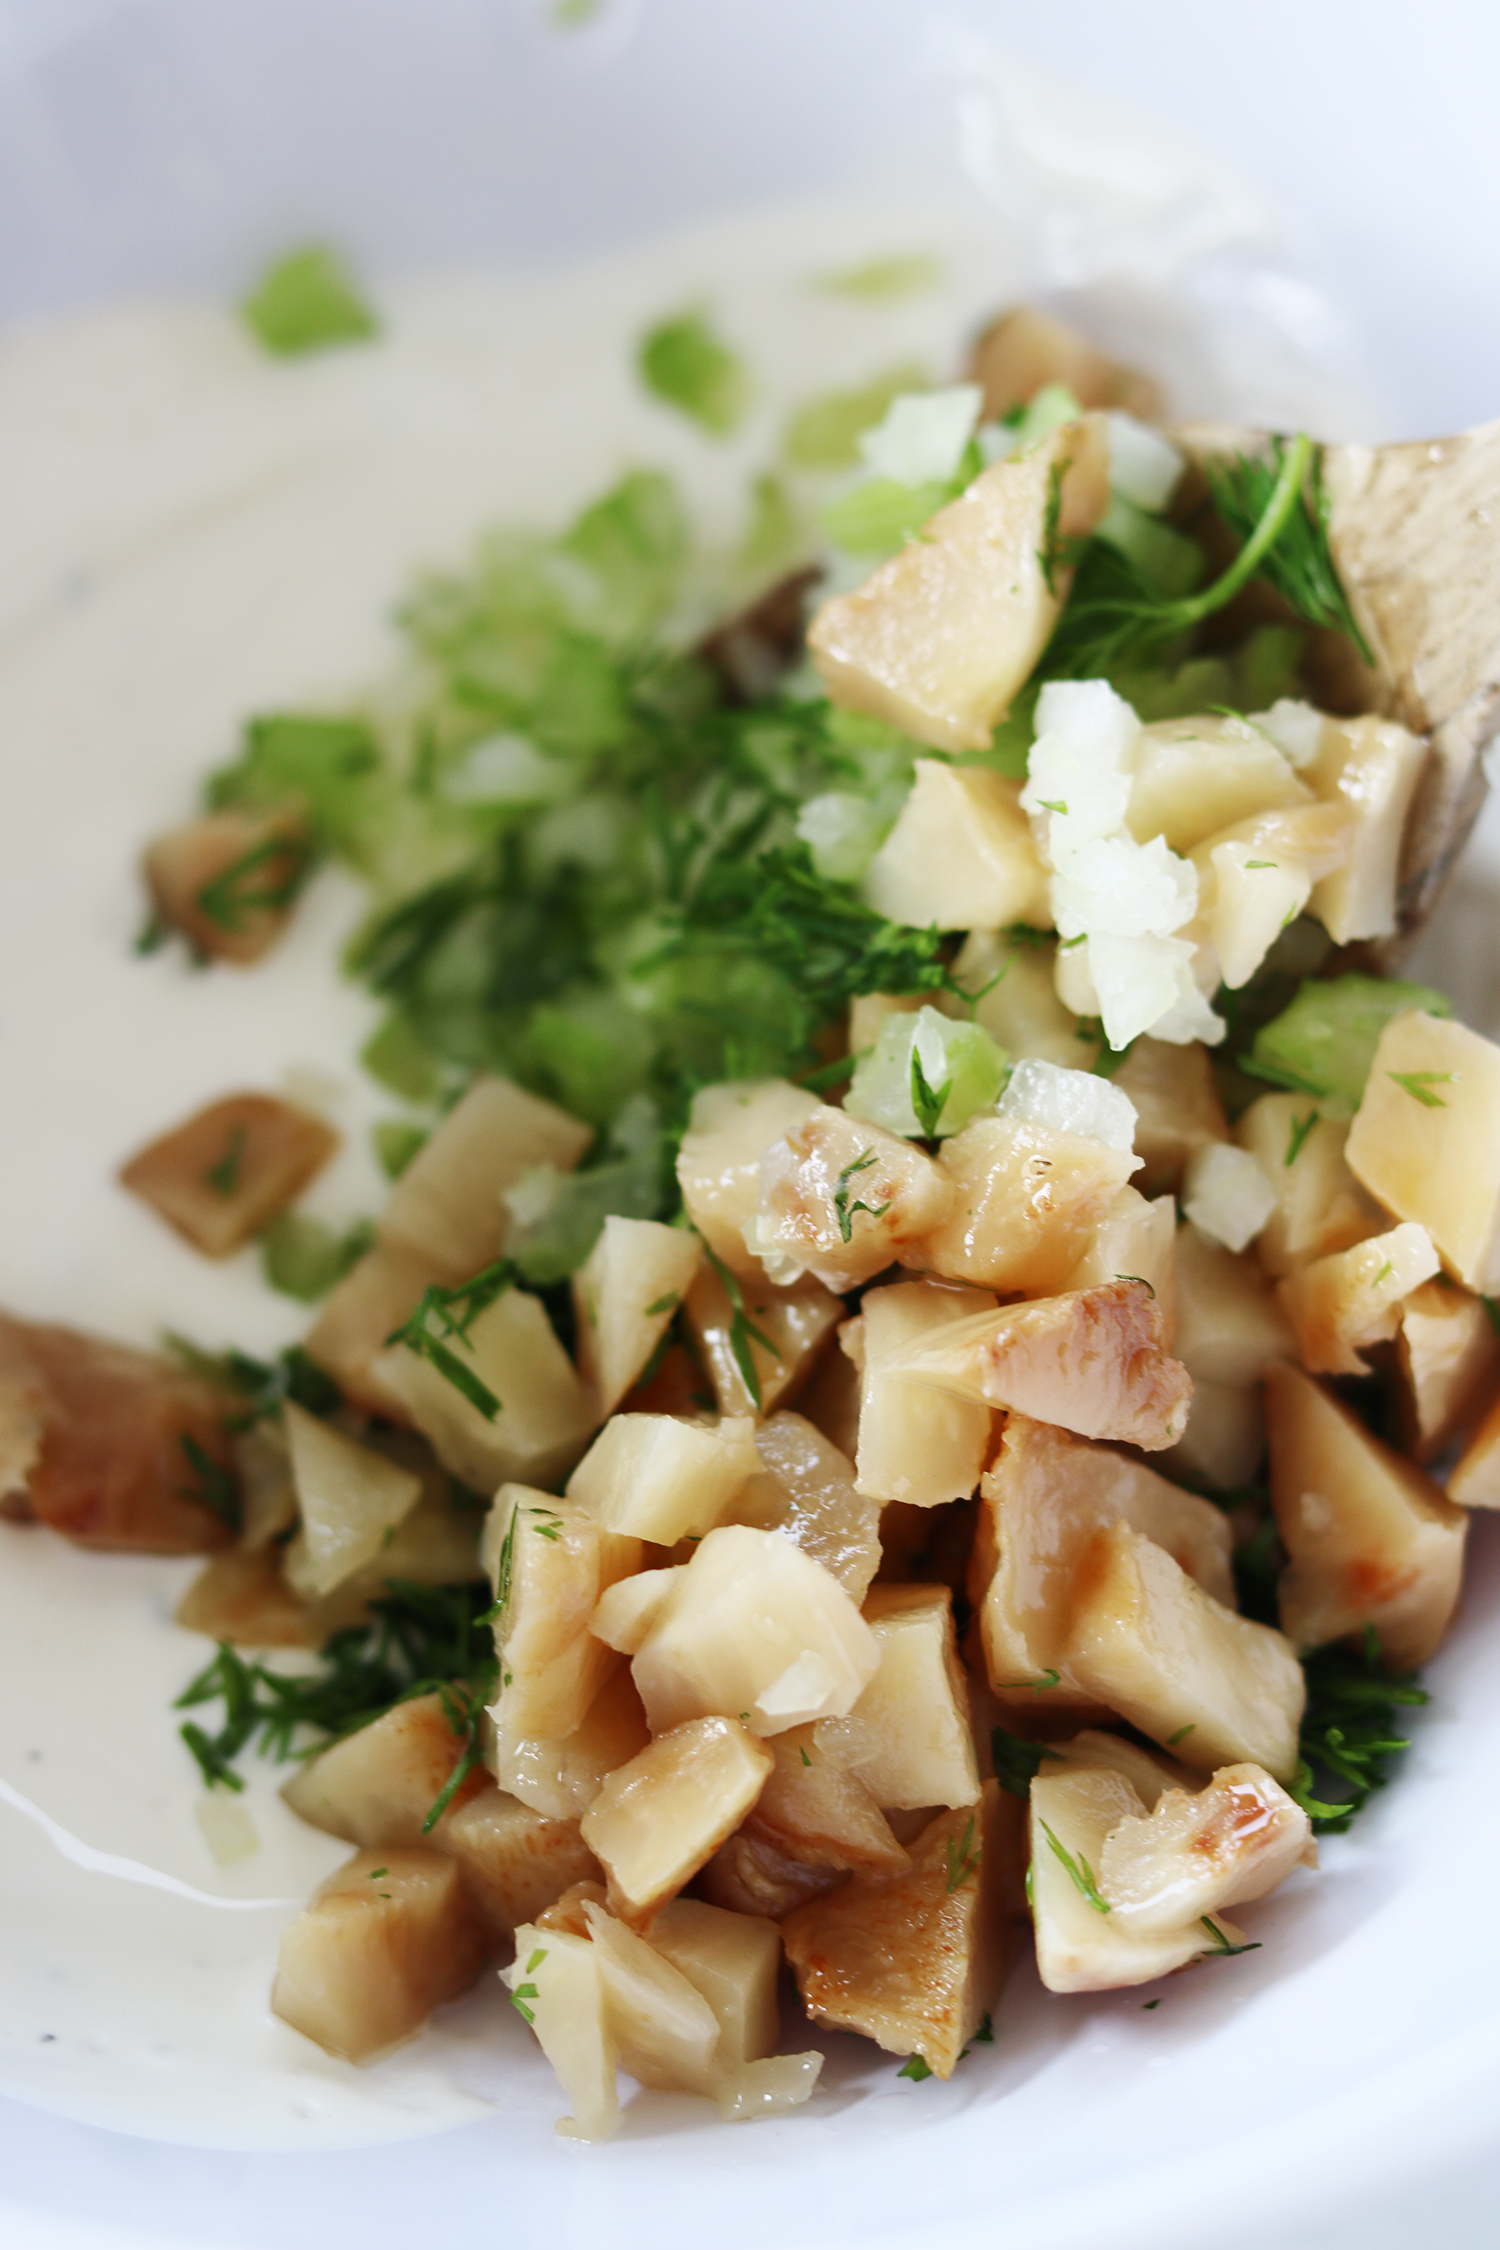
- In a mixing bowl, combine the Greek yogurt, mayonnaise, and juice from ½ lemon. Stir until smooth.
- Season the mixture with salt and pepper to taste.
- Add the other ingredients and gently mix all the ingredients until they are well combined and evenly coated with the dressing.
- For the best flavor, cover the bowl with plastic wrap and refrigerate for at least 30 minutes to let the flavors meld.
- Serve the Celery Root Imitation White Fish Salad with your favorite seed crackers. Enjoy!


