
Tina: I don’t use breadcrumbs a lot in my cooking, but at some point I always need them. For instance, I have a great recipe for Mac n’ Cheese that requires some breadcrumbs on top. My husband (the “health freak”) pointed out to me that almost all store-bought breadcrumbs are full of unnatural ingredients. It got me thinking back to the days when I was a teenager working in a restaurant. All the leftover bread from the day would be cut into slices then air-dried until dry enough to make into breadcrumbs.
I love having dinner parties at my place and I quite often end up with a lot of leftover bread. Since I hate to let food go to waste, making my own breadcrumbs is a great solution. I tend to bake bread with various whole grains, but for wine and cheese parties I usually serve fresh baguette. I’ve found that making breadcrumbs with a mix of different types of breads adds a great texture and flavor.
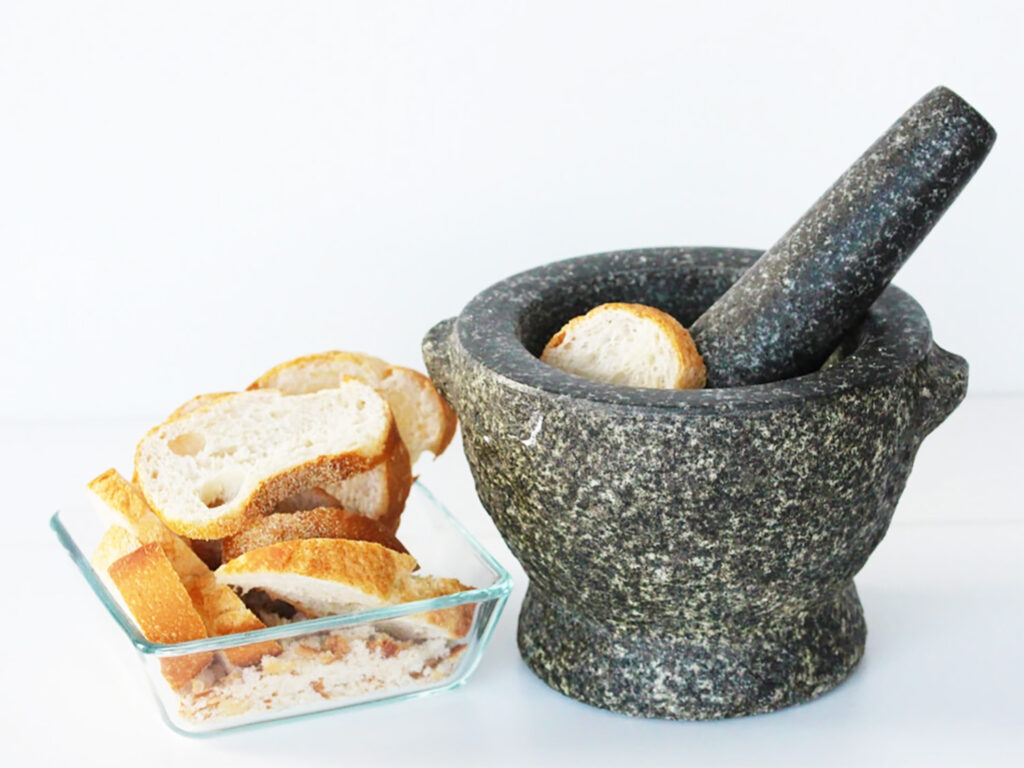
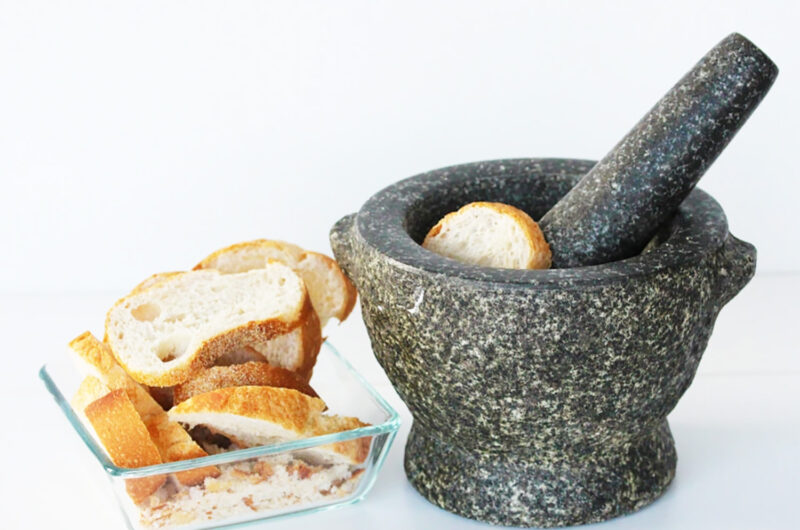
All you need are your breads of choice and a tool to grind the dried bread (such as a mortar & pestle, a blender, or a food processor).
How to make breadcrumbs
Ingredients
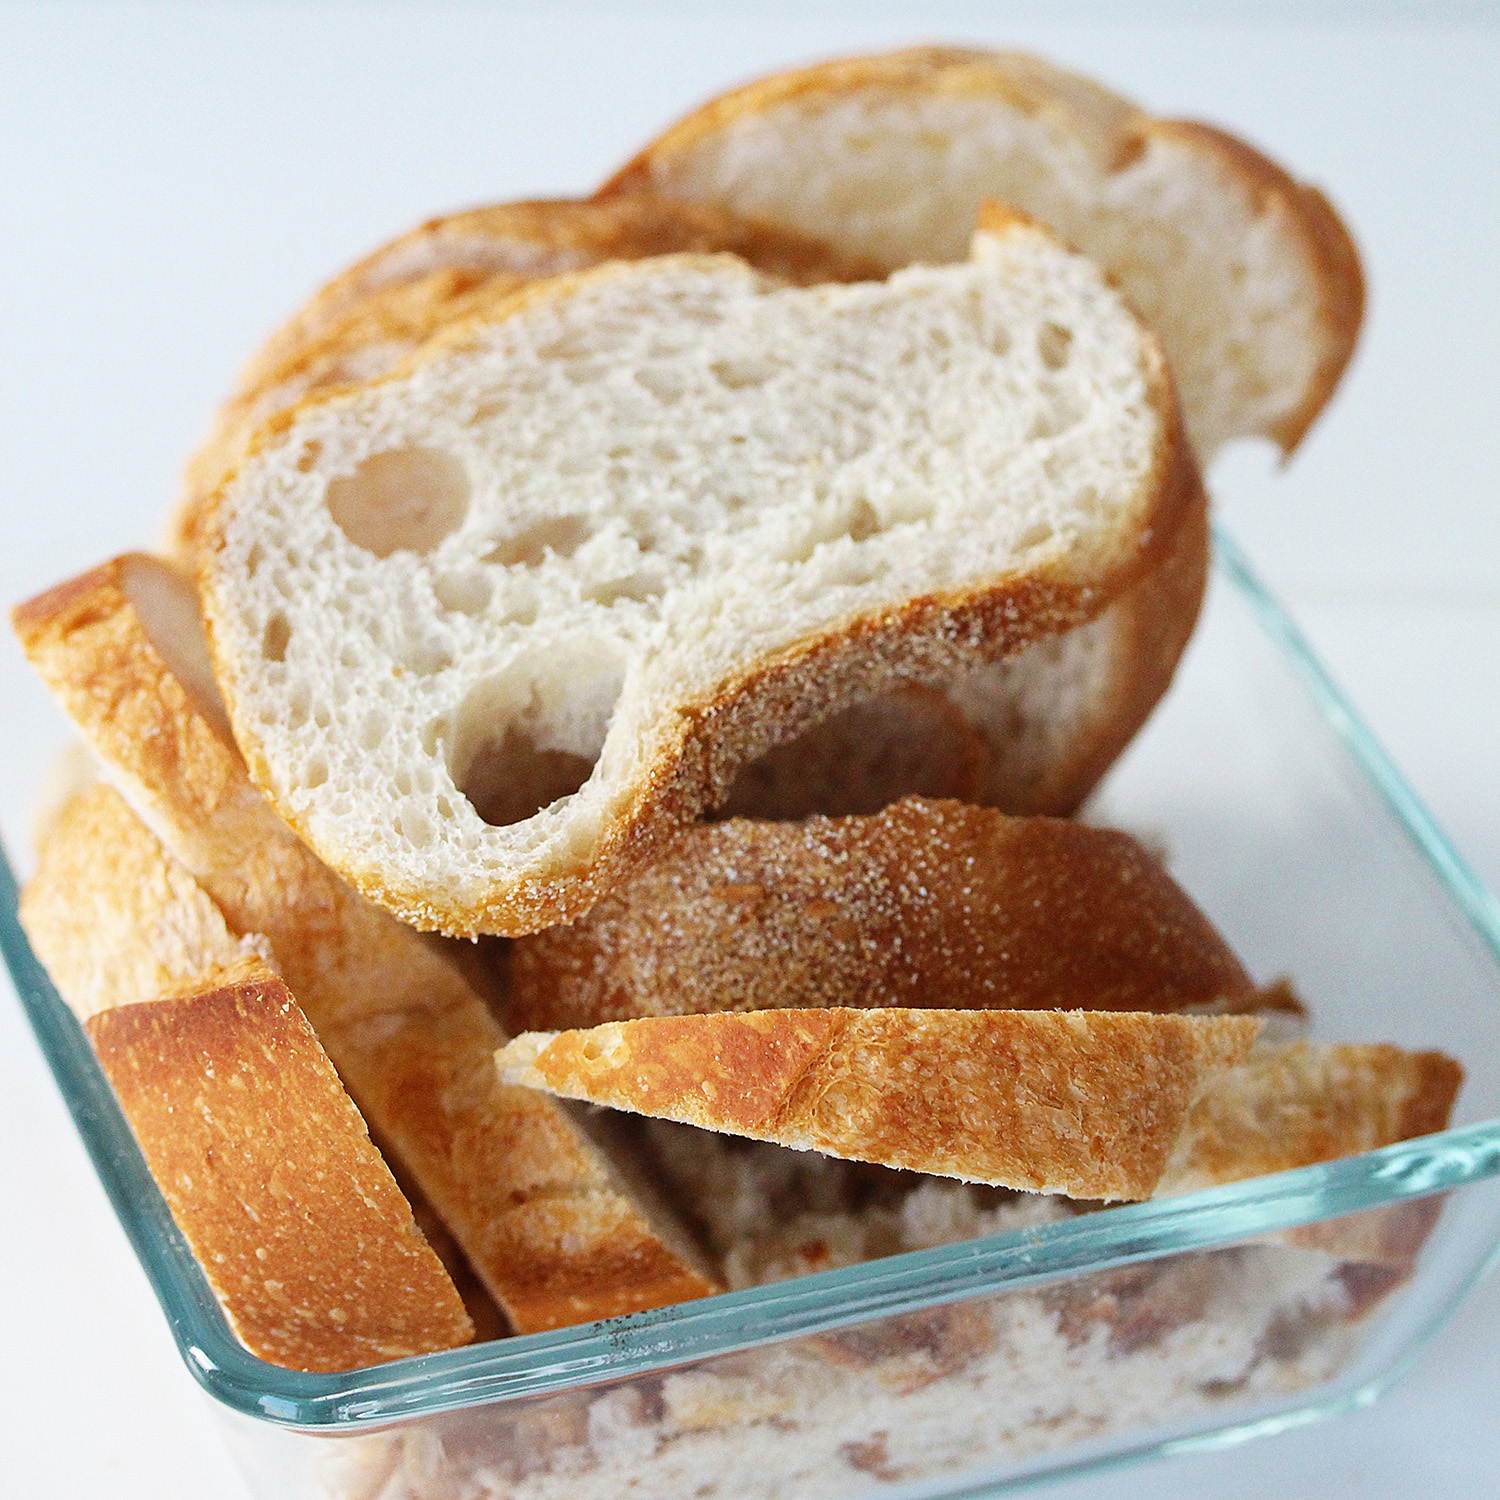
Dry bread
Directions
- Cut the bread into slices or cubes and let it sit out for a day or two. Make sure that the bread is completely dry other breadcrumbs will start to mold.
- Use your grinding tool to crush the bread down to your desired texture.
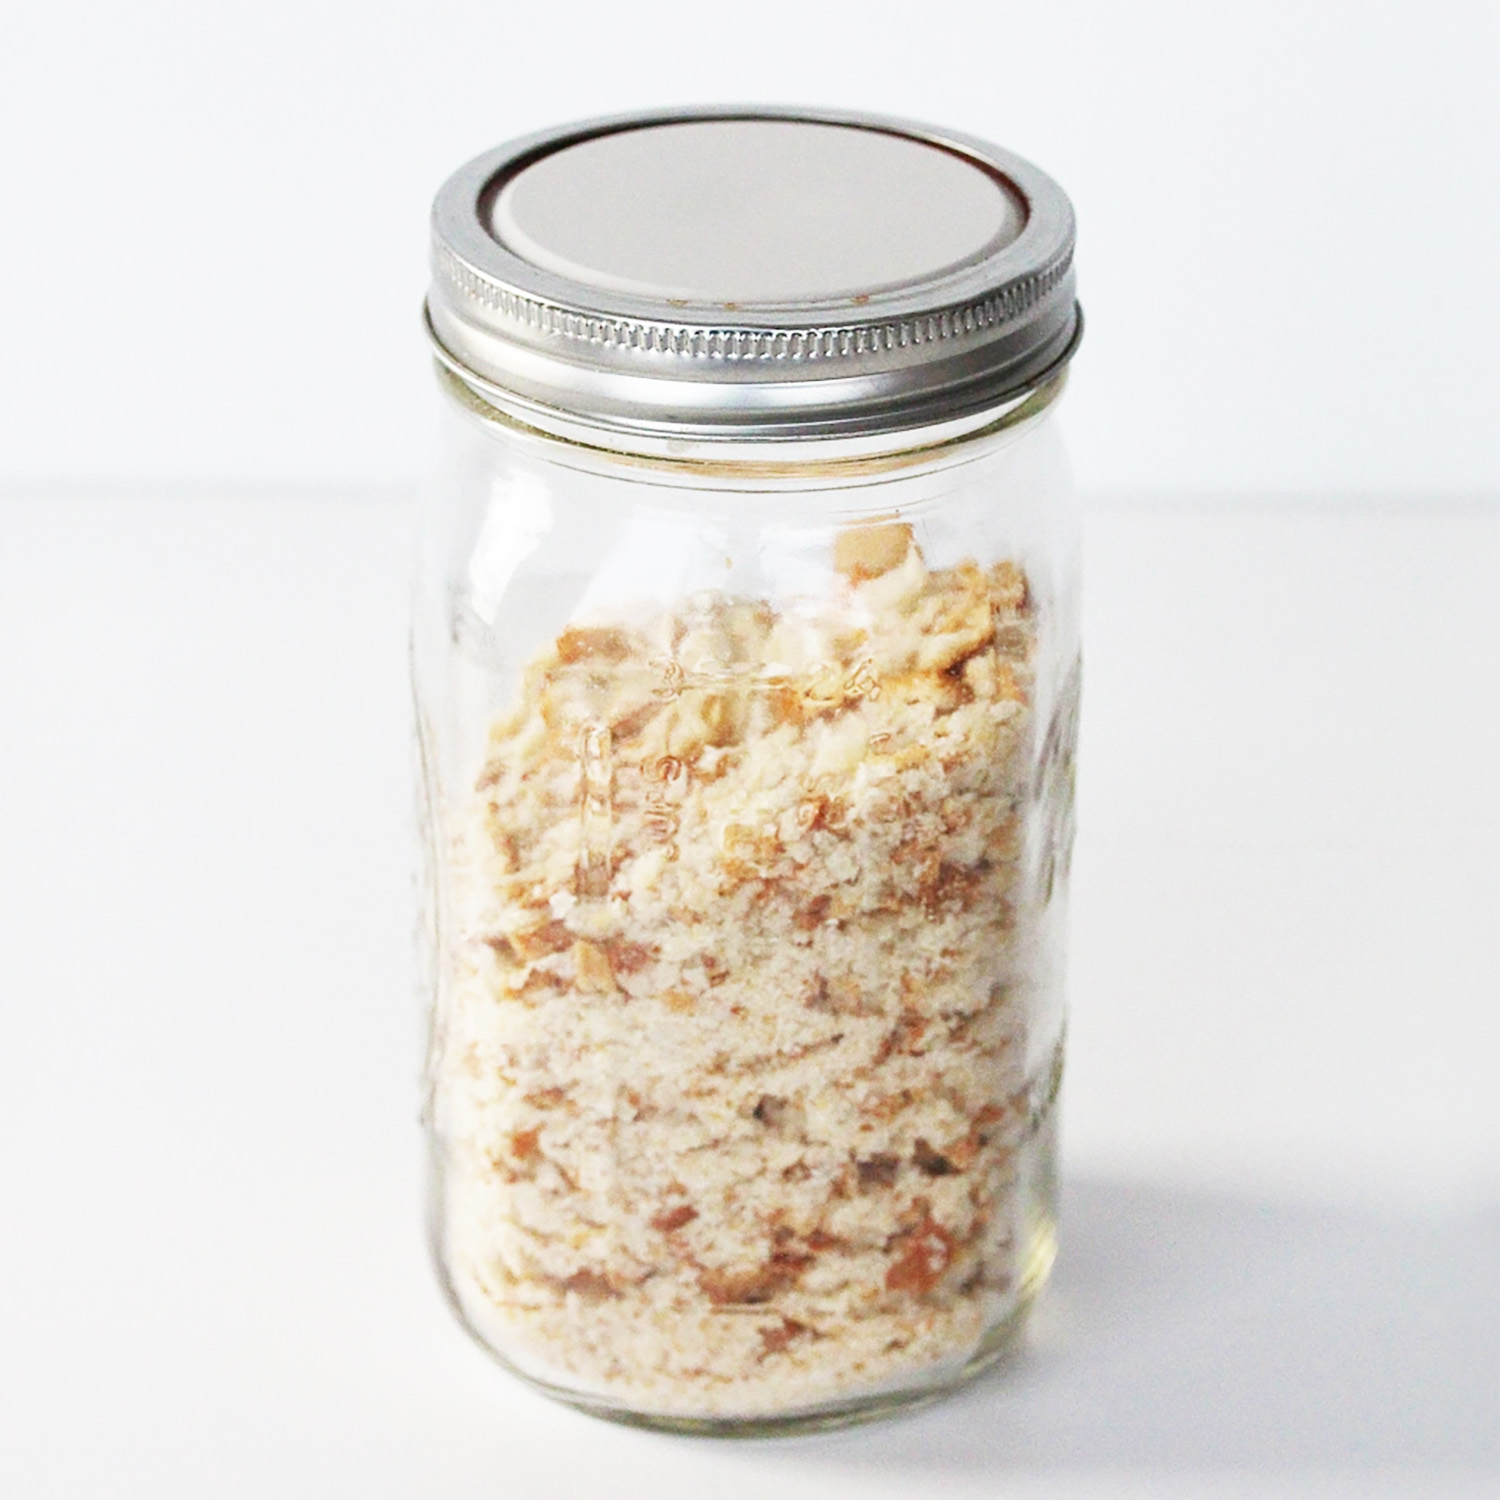
- Store the breadcrumbs in an airtight jar in your cabinet.
- If stored properly, the breadcrumbs will last for a very long time.


